Thursday, September 18, 2008

Fixing a Benjamin 312, Part 3

The counterbores cut, I had to make a new pivot pin.

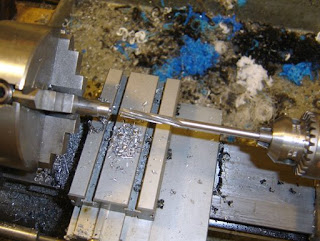
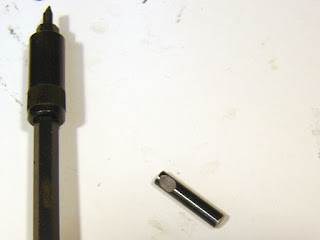
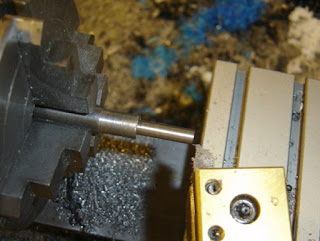
I turned an extra long shoulder that's 5/16" diameter, with a 3/16" shank, and parted off to length, leaving a short 5/16" diameter stub.

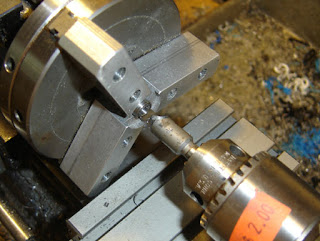
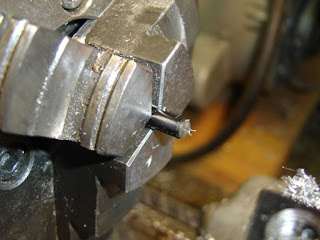
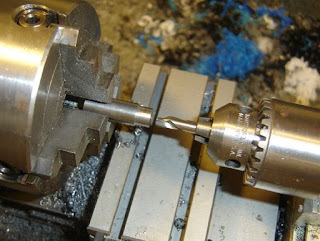
Which I then drilled.

And reamed to 3/16"

I then parted it off and deburred the cut off side.

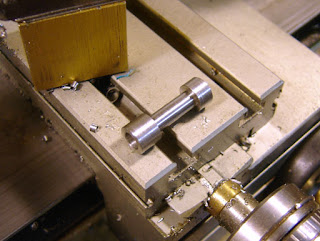
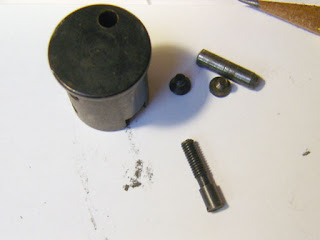
The new pin assembly.

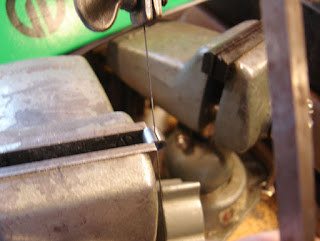
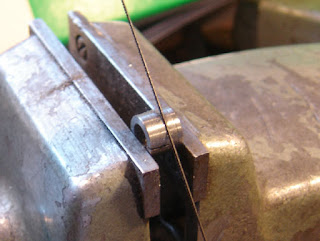
I used a jewelers saw to slit halfway through the bushing.

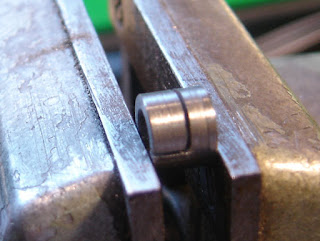
Then halfway the other way.

This leaves a section that can be compressed by the pin locking screw, which will retain the entire pivot pin assembly.

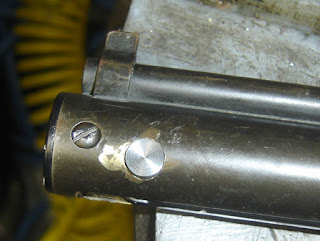
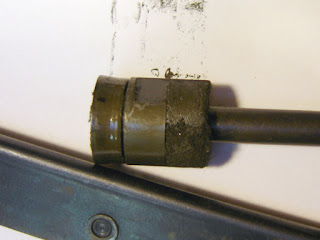
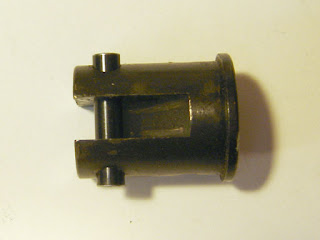
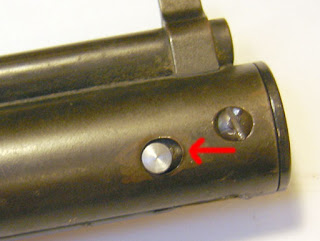
The head side of the pin in the counterbored hole.

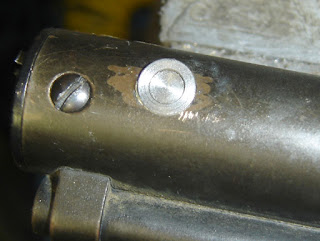
The bushing side.

The rifle pumps up fine now and I feel a bit more secure that the pump force is bearing on the tube rather than the tiny plug screws. The rifle seems a bit underpowered, as I'm only getting about 10 ft/lbs (580 fps w/14.3 gr. pellets) with 8 pumps, although another four pumps gives the same level of power. If I get bored in the future I'll tear the valve down and see if the seals need replacing, etc.
Another old ugly beater restored to functioning condition!

Wednesday, September 17, 2008

Fixing a Benjamin 312, Part 2

I figured out a strategy for dealing with the wallowed out hole in the pump tube.

Turning a 3/16" diameter pilot with a 3/32" shank for a interchangeable piloted counterbore.

The finished (I still had to turn the pip off the end) pilot.

Mounted in the counterbore. The counterbore is 5/16" diameter.

Counterboring the tube and plug with a hand drill.

On the left side I counterbored about 3/16" deep.

On the right side I went 1/4" deep so that the screw which normally holds the pivot pin would enter the counterbored section completely. The brass cut freely. Now to make a new pivot pin.

Tuesday, September 16, 2008

Fixing a Benjamin 312, Part 1

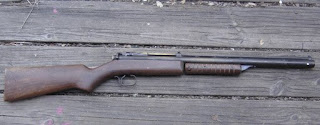
I bought a Benjamin 312 rifle off the Yellow classifieds the other day, listed as "missing pivot pin". The price was right so I bought it. I figured it would be pretty easy to fix and I was already comfortable with the design having fixed my 317.

I stripped the end plug. The pin screw was worn at the end, should have a point.

The piston was very greasy, but that cleaned up fine.

I made a new pin from a dowel pin.

The pin in the plug.

I ground a flat, rather than a vee groove as on the 317, because of the missing tip of the plug screw.

The rifle. Worn and used, but I think it's beautiful in it's own way...

As with all of life, you never think to check things that should be obvious (and I'm sure it didn't occur to the seller either). The hole for the pivot pin is wallowed out on both sides of the tube. I'm not entirely sure how that would even be possible unless the rifle was pumped without the plug in place, but there it is. This means that the pumping force is bearing on the two skinny little screws that retain the plug in place.

I don't want to solder in a patch as the entire barrel is soldered to the tube, and heat would discolour things as well. Plastic steels are unlikely to work and besides I want to be able to tear the rifle down again for maintenance. So I will do a little thinking and come up with a solution, as always.

Saturday, September 13, 2008

Derrick's Crosman 357

Derrick, our Ohio correspondent, sent in pictures and description of his latest project, a Crosman 357. Enjoy!
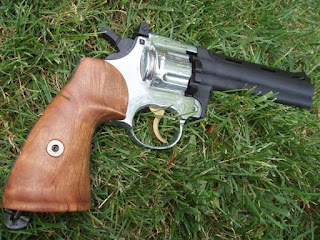
The brass "medallion" is a Winchester 357 magnum case head. I bored out the primer pocket hole slightly and drilled out the flash hole completely to run the 6-32 grip bolt though it. Also turned down the dia. of the bolt head to fit. Buffed out the frame. Got rid of all the nasty casting marks.
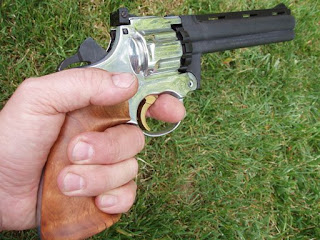
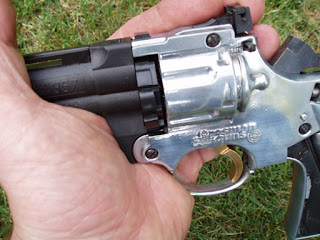
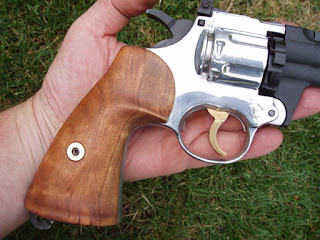
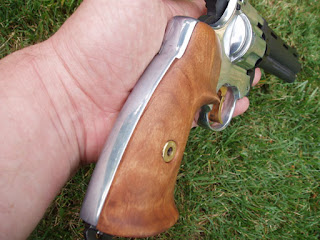
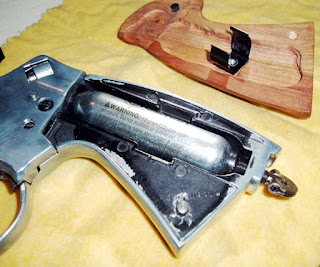
As you know, the 357 left grip clips to co2 cartridge. In it's stock form, it also does a good impression of the Wiggles. I drilled 2 holes in the frame and 2 matching holes in the grip for pins. One pin is glued into the grip, one is glued into the frame.
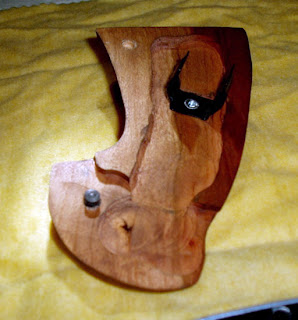
Virtually zero play when connected.
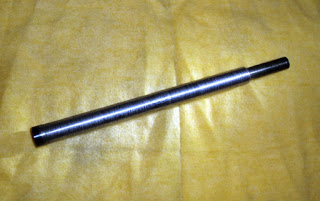
I chopped a section off the spare 1760 barrel and reduced the breech to match the stock 357 bbl. I think I turned it down to something like 0.312". It's a nice, tight press fit into the rear of the shroud. I left about 1/4" of bbl at the muzzle at full 7/16" diameter for added heft. Turned down the middle of the bbl just slightly so I didn't have to bore the shroud full length. The ID of the shroud in the bbl channel is just slightly less than 7/16. I didn't bother to measure it, I just took a hundredth off the bbl or so.
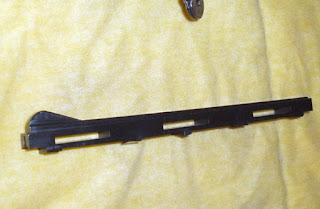
Now the bbl can't fit though the "fingers" of the rib sight. Chop. Off they go.
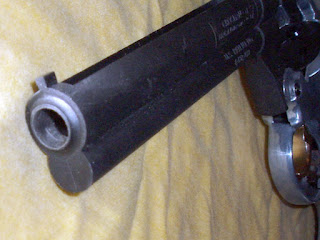
I bored the shroud out to 7/16" rather than reduce the bbl diameter. This is also a zero play press fit to the bbl.
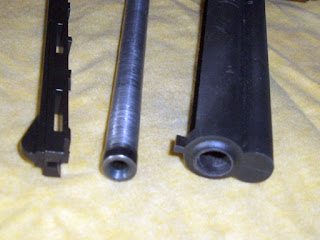
I cut the new bbl approx 1" too long to have material to play with. After reducing 1" or so of the the breech end to 0.312", I cut the pellet lead in. Then I reduced the bbl's middle diameter, then set the cylinder gap. Working forward, I was then able to determine how much--if any--muzzle I wanted coming through the front of the shroud.
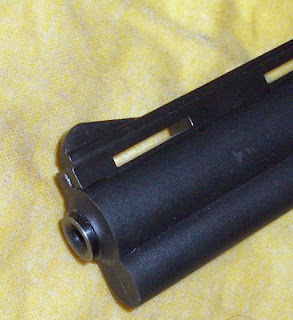
So, here's where I left the muzzle. I initially left it extended, but wasn't happy with the look. I cut it, faced it and recessed the crown, cold blued it, then got out the JB Non-Embedding Compound and cleaned the bbl. The 1760 barrel rifling was substantially more pronounced than what was in the flimsy stock 357 bbl.
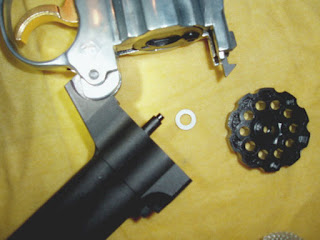
Here's my cylinder washer to fit over the post. Couldn't find a black one. Didn't want to make one. It's the white washer that comes with Uncle Mike's sling studs. It worked perfectly. Thanks Uncle Mike!
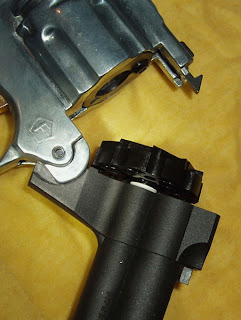
I glued it in place with a dab of Gorilla brand super glue. A little dab'll do ya.
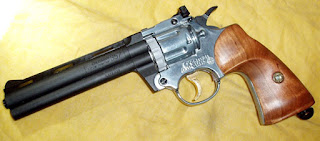
I ended up using epoxy to glue the lead weight into the shroud. I then epoxied the bbl into the shroud in the front and rear press fits. The sight rib is also epoxied (Hey, I had it out) to the shroud.
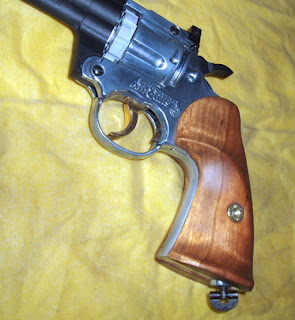
So, I charged it up and the first shot went dead-ass-nuts through the 10 ring on the 10 meter target. I shot several cylinders through it and I think the groups look about half the size there were with the "floating" stock barrel.
Wednesday, September 10, 2008

Piston Tuning the Daisy 717

I've long wondered whether the Daisy 717 would benefit from some piston tuning. It's hard to get any useful figures for the performance of the stock pistol, as no pellet weights are given for the published velocity of 360 fps (although Pyramyd says both 360 and "up to 380 fps", and the online manual at Pyramyd says 380 fps). So I put a few 7.9 grain RWS Meisterkugeln pellets through one of my old 717's and found a velocity spread of 368-375 fps. This is with the piston adjusted correctly.

The face of the piston has a noticeable casting sprue, and is hardly flat.

The valve face seems flat.

Putting the piston face against the valve face shows that full contact is not being made.

So I faced off the piston (I took off about .010").

Using some hi-spot blue, I tested the piston face against the valve face. Full contact was still not being made.

So I lapped the valve face against some sandpaper, on a surface plate. The valve hole was filled with a plug of paper towel.

After a few minutes of lapping the face was pretty flat.

As you can see, the faces are making much better contact.
So how much of a velocity gain did this produce?
I found I got between 377 and 380 fps, so a gain of around 5-9 fps. Hardly earth shattering, but nice to know a little performance increase had been realized.

Tuesday, September 9, 2008

Benjamin 317 "Bar-V" Stock Nut and Washer

A kind person sent me the stock locknut and washer for the Benjamin 317.

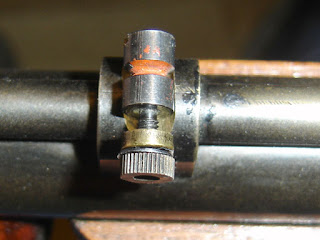
The new nut, which appears to be brass, and the lock washer. The washer looks exactly like a standard internal toothed lock washer, or rather it is a standard lock washer.
The nut I made on the left, which looks just a little crude compared to the Benjamin.

The assembly restored to stock condition.