Sunday, October 23, 2011

Overhauling the IZH 53M Part 1

Got a great deal on this from fellow airgunner Jason B.  It's a like-new IZH Baikal 53M.  Shot it a few times and could tell the gun was a bit dry inside from the factory.  Figured I'd take a look inside and see how it works.


This is at least the second version of the pistol.  The original had a funky, sort of, uh, match-type grip.  It's not much of a reach to assume that the original grip wasn't left hand friendly so it was changed to this design.


Of course, I'd like to have the original grip frame, match gun weirdo that I am.  It's a relatively large pistol as you can see from the 12" ruler.


Diving right in...  Removed the two stock screws at the front.


There's a third screw underneath at the rear of the trigger guard.  They're all phillips head screws.  I didn't actually measure one, but it's a safe bet that they're all M4 x 0.7mm thread.


There's an adjustment screw at the front bottom of the trigger assembly.  I didn't see a hole in the grip to reach the screw.  Maybe I missed it?  Well, thirty seconds of web research shows a hole in the original grip design.  Looks like it was omitted from version two.  So, just take the action out of the stock to adjust the trigger.


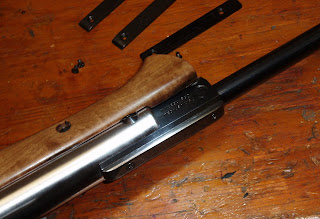
Wanted to remove the rear sight next, but the lip on the end cap blocked the rear of the dovetail slots preventing removal.  Looking at the mainspring's wire gauge told me I could do without a serious  mainspring compressor.  I snugged it into a large bar clamp and put some pressure against the cap.


Figured I'd tap out the pin, but it simply fell out when the spring tension was relaxed.  Click the pic to enlarge--note the end of the mainspring--it's buckled against the end cap. 


That was easy. 


The cap is plastic.  Some type of nylon like the grip.


Notice the lack of a spring guide.  The inside of the end cap seems like it was designed to accept a press fit guide.  Back to the web for thirty more seconds of research.  There's no guide on the schematic--not even on version one.  Must've nixed the guide as a cost cutter after making the mold for the end cap.


Wave to the spring.   About now, I'm thinking the lack of a guide isn't such a great idea, and the lack of grease almost went unnoticed. 


At least I can take the rear sight off now.  The foremost screw on the sight unit fixes it to the dovetail.


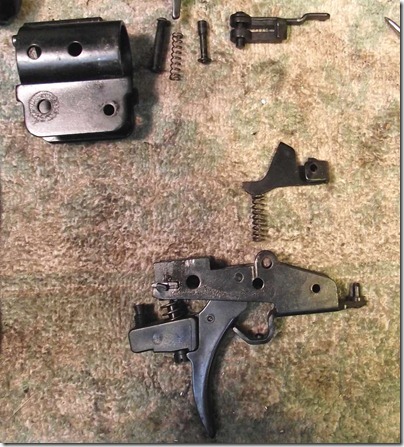
Piston is still in the gun.  The end of the cocking lever is holding it in place.  Note the ratchet.  It's for the anti-beartrap.  Removed the coil spring for the anti-beartrap.


The end of the cocking lever is just visible in the piston body.


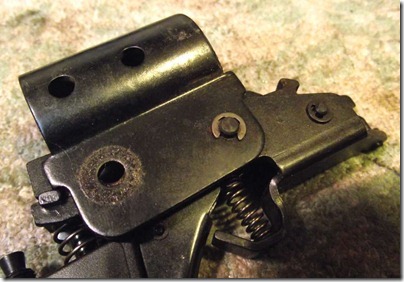
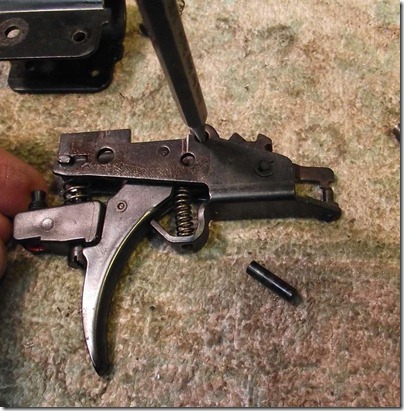
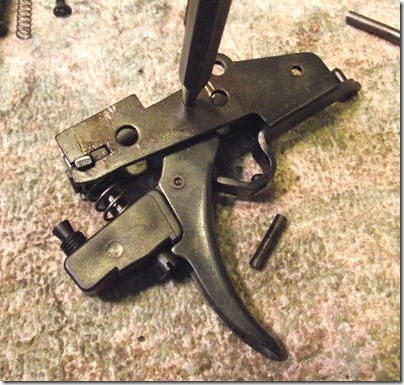
I noticed the side hole in the trigger unit and assumed it's for access to allow removal of the rear link from the cocking lever.  Drove the pin out.  It must be removed from left to right.  Still can't remove the link or the piston.


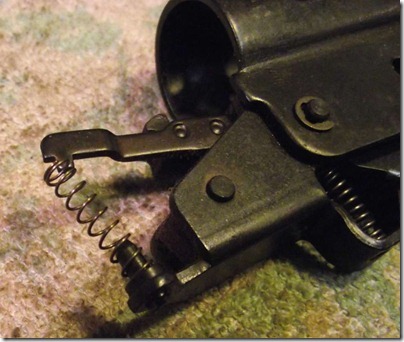
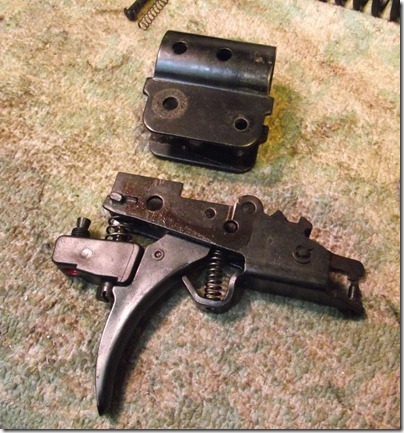
Drove out the pivot pin for the sear.


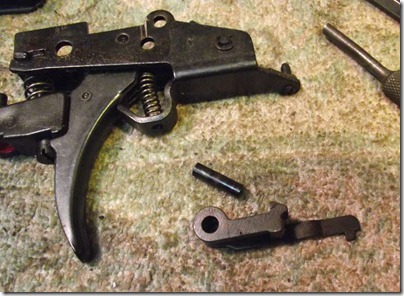
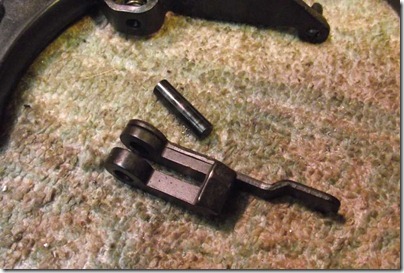
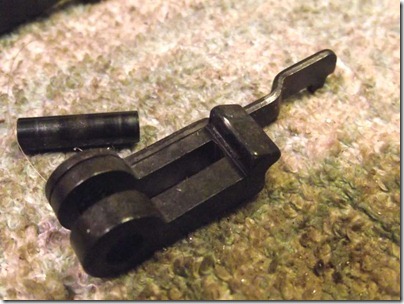
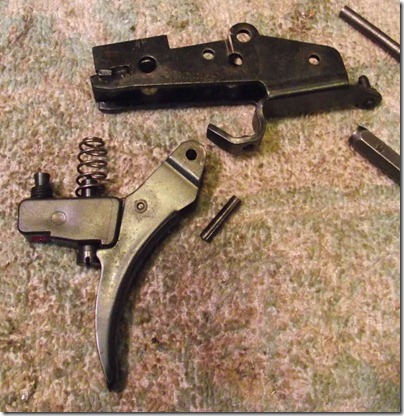
With the pin out, the sear is removed, followed by the rear link.


I like how the sear functions as part of the anti-beartrap assembly.  Clever.


Piston.  Looks like the seal is the same as the Model 60/61 rifles.


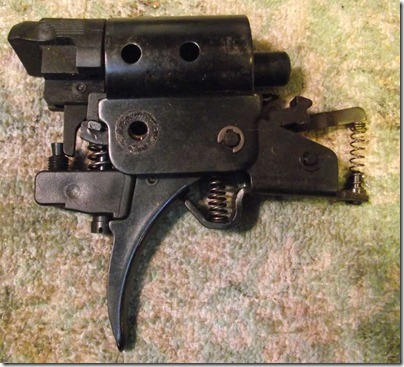
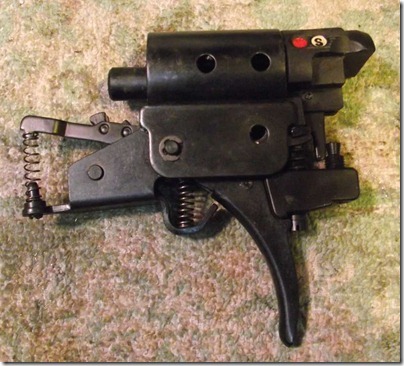
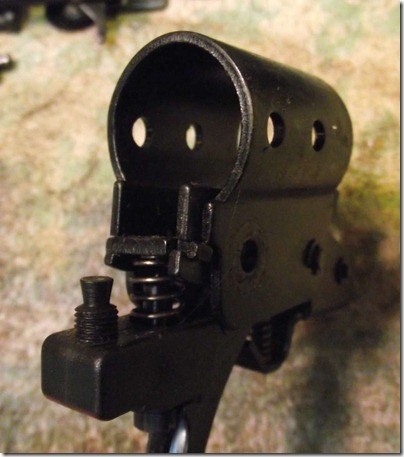
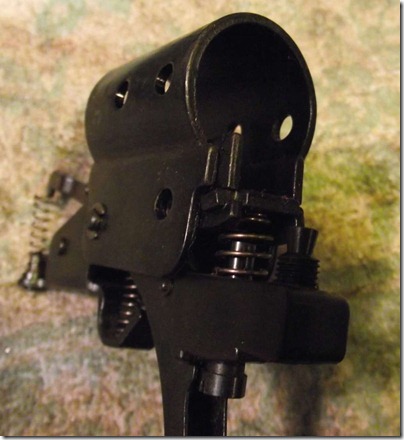
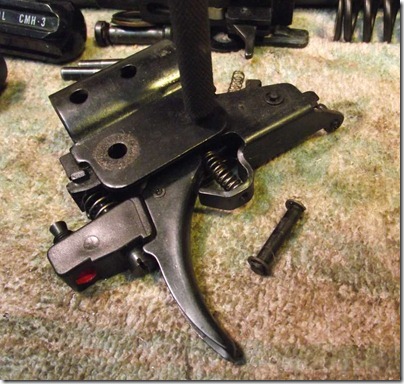
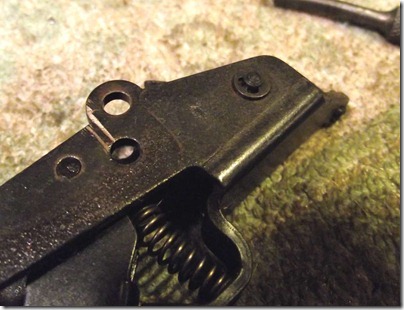
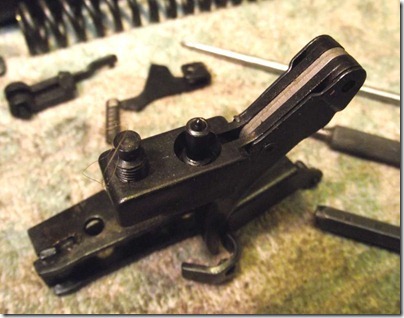
Here's that trigger adjustment screw.  The trigger had a very, very long, light pull.  The adjustment screw was backed out all the way.  The housing was also bent about 15 degrees from center, so much that the screw wouldn't contact the trigger correctly.


I'll realign the trigger housing so it functions properly.  Screwing it inward will then shorten the travel of the trigger.

More soon.

Wednesday, October 19, 2011

FWB Sight Cover Plates

Neglected to show one of the final things I made for Frank B's 124 before sending it back.  Just a simple rear sight cover plate to cover the breech block and fill the screw holes.

Since Frank has more than one scoped FWB, he needs another.  Turns out Nick also needs one--and  I'd like to replace the plastic FWB factory cover plate on my gun, too.


Cut three pieces of 0.500" wide steel strip.  Filed them to about 89.7mm long.


Apologies for the switch from inches to metric, but the sight holes on the FWB 124 are 63mm apart CTC so it made more sense to keep all the measurements in the same units.   Holes were marked starting at the rear and working forward.  The rearmost hole is 17mm from the rear of the plate.


Spotted and drilled.


This is where I screwed up.  I  didn't have enough M3 mounting screws, so I ordered some up. I didn't have the screws in hand and I wanted to get the plates finished.  I assumed the head size and angle and countersunk accordingly.  Of course, the screws arrived two days later and they didn't match up.  Fixing the angles didn't go as smoothly as I'd hoped.  Once installed, it's not really noticeable, but I feel like an idiot sending something like this off to my friends. 


Rounded and shaped all the plates by hand on a belt sander.


Took the plates to 400 grit then buffed them out with a gray ScotchBrite.


Some Van's cold blue.


Kept the ugliest one for myself.

I'm trying to figure out my next project.   Check back soon.

Sunday, October 16, 2011

RWS (Diana) Model 45 Disassembly, Part 3

On I go…If you like being bored by too many pictures of a trigger group, read on.

10131129
The trigger assembly.

10131130
Other side.

10131131
The safety pulls out. It is loose once the two dowel pins that retain the trigger assembly are removed.

10131132 A blurry look inside.

10131133
Yawn…

10131134
You’ll thank me if you ever have to put one back together.

10131135
This spring has been wanting to fly away since I took the action out of the stock.

10131136
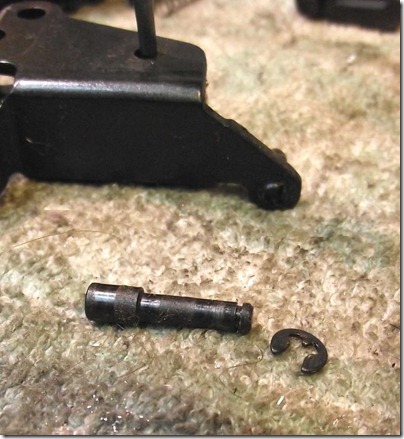
I removed the circlip for the pin.

10131137
And pushed it out. Note that I store the circlip on the pin…
10131138
This is what you end up with.

10131139
Another pin..

10131140
And the sear comes loose.

10131141
Looks to be in pretty good shape .

10131142
Another view. Could use some polishing?

10131143
One last circlip held pin.

10131144
It’s a headed pin.

10131145
Another piece comes out. Notice the dimple for that spring end.

10131146
Now the trigger pivot pin.

10131147
The trigger is laminated steel and plastic.

10131148
It’s hard to tell but the piece the adjustment screws are in is plastic.


So that’s everything taken apart except the piston. I’ll clean everything up and lube as needed. See if it shoots better. The rifle wasn’t that dirty but seems dry – the only lube was some moly inside the piston sleeve.