Monday, November 8, 2010

Crosman Model 99 Rifle Disassembly, Part 2

Apologies in advance for dwelling a bit on the screws, but as always the primary reason for the blog is so I remember how the darn things go back together.

10291001

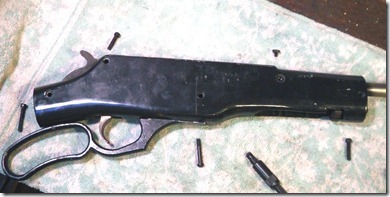
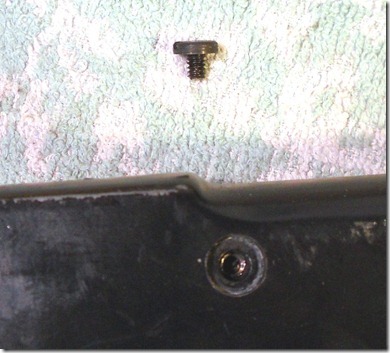
Sideplate screws removed from the right side.

10291002

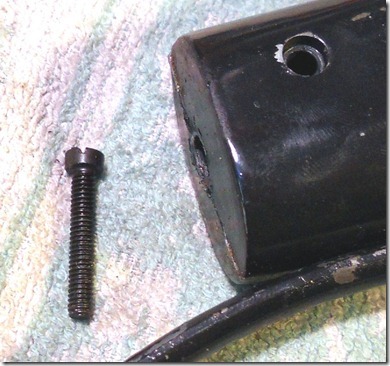
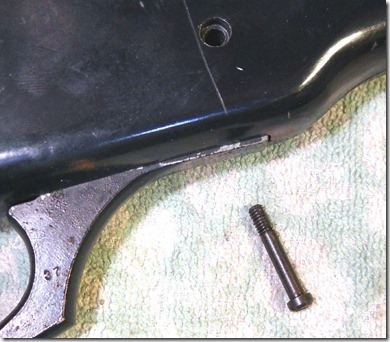
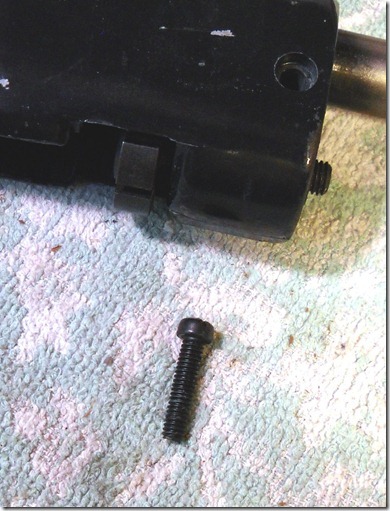
One screw.

10291003

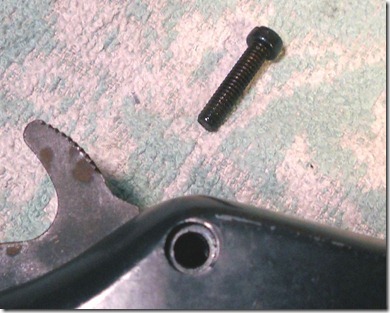
Another screw.

10291004

And another.

10291005

Yet another.

10291006

Last one. Notice how they are all, with the exception of two, completely different.

10291007

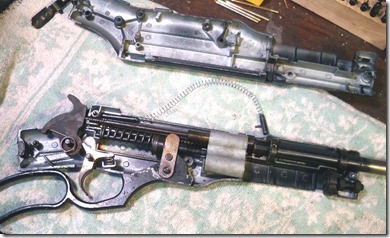
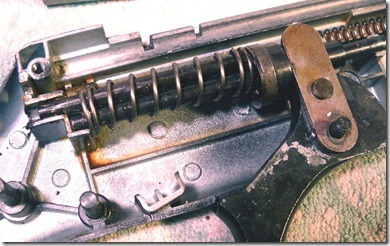
I removed the side and the only thing that jumped out was the magazine follower and spring.

10291008

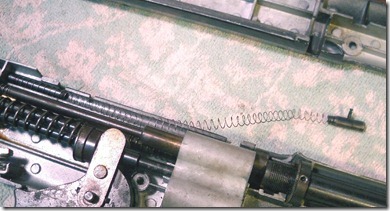
Another pic.

10291009

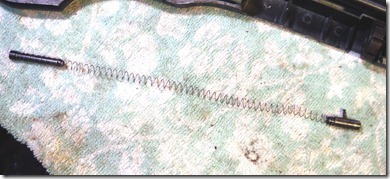
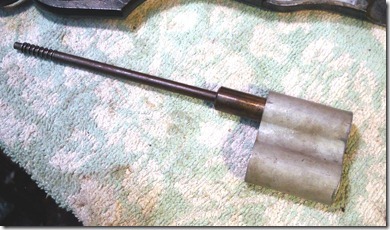
Follower and spring.

10291010

Powerlet piercing screw assembly.

10291011

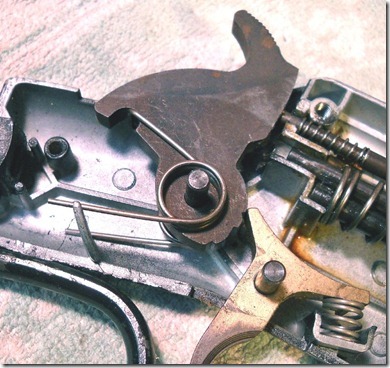
Hammer and trigger and springs…

10291012

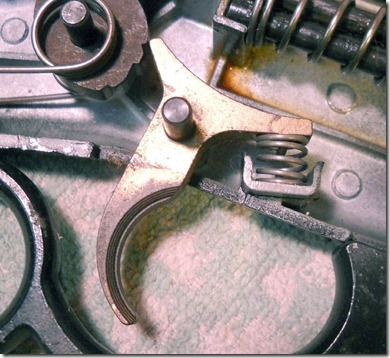
I lifted out the trigger and trigger spring.

10291013

Then lifted out the hammer and hammer spring.

10291014

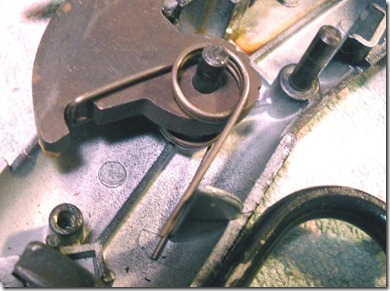
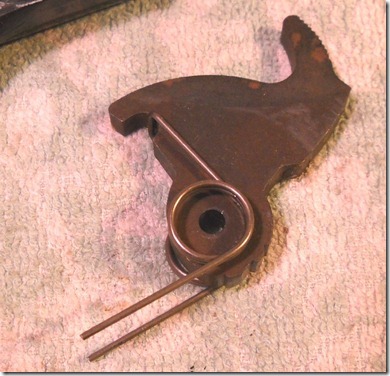
The hammer spring wraps around both sides of the hammer.

10291015

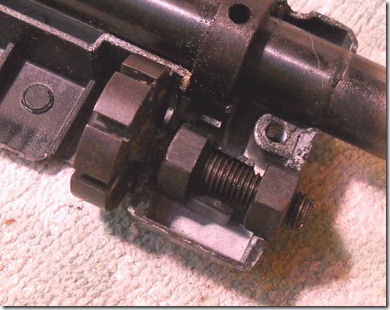
Stock screw nut.

10291017

The valve assembly just lifted out.

10291018

The lever and hammer assembly.

10291019

Lifted straight out.

10291020

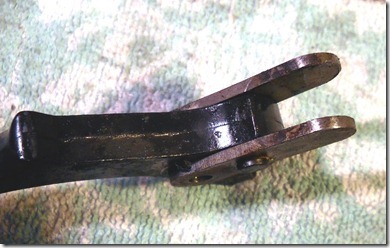
Two steel ears on the hammer, which is probably a good thing rather than a more complex potmetal casting.

10291021

Hammer assembly.

10291022

The middle part is just a little complex.

10291023

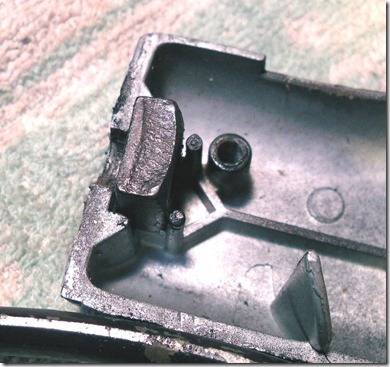
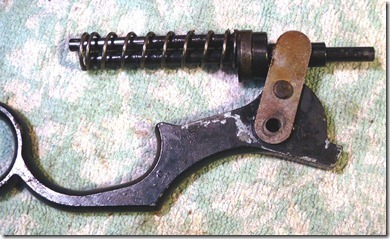
The broken part of what I’m assuming is identical to the cam ring on the model 600 pistol.

10291024

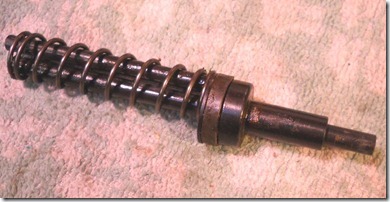
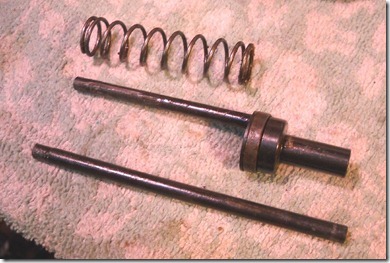
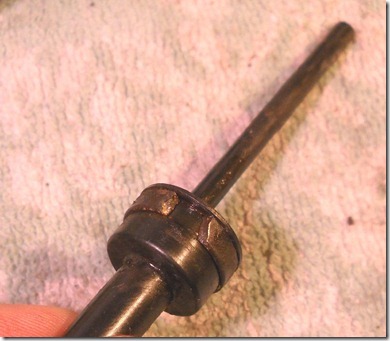
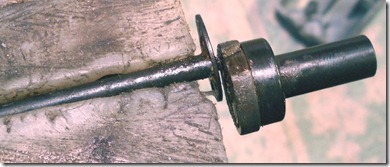
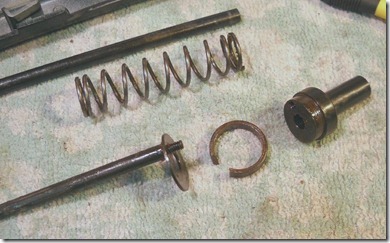
This was a bit if a puzzle, but the parts are held together by a screw thread extending out of the rod.

10291025

All the parts…more to come…
Sunday, November 7, 2010

Crosman Model 99 Rifle Disassembly, Part 1

The WTB ad I put up on the airgun forum kept paying dividends, as a kind man sold me a beat up Crosman model 99 air rifle for an excellent price. Although it’s actually branded as a Montgomery Wards Model 1415, as some of the classic Crosman airguns were sold my Montgomery Wards under their name, like the 140 I covered previously.

10281001

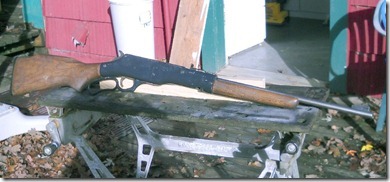
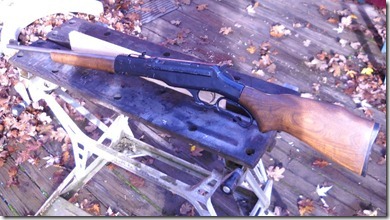
A brief break in the rain and I took a couple of pictures of the whole rifle. I had to hurry…

10281002

It’s visually well designed.

10281003

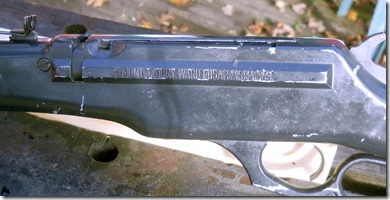
Here you can see the Mongomery Wards branding. Also the pellet shuttle…

10281004

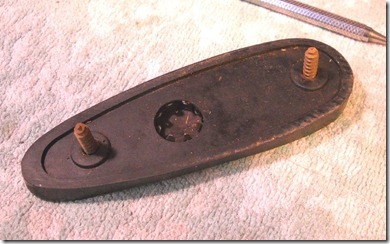
Rather than just pry that round steel cap off, I removed the butt plate.

10281005

Those screws are rusty.

10281006

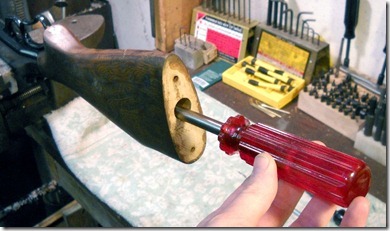
Big screwdriver to remove the stock.

10281007

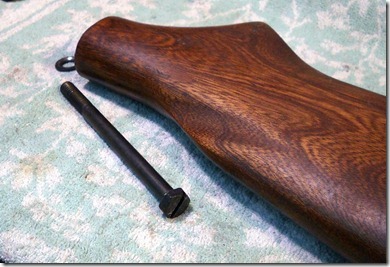
Stock bolt.

10281008

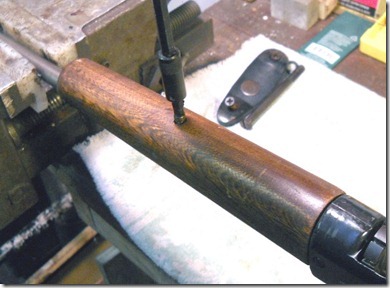
One screw retains the forearm.

10281009

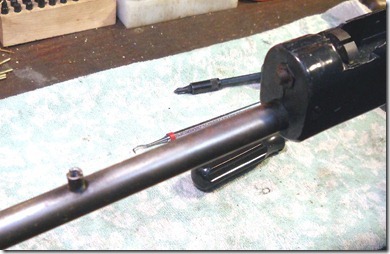
There’s a stud on the barrel threaded for the screw. One of the previous owners had stripped the barrel for rebluing.

10281010

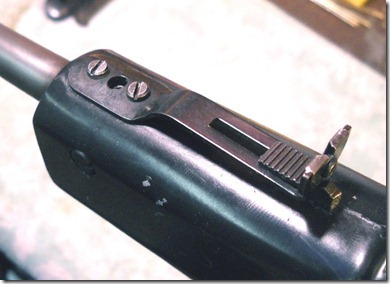
Rear sight.

10281011

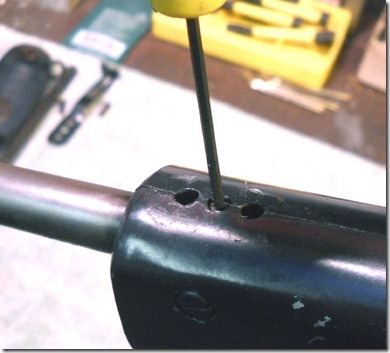
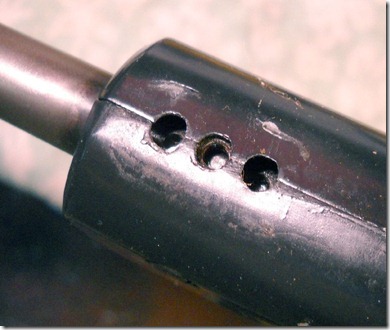
Removing the setscrew.

10281012

This does not remove the barrel though…

10281013

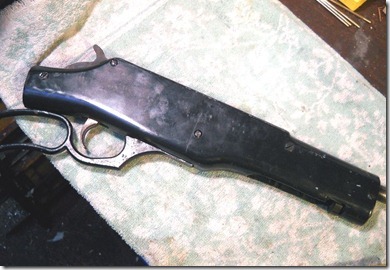
The action freed of most parts.

More to come…

Wednesday, November 3, 2010

Grips for the Crosman 150 Part 3

Slogging along. It seems kinda slow going on these grips, but there have been other projects that come up that just don't get blogged. Typically these are non-airgun related or something that's even more mundane than sanding grips.

Anyway, I need a filler for the heel and bottom of the grip. Back to the original board the grips came from.

Either grip will work for this.

Elected to trace the right side grip. Didn't really matter which one I chose, but I liked the way the grain looked.

Cut it out on the scroll.

Fine tuned the frame location and traced.

Cut it out. Had to open it up a bit here and there to get the angles to match up with the right grip panel.

Test fitting

Gonna permanently affix the spacer to the right grip panel. Thought about gluing the spacer to the left panel, too, but that would entail slotting the pin holes for the trigger pivot. Was concerned with having the grip immobile on the frame like it is now. Afraid the slot would let the grip shift slightly while sighting. If, however, a gap opens between the left panel and the spacer in the future, I'll go that route.


Just some mulling before the affixing time.


A bit of clean up for the difficult to reach spots.

Gorilla Glue. Woodworking wisdom--of which I have none--says to wipe rosewood with acetone or a similar solvent to remove the natural oil from the surfaces to be glued.

I wet the wood, let it dry--then wet it again and glued it up. I don't think it'll ever come apart at the glue joint. I probably could've used another clamp or two.

More test fitting. Yay! The glue didn't foam up against the frame and stick it all together.

A couple views.


Looks like I can't procrastinate sanding anymore. I screwed the grips to the frame.

Removed the grip frame from the gun and sanded the bottom surfaces flat.

That's three half-inch thick boards.

Evening up the backstrap and heel.

Killed the flash to show the contours. The sides are almost mirror image.

Some up front tweaking.

Various angles

It already feels more hand-filling and substantial compared to the original.


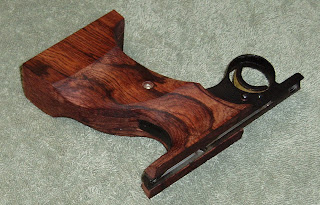
It's starting to look like finished product. Needs a bit more shaping--especially at the bottom--and then finish sanding.

More soon.