Thursday, August 12, 2010

BSF S20 WCM Pistol Disassembly, Part 1

As you can probably tell, I’ve been a bit busy lately and have let Derrick do all the work on the blog. I finally had a bit of time and he convinced me I should blog about the disassembly of the BSF S20 WCM pistol he sent me a while back.

08121001

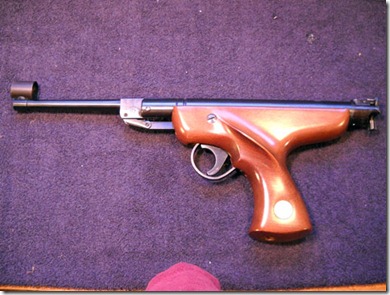
The pistol.

08121002

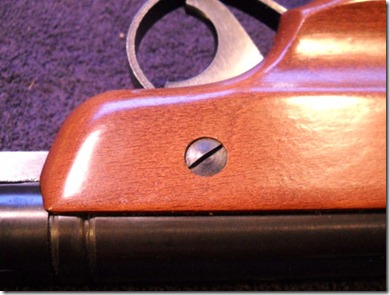
A screw on either side of the stock.

08121003

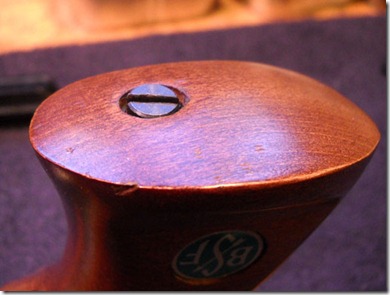
A screw through the bottom of the grip.

08121004

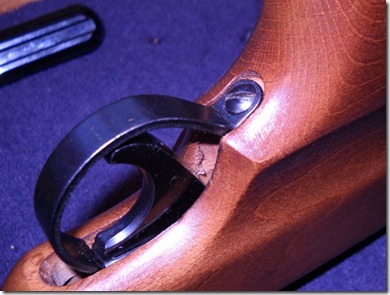
A wood screw holding in the trigger guard.

08121005

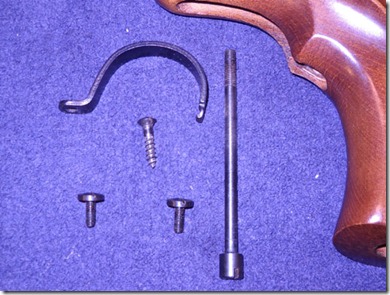
All removed.

08121006

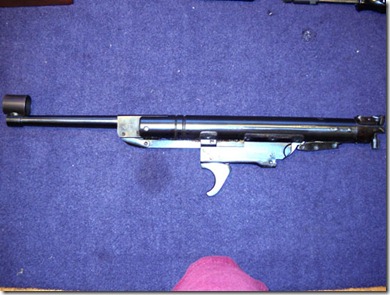
The action.

08121007

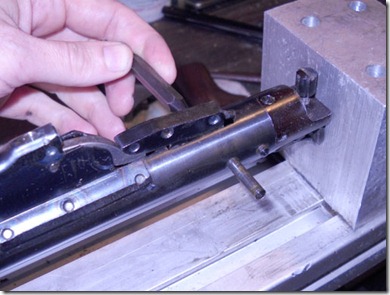
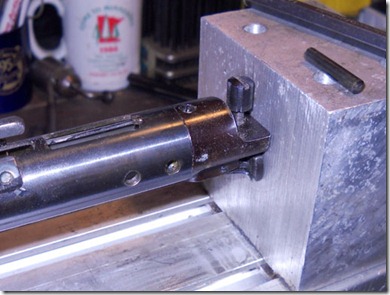
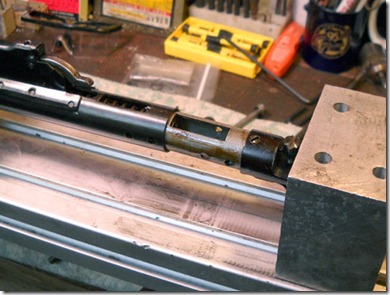
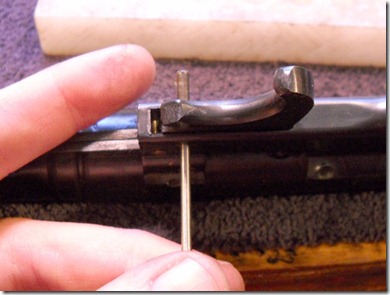
The action held in the spring compressor and the pin retaining the sear is pushed out.

08121008

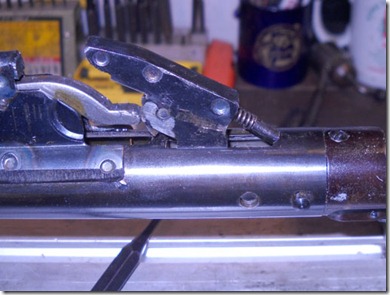
The sear levers up and out. Notice the relatively strong spring on the right.

08121009

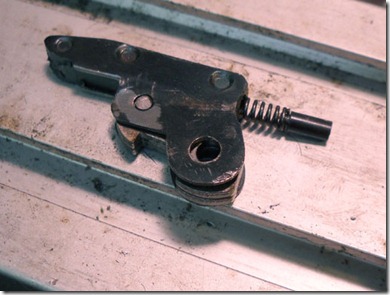
The sear.

08121010

That hole in the end fits…

08121011

…This tang in the tube.

08121012

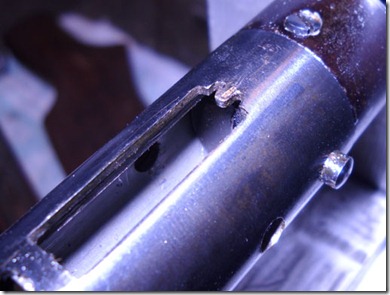
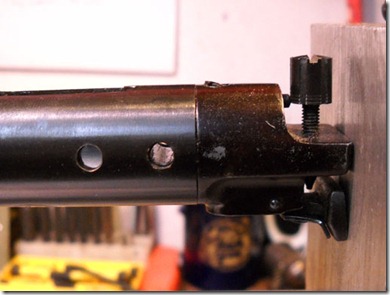
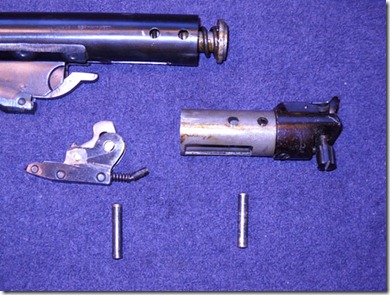
The pin retaining the end plug removed.

08121013

Another view.

08121014

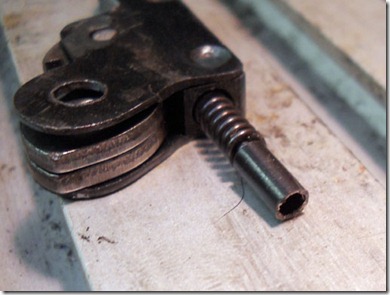
This is the amount of preload on the spring.

08121015

The parts removed.

08121016

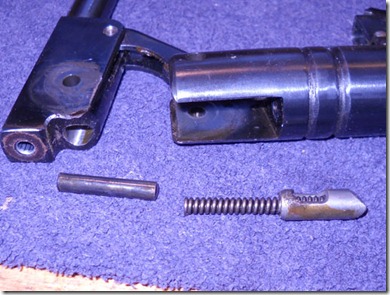
Another pin for the barrel pivot. Removing it can allow the detent to fly across the room if you aren’t paying attention…

08121017

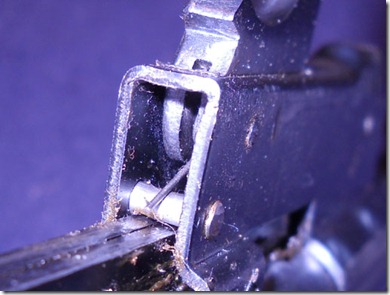
Trigger spring bears on what turned out to be an extremely annoying pin.

08121018

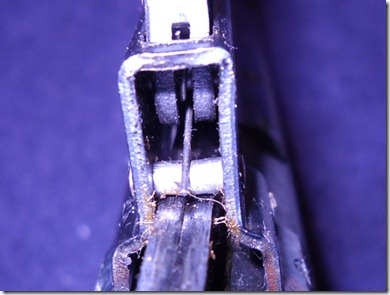
Another view.

08121019

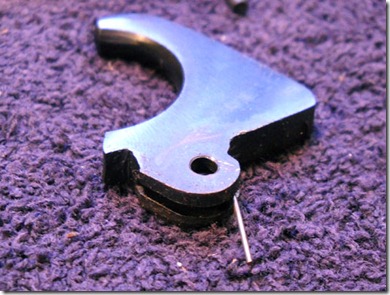
Trigger pivot pin pushed out.

08121020

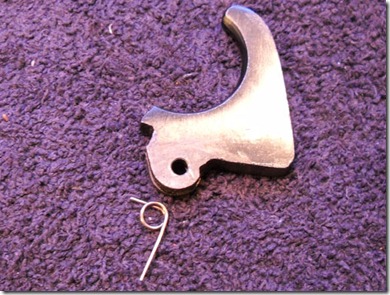
Trigger with spring in place.

08121021

Trigger and spring.

More to come…

Sunday, August 8, 2010

On the Level--Part 2 Final

Moving right along...

Worked this as one solid piece for as long as possible--this made it easier to line up through holes and threads. Drew some guidelines in the layout fluid and spotted a few (three) hole locations. Did my best guestimation of fastener sizes based on available space.

First drilled the center mounting hole with a #36--this is the tapping size for a #6-32. Drilled approx. half an inch deep.

Followed by a #2 bit to slightly recess the head of the bolt. Drilled about 0.125" deep, leaving an angle at the bottom of the hole.

Ground the point off the #2 drill bit and sharpened a cutting edge.

Used the modified bit to counterbore (make a flat bottom) in the hole.

Not shown, a #29 drill bit was used to drill approx. 0.250" deep for the through hole for the #6-32 mounting bolt. Here, I tapped the #6-32 thread to the very bottom of the half inch hole. Confusing, I know. I did as many steps as possible to the single piece. If I'd cut it in half first, I'd have had to do two times as many set-ups--and had alignment issues to consider.

A #43 bit was used on the two smaller holes. Drilled approx 0.250" deep.

Tapped #4-40 to the bottom of the holes.

Mounted the piece in an insert vise and bolted it to the Taig's crosslide. Couldn't get more than a singe bolt to hold the vise down, so I backed it with a steel block anchored into the T-slots. The vise couldn't twist against the backer. The slitting saw was mounted in a homemade arbor.

Slow speed, slow feed. Lots of cutting fluid.

The clearances around the slitting saw were super tight...

but it worked. Sanded the parts down to 400 grit, then cold blued.

A 5-minute epoxy glued the level into the mount.

Installed the #6-32 screw. This provides the majority of the clamping pressure to the dovetail.

The two #4-40 screws installed.

Mounted on a Benelli target pistol.

The #4-40 setscrews still need trimmed flush.

Test fit the level on several different guns. Seems to fit well on all the various .22 dovetails I tried.

As the mounting bolt is tightened, the block wants to hinge upward slightly--like a V. The two setscrews are screwed inward to cantilever the base back down until it's flat.

Very fine adjustments--and clamping security--are possible by varying the pressure between the mounting bolt and the adjustment set screws.
Thursday, August 5, 2010

On the Level--Part 1

There are so many projects in the very early stages around here that have languished far too long simply due to lack of current interest or inability to mentally work through the details. Often there's the hope that something complicated will have an easier solution given enough additional thought.

The project that I was interested in starting this morning hit a roadblock when I didn't have a piece of suitable material. I need a piece of steel tubing about 0.325"(+) OD with a 0.225(-)ID approximately 6" long. Putting half a foot of daylight in a piece of steel rod just isn't that appealing. If I don't find something suitable, maybe I'll bore out a spare 0.177 cal barrel--a .22 cal might even work.

In the mean time, there was another project that I wanted to try to make. I've always made scope levels that attach to the scope tube using an old ring. I've seen the B-Square (well, I've seen the pictures) that attaches to the dovetail and I thought that was an interesting idea. I don't know how they keep the mount from rocking upward from the clamping bolts on a 3/8" or 11mm dovetail.

I was interested in making the clamping mechanism for the dovetail attachment so it could be adjusted for level across the top of the gun. We'll see if it works. As I write part one, I truly don't know.

Half inch by half inch.

Chucked in the 4-jaw, roughly centered, then cut off hoping to get a relatively square end.

Ended up using a dial indicator to center the piece. It was actually fairly easy to center using the flats.

I'd purchased a cheap level at Harbor Freight a while back just for the bubble inserts. Took the level apart and have three of these. 3/8" diameter.

Spotted, then drilled 3/8" approximately 0.500" deep.

A small boring bar finished the bottom of the hole.

Set up the Taig lathe horizontal milling attachment. That's a 60 degree dovetail cutter. Small, delicate, expensive things. I almost destroyed this one the first time I used it. Resharpened it and it's still good to go. Played with the cutting speeds and it does better when run faster.

Used a lot of cutting fluid. The fluid lets the tool run at lower temperatures and prevents chips from binding to the edge of the cutter. A better finish results.

Tried a new (to me) cutting fluid. Cool Tool 2--worked fine, but it kinda smells like vinegar.

Bubble test fit is a go.

The dovetail is too narrow. I went back to the mill and made it wider.

It was far too long.

Milled the just-cut end.


A little layout fluid to mark some holes. It'll get drilled as one piece for alignment then cut.

A couple quick passes of a file flattened the base.

A few more steps later...