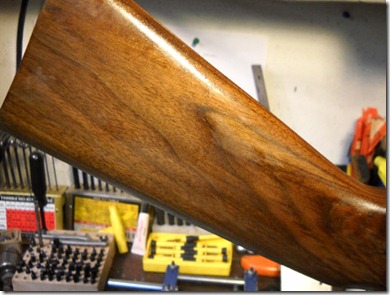
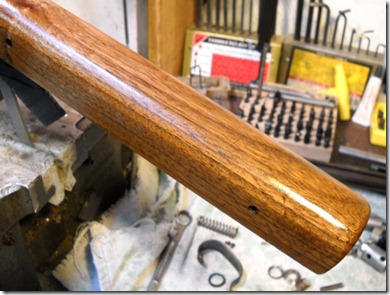
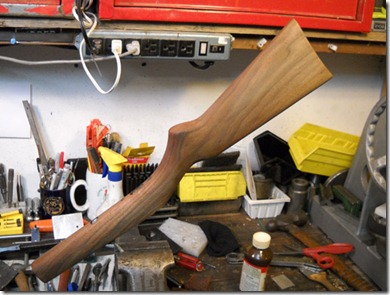
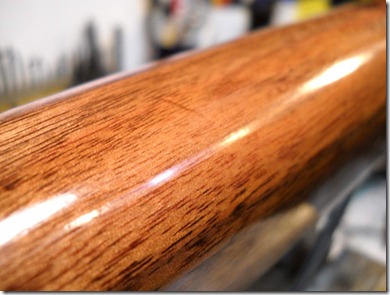
Tuesday, July 20, 2010

Making a Bulk-Fill Cap for a Crosman 160 Part--2

The slow saga continues.

Didn't think that there was enough material in the plug made in part 1 for 1/8" NPT female thread to fit my bulk-fill adapter. Rather than start again from scratch (and buy another specialty tap to match the gas tube threading) I thought that a larger diameter head added to the front of the plug seemed to be the easiest way to salvage the project. So, another piece of 0.750" dia. drill rod is cut.
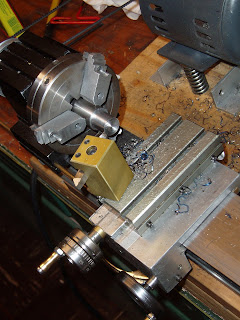
Reduced just less than half the OAL to 0.379" dia.

...and threaded to 3/8"-24.

The new head for the plug. Why 3/8"-24? Well, it looked like the largest thread size I could comfortably cut into the plug and I had both the required tap and thread cutting die--so no additional capital outlay was necessary.

Need to seal the two pieces together so the CO2 won't leak. A small, home ground parting tool made a relief cut at the base of the male threads for a small o-ring. Wrapping several turns of teflon tape around the threads would have probably worked, too, but I'm a glutton for punishment.

The front of the plug was initially left long to provide a holding surface to cut the o-ring grooves. Shortened it up a bit with the parting tool.

Again, lots of cutting fluid and slow turning speeds saves the blade.

Through drilled the plug with a 1/8" bit.

Then, drilled partially through the front third of the plug with a 21/64" bit and counter bored. This left a stepped hole of two sizes. No pictures for some reason? Not shown: Tapped the hole 3/8"-24 followed with a bottoming tap. A bottoming tap typically leaves about three threads only partially formed at the bottom of the hole. So, I ground off the taper on a spare tap and put full-size threads right to the bottom.

Used a tiny boring bar to cut a seat for the o-ring into the front of the plug to seal the threads.

The small o-ring to seal the halves together is a P7. The two larger o-rings that seal the gas tube are 112's.

O-rings on...

and pieces screwed together with the locking ring in the middle.

Installed, again, with one live CO2 cartridge and one dummy to check pressure retention. No leaks to report three days later.

Just need to tap for the 1/8" NPT fitting and make a check valve that seals the gun as the paintball tank is removed after filling.

More to come...

Friday, July 16, 2010

Making a Bulk-Fill Cap for a Crosman 160--Part 1

Been shooting the Crosman 160 for a week now. I like the rifle, but I'm not a huge fan of using two CO2 cartridges at a time. While I know you can use one full and one empty cartridge in the gun at the same time, I'd prefer to fill the gun from a paintball tank. It'd be a simple matter to order up a bulk-fill cap from either Bryan & Associates or Mac1 as I've done in the past, but I wanted to try my hand at making my own this time around. (And get a break from wood-related projects.)

First a quick word and rant about o-rings and our occasional lapse in mentioning sizes or screwing them up altogether.
As I received the old 160, the o-ring in the cap was a replacement and wasn't exactly CO2 friendly. It's on the right and has swelled with absorbed CO2 gas. The one in the middle has also absorbed some CO2. The o-ring on the far left is new. I kinda hate to measure o-rings from old guns. The one in the gun has obviously been replaced and who's to say that it was the correct size? It sure wasn't the correct material.

OK, so this bulk-fill thingy... It was 9:00 PM and I didn't have a tap to match the Crosman gas tube thread size. So, I looked through my magic parts box and found something useful. Up top is the original cap from the 160. Below is a spare cap from a model 600 semi-auto pistol. I think I can use the retaining ring to mate an otherwise homemade bulk-fill adapter to the 160 rifle. The snap ring has been removed.
Pulled the knurled retaining ring off the cap body. The retaining ring is the key piece as the gas tube thread size is the same on the 600 pistols and 160 rifles.

Gonna start by making a plug to seal the gas tube. Cut a piece of 0.750" tool steel. It's about 1.7" long.

Faced the ends down.

Used a Taig parting tool (Taig part number 1173) to cut a groove 0.100" wide. Slow turning speeds and lots of cutting fluid are needed or the edge of the blade will be destroyed almost instantly and need to be resharpened.

Helps to have minimal blade protrusion from the holder. This stiffens the set up. Flex is not advantageous. OK, the groove diameter is 0.600" at the bottom.

Cut a second groove as a back up. Overkill is OK here. There's plenty of room inside the bore of the gas tube and I need the machining practice.

These will hold the o-rings to seal the 160's gas tube.

Test fit of the o-rings.

Need to make the front of the plug small enough so the retaining ring from the 600 fits over it.


Cleaned up the shoulder that the retaining ring will bear on.

Turned down to 0.579".

Another view.

The long end will be the front.

Ring slip fits. Barely.

Pressure testing. One, two... The first cartridge is new. Second, empty.
One

Two

Plug

Almost seated.

Snugging down the retaining ring seals the deal. Cocking and firing the gun pierces the first cartridge. The replacement plug held pressure! The plug was left long to allow enough room for the 1/8" NPT fitting I have yet to make. In the next few days, I'll need to make that fitting, connect it to the plug and make a simple valve that will seal the cap as the paintball tank is removed after filling.

Monday, July 12, 2010

Another Sheridan Blue Streak, Part 2

There’s really no way to make refinishing a stock interesting…

DSCN5755

I sanded the stock down as much as possible without changing the shape radically.

DSCN5757

There were a few chips I couldn’t remove entirely. No biggie. The Sheridan will end up with more dings in the future.

DSCN5765

The forearm sanded.

DSCN5766

Again, I tried to remove the minimum.

DSCN5767

First coat of Tru-Oil.

DSCN5769

For some reason the forends of the Sheridans of that era that I have are all lighter wood than the buttstocks.

DSCN5773

After the oil dries, I smoothed it with steel wool. And repeated the process about 8 times…

DSCN5796

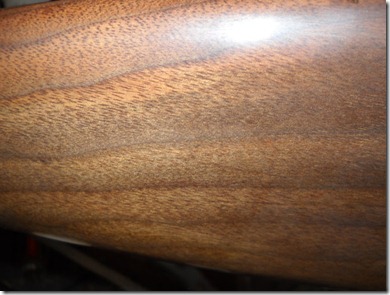
I found it a bit too shiny. The grain is pretty well filled however.

DSCN5798

I decided to knock the shine down by waxing as the final step. Because I’m cheap and lazy I just used some Minwax.

DSCN5759

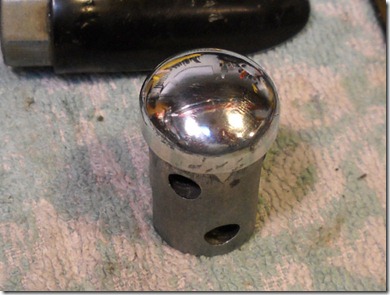
I shined up the plug.

DSCN5762

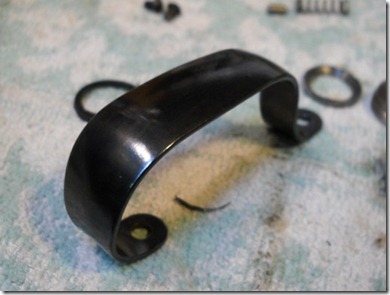
And reblued the trigger guard after removing most of the rust.

DSCN5774

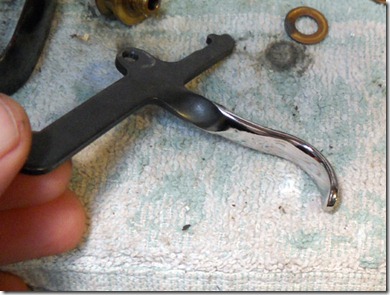
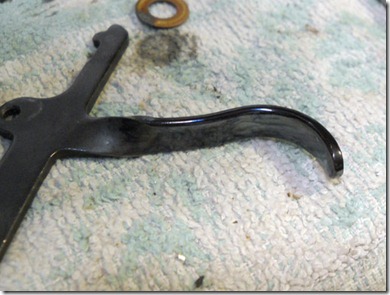
The trigger got the same treatment but I also polished it and smoothed it more.

DSCN5778

The Oxpho blue worked magic on it. Need to polish items more to get a better blue I guess.

DSCN5779

I know, boring, but I’m in awe of how well the blue took.

DSCN5806

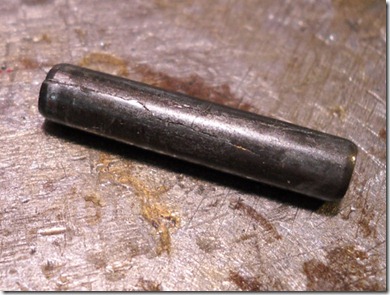
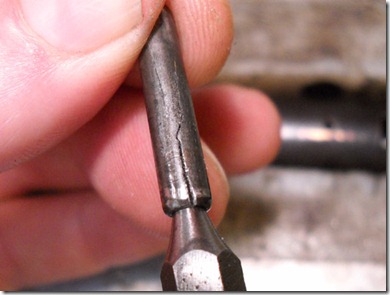
The only issue in reassembly was that the two front roll pins (pivot and plug retention) had stress cracks.

DSCN5807

You can see the crack better here. I replaced the pins.

DSCN5809

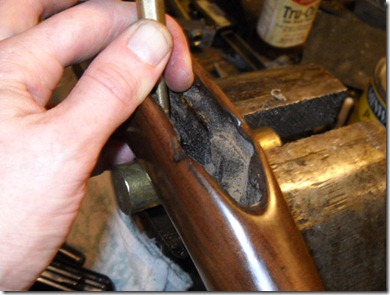
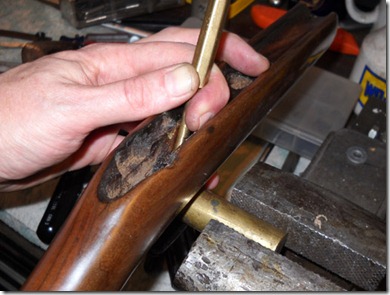
Using a piece of brass rod as an anvil while I spread the split rivet’s tabs to refasten the trigger guard.

DSCN5810

Another view.

DSCN5814

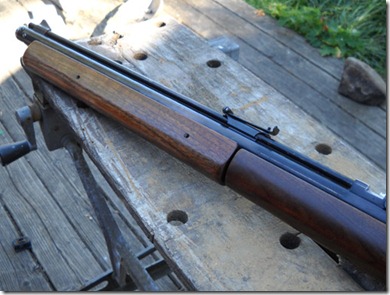
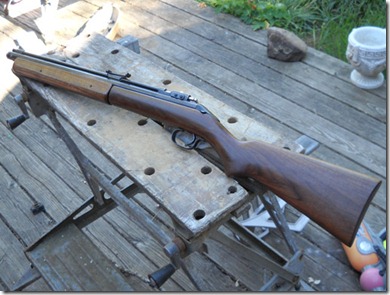
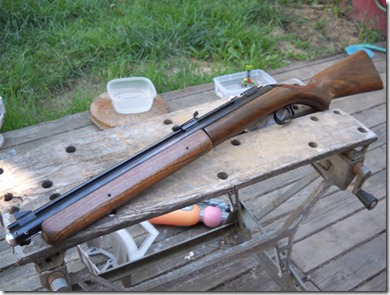
So all done.

DSCN5815

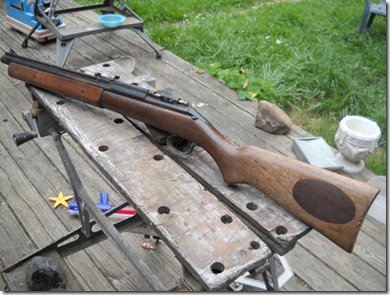
Compare it to the before picture:

07021003

A small improvement.

DSCN5817

I haven’t measured the velocity but it pumps up and sounds as strong as any Sheridan I have (why do I have so many Sheridans?). I’ll shoot it a bit this week.