Bought a friend a super clean Crosman 38T for Christmas. Actually bought it for him almost eleven months ago. That's some crazy early shopping, but you buy them when they show up. Besides, he'll be a ten year old kid all over again. Took it home, gassed it up and it worked just fine. Forward eleven months, Kathy and I are ready to wrap. At the last moment, I decide to gas the gun up and give it to him charged. Yeah, you know it. GAHHHH! Almost violated that "do not give non-functional presents" policy.

Quick tear down. We've covered 38T (and 38C) guns
several times on this tawdry blog.

So, I suppose many of these pics are more for my reference to bring me back up to speed on this model.
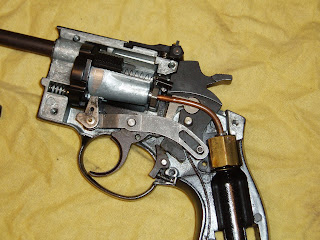
Before gassing up the gun, Fortunately, I'd given the piercing pin a shot of Crosman Pelgun oil before installing the 12 gram CO2 cartridge. Fortunately--because the oil sprayed out at the point of the leak.

The oil pinpointed the leak at the seal between the valve and the copper gas tube.

Removed everything spring loaded that had potential to shoot across the room.

Pulled the cylinder indexing pawl mechanism.

just some additional pics


The red light indicates the location of said leak.

Crosman calls this a "gland seal". Oh kaaay.

The "gland seal" at the opposite end was just as bad. A close look at the gas tube showed that it was in pretty poor condition, too. It looked cracked at the valve end.

The next morning, a trip to
my favorite neighborhood hardware store (remember those?) netted several various pieces of brass and copper tubing. Thanks Carl!

Cut and faced a 2.25" section of the 1/8" diam. copper.

Started to bell one end with a 30 degree point.

Bench block held the tube. A small steel rectangle under the block allowed me to hammer a wider point (60 degree) into the end.
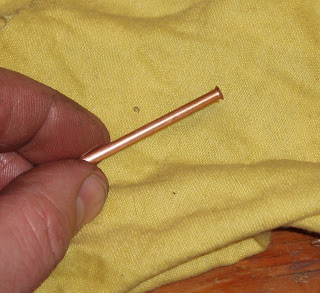
Then, a couple strategic taps with the hammer, one end was finished.

Cut the bad piece in half. It's the only way to remove the nuts and washer.

Installed on the single-flared-end tube.

Then repeated the flaring step. Not having any 30 year old Crosman "gland seals" handy, I opted for o-rings. I think that's an #A007 on the left and #A006 on the right.

Though there wasn't one there originally, it looks like the valve-end nut is cut for an o-ring at the end of the thread. I added an #A011. It sure won't hurt.

Test fitting proved my eyeball method of sizing the copper tube length was a bit shy of the mark.

So, I cut the short tube in half, removed the pieces and made another. Why do it once when you can do it repeatedly until it's right? Anyhow, reassembled the gun, gassed it up and it leaked CO2 even faster than the first time. The leak was at the exact same spot.

A bit of cursing and a night's sleep later, I replaced that #A006 o-ring with a smaller #A005 then put another one between the small washer and the nut.

Like so.

Reassembled yet again, shot a couple CO2 cartridges through to test and it's gassed up and ready for gift wrap.
Merry Christmas everybody!
 Quick tear down. We've covered 38T (and 38C) guns several times on this tawdry blog.
 So, I suppose many of these pics are more for my reference to bring me back up to speed on this model.
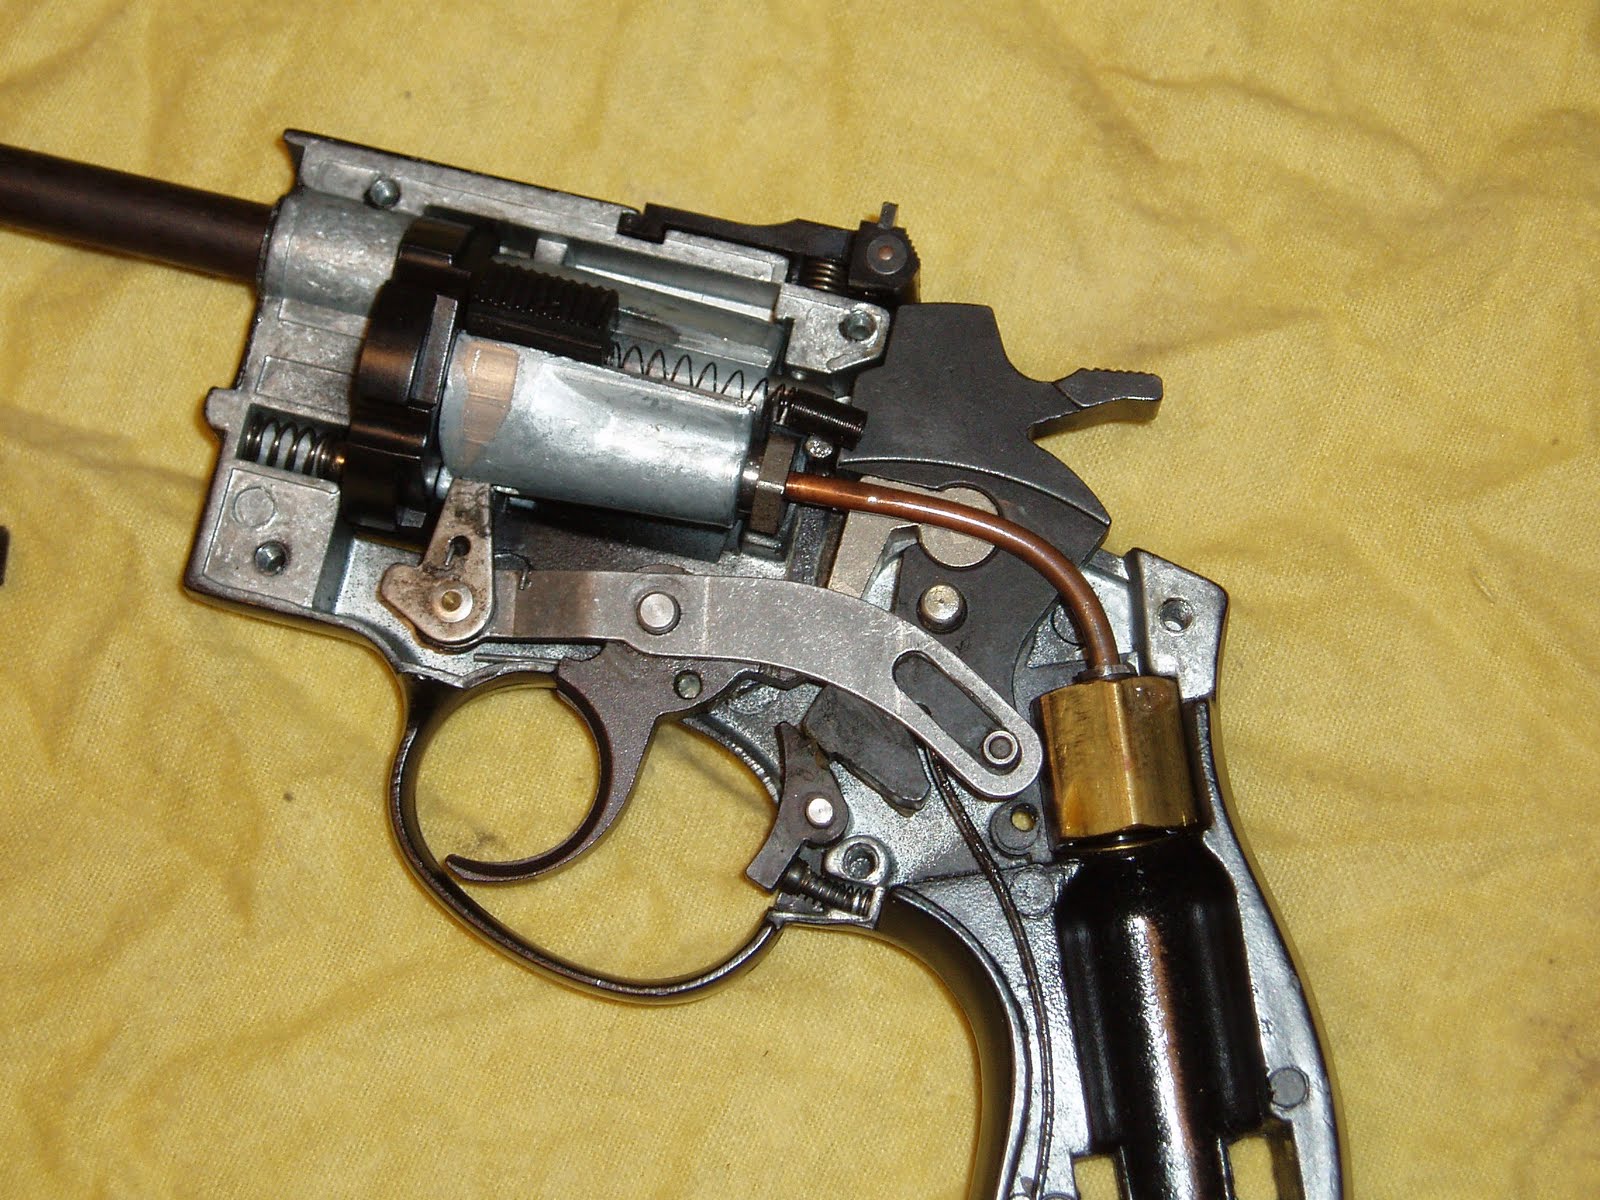 Before gassing up the gun, Fortunately, I'd given the piercing pin a shot of Crosman Pelgun oil before installing the 12 gram CO2 cartridge. Fortunately--because the oil sprayed out at the point of the leak.
 The oil pinpointed the leak at the seal between the valve and the copper gas tube.
 Removed everything spring loaded that had potential to shoot across the room.
 Pulled the cylinder indexing pawl mechanism.
 just some additional pics

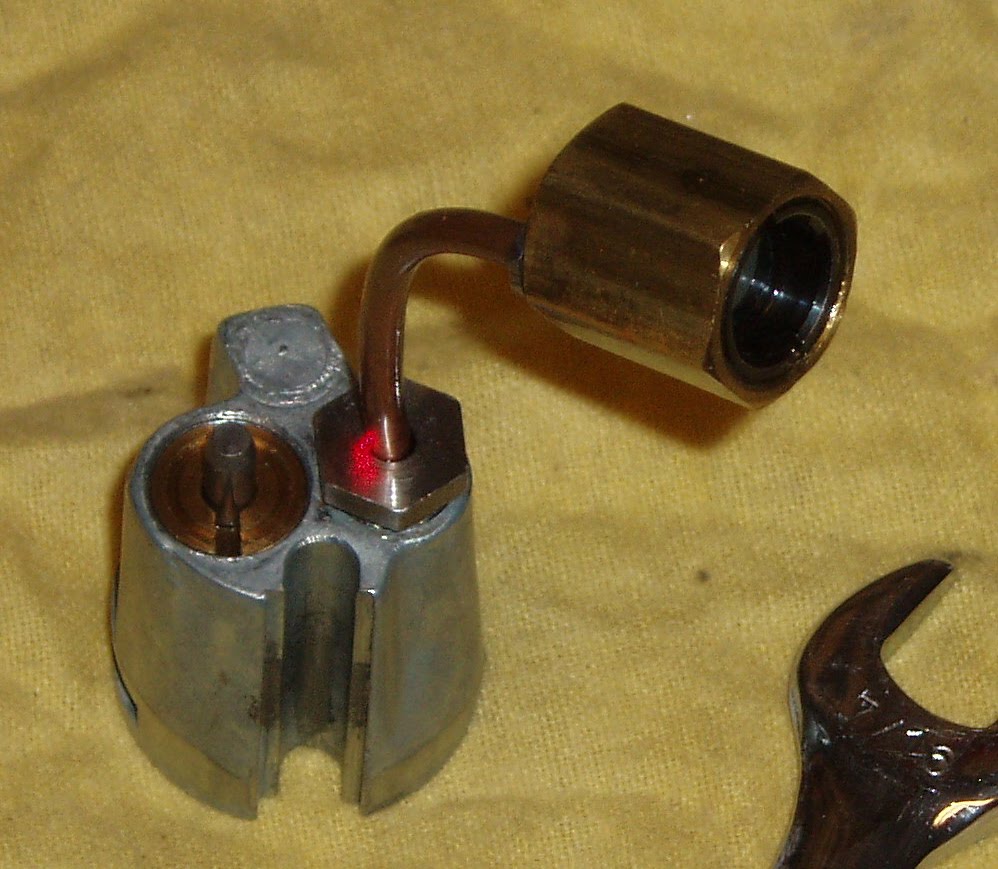 The red light indicates the location of said leak.
 Crosman calls this a "gland seal". Oh kaaay.
 The "gland seal" at the opposite end was just as bad. A close look at the gas tube showed that it was in pretty poor condition, too. It looked cracked at the valve end.
 The next morning, a trip to my favorite neighborhood hardware store (remember those?) netted several various pieces of brass and copper tubing. Thanks Carl!
 Cut and faced a 2.25" section of the 1/8" diam. copper.
 Started to bell one end with a 30 degree point.
 Bench block held the tube. A small steel rectangle under the block allowed me to hammer a wider point (60 degree) into the end.
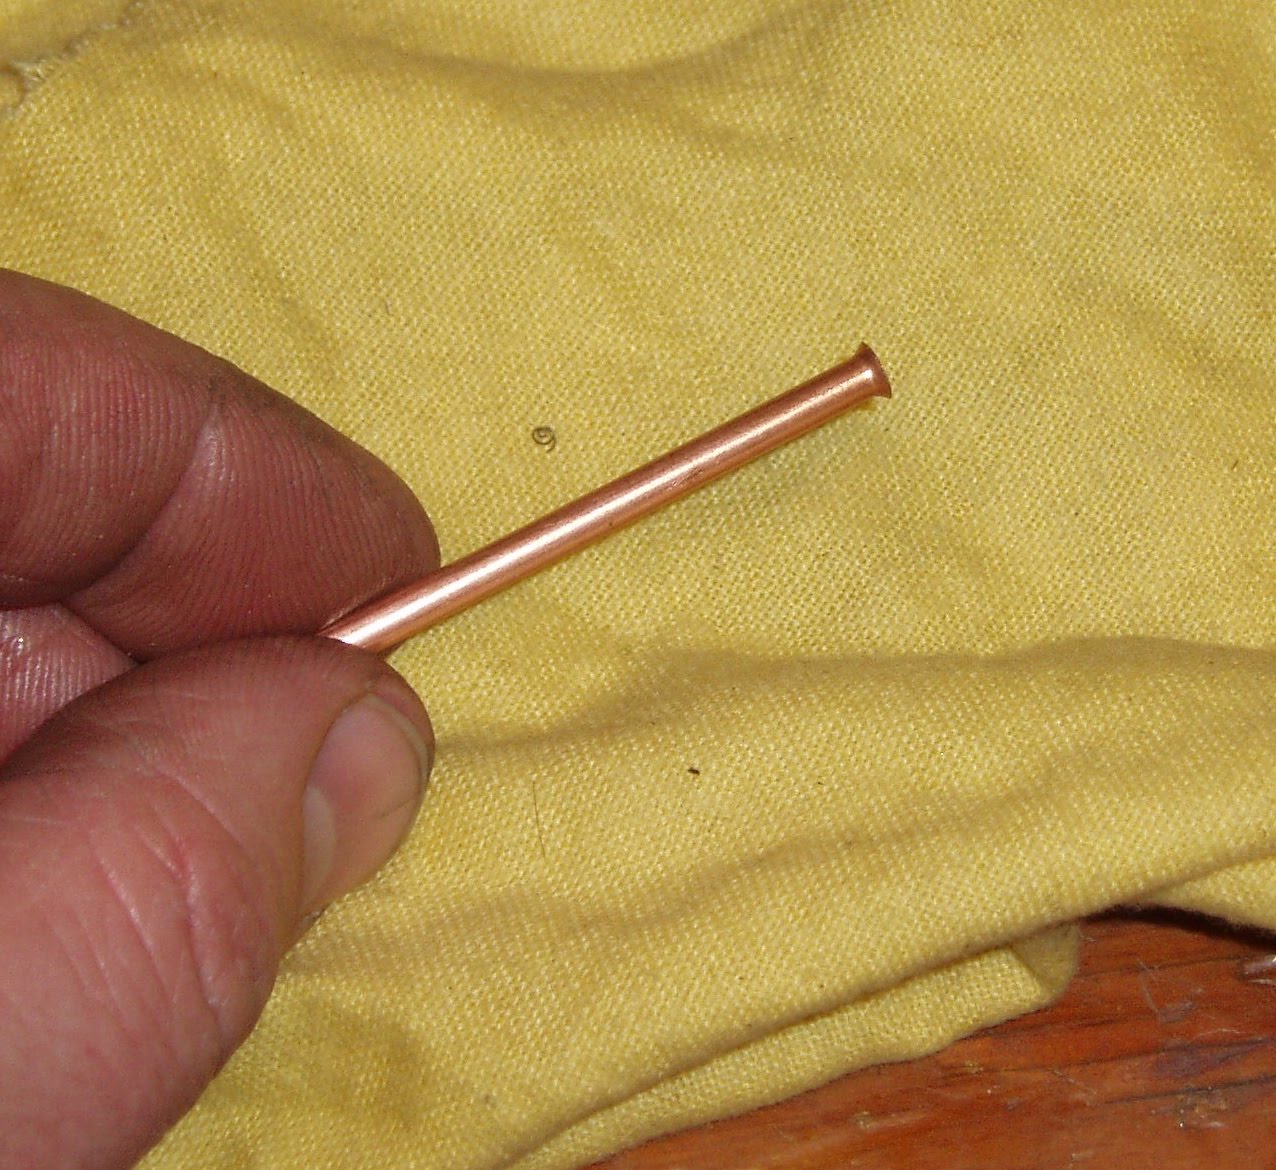 Then, a couple strategic taps with the hammer, one end was finished.
 Cut the bad piece in half. It's the only way to remove the nuts and washer.
 Installed on the single-flared-end tube.
 Then repeated the flaring step. Not having any 30 year old Crosman "gland seals" handy, I opted for o-rings. I think that's an #A007 on the left and #A006 on the right.
 Though there wasn't one there originally, it looks like the valve-end nut is cut for an o-ring at the end of the thread. I added an #A011. It sure won't hurt.
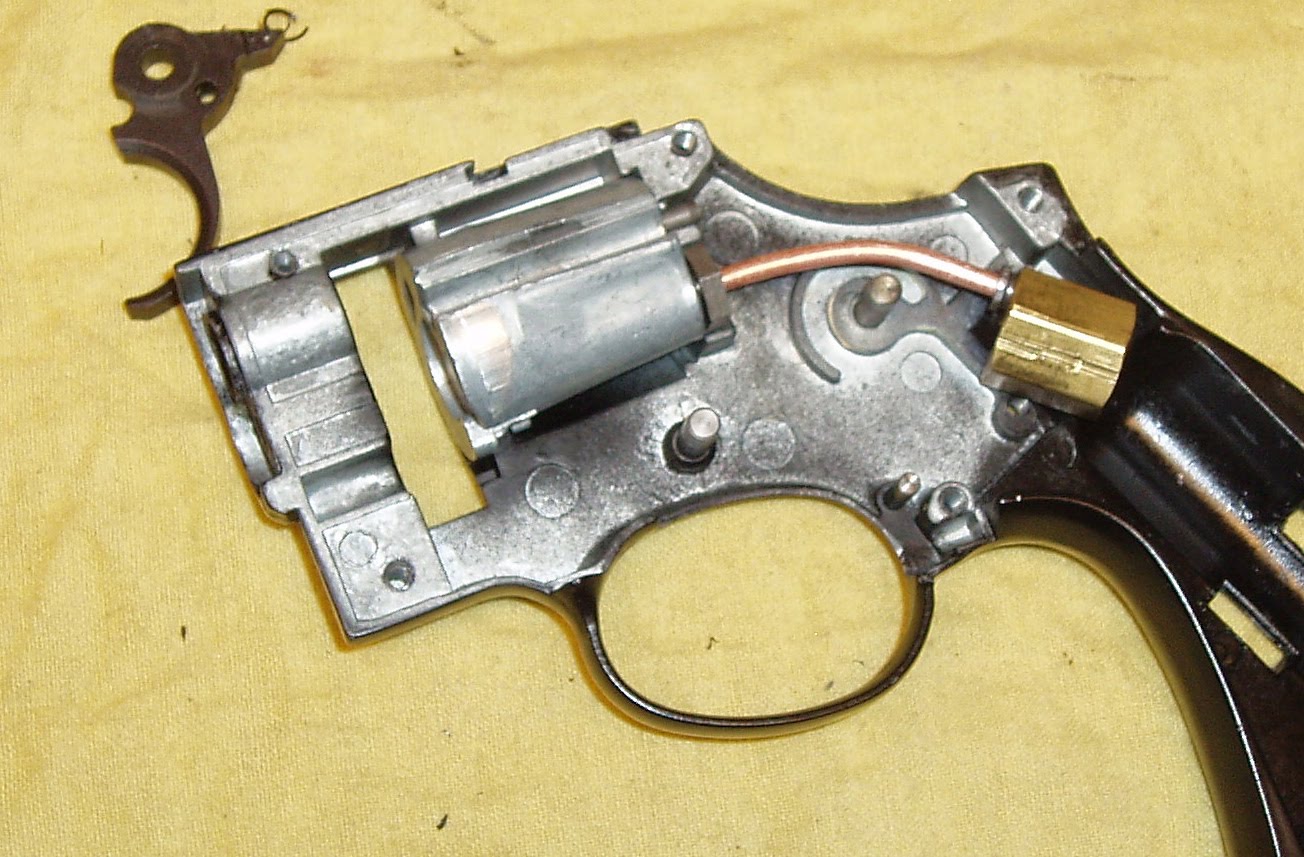 Test fitting proved my eyeball method of sizing the copper tube length was a bit shy of the mark.
 So, I cut the short tube in half, removed the pieces and made another. Why do it once when you can do it repeatedly until it's right? Anyhow, reassembled the gun, gassed it up and it leaked CO2 even faster than the first time. The leak was at the exact same spot.
 A bit of cursing and a night's sleep later, I replaced that #A006 o-ring with a smaller #A005 then put another one between the small washer and the nut.
 Like so.
 Reassembled yet again, shot a couple CO2 cartridges through to test and it's gassed up and ready for gift wrap.
Merry Christmas everybody!
Reassembled yet again, shot a couple CO2 cartridges through to test and it's gassed up and ready for gift wrap.
Merry Christmas everybody!


