Showing posts with label Benjamin Marauder. Show all posts

Thursday, February 27, 2014

Benjamin Marauder Tear Down

I've been watching the Marauder's on-board gauge drop slowly over the course of the last two months.   It was filled to 3k and now it's down to just under 1800 psi.  I was finally suitably annoyed with the gun and found a free evening.


Pulled off the shroud and removed the action from the stock.  Click here if you need shroud/baffle removal tips.


This is a "degassing tool".  It is your friend.


It screws in and presses against the valve stem exhausting the high pressure air.


Don't just trust that the air tube is empty because a gauge reads zero.  I dry fired the gun until it was empty, then used the degassing tool to double check.  Opening a pressure vessel containing a few hundred psi would be a nasty surprise.  Opening a pressure vessel with 3k in it could be life altering.


Unscrewed the fill plug.  Little bit of corrosion on the threads.


Unscrewed the air gauge.


Removed the bolt.


Don't lose the spacer.


Reinstalled to keep track of the parts.


This spring loaded detent bears against and acts as a hold open for the bolt.


Three bolts hold the breech to the air tube.  Two up front.


And one in the back.


Off with the end cap.


Remove the allen bolt from the top of the hammer (striker).


Striker (hammer) removed.  Again, the bolt was threaded back in so I don't lose it.


Pulled the transfer port seal.  Looks like the same seal as the 22XX CO2 guns use.


Removed the three allen bolts securing the valve body in the air tube.


Pushed out the valve and air gauge bodies with a wooden dowel rod.


O-ring on the front of the valve body is damaged.


Valve disassembled.


A spot of discoloration from the base of the spring.  No big deal.  Polished it out.


Valve face is pristine.  Not a trace of corrosion.


Rebuilt the valve with a thin smear of silicone grease.  Got this from a local dive shop.  Not to be confused with a local dive. 
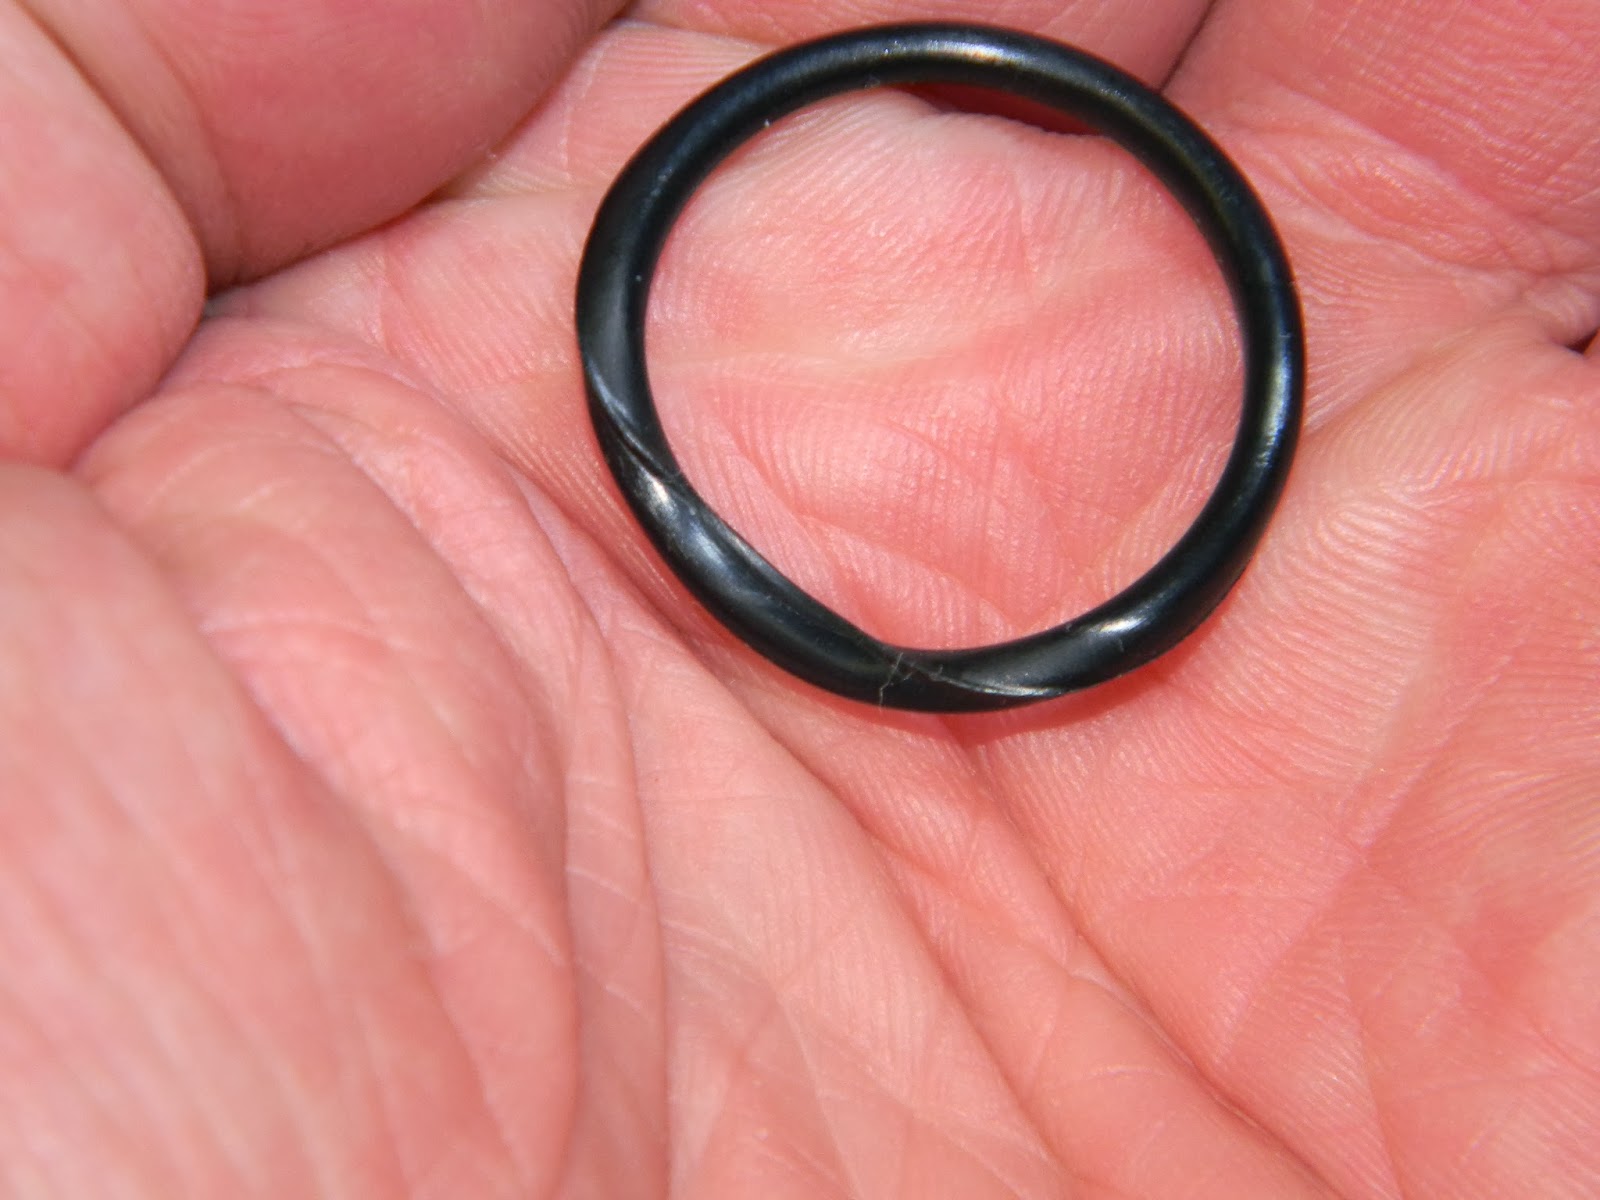


Here's that damaged o-ring from above.  The o-ring from the valve body looks rolled over in one spot.   This is probably responsible for the air leak.


Replaced the o-rings.  I believe they're #118's.


Removed the gauge from the stand off and PTFE taped the threads.


Reinstalled.  Looks aligned with the air tube.


Air valve installed.


Threads cleaned up.


And tightened.  At this point, the air tube is now sealed at each end and can be pressurized.  Filled it to 1000 psi and set it aside for a couple days.


Since it was still holding pressure later in the week, I finished putting it all back together.  

Update:  After completing the reassembly, I filled the gun to 2600 psi where it has remained for the  last two weeks.  I feel pretty confident that it's fixed.

Thanks for checking in.

Thursday, November 5, 2009

Benjamin Marauder Baffle Modification

Several of the first .22 cal Marauder owners had some accuracy problems traced back to the pellets clipping the baffles in the shroud. The early baffles have 0.247" holes--fine for .177 caliber pellets, but a bit on the close side for the .22 cal--unless everything is perfectly concentric. Apparently, Crosman has fixed the potential clearance issue on the new .22 rifles. Many shooters have found that the early .22 cal guns will benefit by opening up the holes in the baffles to about 0.280". This does not seem to increase the gun's discharge noise at all.

I've had no pellet clipping issues with my Benjamin Marauder, nevertheless, as I was going to be away traveling with the rifle, I thought I'd eliminate the possibility. It's such a simple job, I'd recommend it in a second.

As always, step one is make sure the rifle is unloaded. It actually took longer to download the pics than to do the modification.

Remove the fill cap that covers the Foster fitting.

Find a 5/64 allen wrench and loosen the two set screws on the barrel band.

Pull the barrel band off the front.

Unscrew the end cap from the shroud.

Tip the buttstock up in the air and the o-ring and followed by the four baffles will slide right out. (If they don't slide out, it's no big deal--just go to the next step).

Grab the shroud and unscrew it from the breech.

You'll feel some slight resistance from the o-ring on the baffle mounted on the muzzle.

Slide the shroud forward off the front of the gun. If your baffles didn't fall out earlier, use a wooden dowel rod and push them out.

Personally, I doubt that this final baffle could clip the pellets. It's so closely centered on the muzzle and a snug, press-fit, I just don't think that it could be far enough out of alignment to make pellet contact. If you don't want to drill this one out, that's probably just fine.

Appears to be covered in lead dust.

If you want to remove it, a 7/16 open-end wrench placed over the barrel helps to remove it. I gave the wrench a smack from a small dead blow hammer and the cap popped right off.


A lathe, drill press, hand drill, maybe even a tapered reamer, would probably suffice to open the holes. I used the Taig lathe with a 9/32" drill bit in the tail stock.

Each plastic piece took about 10 seconds.


The aluminum end cap took almost 20 seconds.
Reassembly is in the exact reverse: Install the press fit baffle on the muzzle first. Hand pressure alone should seat it. Mine clicked as it bottomed into place. Slide the shroud back over and thread onto the breech. Re-install the baffles. The large open ends face the rear of the gun. Drop in the o-ring and thread the shroud end cap down. Finished.

While I was tinkering, I figured I'd clean the barrel, too. 9/64" allen wrench removes the bolt.


There's a small bushing on the bolt.

Pulls right out the back.

I very carefully pried out the small o-ring that seals the bolt nose. This was a pain as there's minimal working room in the magazine opening.

Cut a piece of brass hobby tube to fit into the bolt hole.

Like so. This will ensure I don't have to clean up JB Non-Embedding Compound from the inside of the bolt channel.

Cleaning rod goes right through. The brass tube is not a press fit. I simply held it in place with my hand as I worked. Patched the barrel clean then cleaned out the o-ring groove with a nylon bristle bore brush followed by the dental pick and a the corner of a cleaning patch. Reinstalled o-ring (more fun) then lubed the ring lightly with a diver's silicone grease and called it good.

Lubed the bolt with a dive grease and reinstalled the allen bolt/bushing. Almost forgot to mention, you can just see the screw on the top rear of the breech. It's got a spring loaded ball on the end that puts pressure on the bolt. Screw it in or out to add or subtract pressure on the bolt. Adjust to your liking.

If you don't feel like messing around with the baffles in your rifle, Crosman will simply send you the new parts if you've got an early model. It should take you about five minutes or less to install them.
