Showing posts with label Haenel 303-Super. Show all posts

Sunday, June 19, 2011

An Accesory Rail for the Haenel 303-Super Part 2

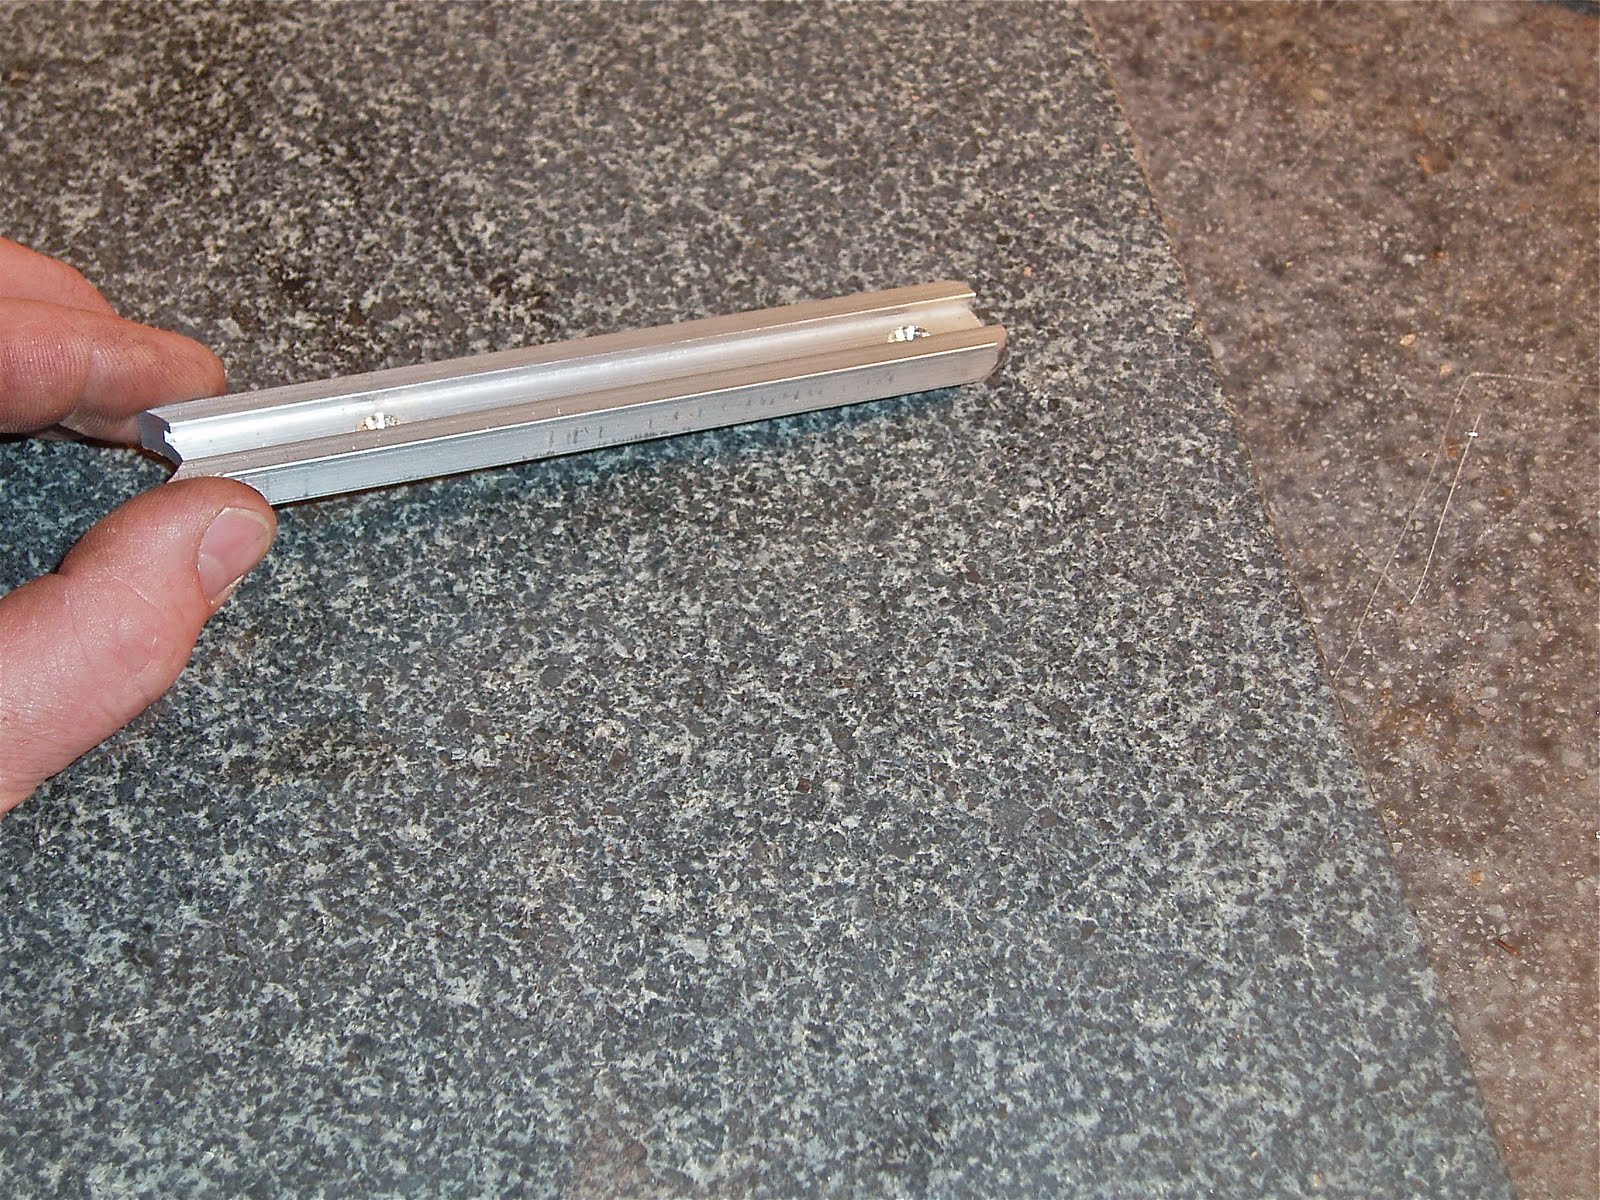
Almost done. The last test fit provided the mounting screw locations for the rail. Scrounged up a couple #8(?) stainless steel wood screws then center punched the rail.

A scrap piece of aluminum channel was used as a backer. This keeps the hole from burring on the bottom of the drilled piece when the bit punches through.

Like so.


No burs. Can see the radii filed into the ends of the rail.

My countersinks were too wide to fit into the top of the channel, so a drill bit was re-pointed to match the taper of the screw heads.


Need to drill the stock.

A transfer punch to mark pilot hole locations.

Just left the rail in place and drilled through.

Screwed down the rear of the rail then drilled the front pilot hole. Took absolutely no chance of the rail walking in the slot.


The visible face of the rail has a few stray scratch marks from the drill press table.

Some 500 grit emery paper wet with WD40 gave a nice satin finish. Cleaned up that half-round forward edge as well.

Before running the screws home a final time, I coated the threads with beeswax.


The wax reduces the torque needed to seat the screws, helps seal the wood and acts as a thread lock.


A few rail accessories. An Anschutz palm rest, an old Uncle Mike's (?) anatomic hand stop, and a basic hand stop/sling swivel.

Too much. Massive overkill for such an otherwise light rifle. Save this for the LG-380. Somebody should clean off his workbench... Wait--that IS clean.

The basic hand stop is about right for this gun. Gives a sling attachment point and a consistent and repeatable hand position.

The rail allows the hand stop to be positioned fore and aft to fit the shooter's preferred location for the offhand.

Probably stick with this one. It's at least a couple decades old. Think it's an Uncle Mike's.

Grab the forend and slide your hand forward until the web of your hand between the thumb and forefinger is against the rear of the hand stop. Doesn't feel quite right? Move the hand stop fore/aft and lock it back down until the balance point suits.

Gotta look around for the next project. Surely, there's something around here that needs some attention.

An Accessory Rail for the Haenel 303-Super Part 1

One of the final things I wanted to undertake with the Haenel 303-Super was inletting and adding an accessory rail under the forend. An accessory rail is basically a T-track and it's handy for attaching slings, hand stops, palm rests, bipods and what-not as shooting aides. Yep, should've considered this when refinishing the stock. But it's not like I have a plan here.

Anyway, I bought a piece of Euro-sized accessory rail from Champion Shooters Supply a while back but was reluctant to do the install. Figured I'd screw up a virtually irreplaceable vintage stock. The slot wouldn't be straight, the edge would tear out, the slot wouldn't be parallel... Or most likely, all of the aforementioned would occur simultaneously. Valid concerns that gave me great pause. Other considerations included what to use to actually cut the slot, as well as how to do the least amount of finish damage to the gun stock. The good news was the Haenel's blocky profile and deep forend provided generous wood depth to work with. The blocky shape proved to be key. Both the sides and top of the stock have zero taper--so those edges could be used as a cutting guide.

Opted to use the drill press instead of a router for some sick reason Made a simple fence to bolt to the drill press table. The cherry base and white oak for the fence were chosen because they were on hand and dead flat. I screwed them together taking care the edges met at 90-degree angles. Two counter bored holes for through bolts lined up with the drill press table slots for positioning.

OK, the plan: The stock will be pressed down against the bed and back against the fence slightly as it's fed into the cutter. Moving the fence on the table lines up the bit to cut a parallel slot. I'll make slightly overlapping parallel slots until I have one large slot of the correct length, width, and depth for the rail. Piece of cake. Hmmmm. Did I mention that the stock is vintage and probably irreplaceable?

Gave the fence a heavy coat of paste wax to hopefully protect the stock from scratches. Found some scrap black walnut and made multiple test slots. Then made some more. It'll take multiple passes to get the width correct. Called it a night and slept on it.

A couple days later, I screwed up my courage, pulled the action from the stock and dusted off the rail.

Traced the rail onto the stock as guidelines. Set the depth. Waxed the fence again.

Switched from a 1/2" router bit to a smaller 1/4" as it worked marginally better during the test cuts. Double checked everything. Pondered, then flipped the switch.

Ran the bit at the highest speed and took my sweet time. Slowly make a pass, stop, readjust the fence to widen the slot slightly, cut, readjust...

Took a while to get the width dead on--and centered.

Dust blown out.

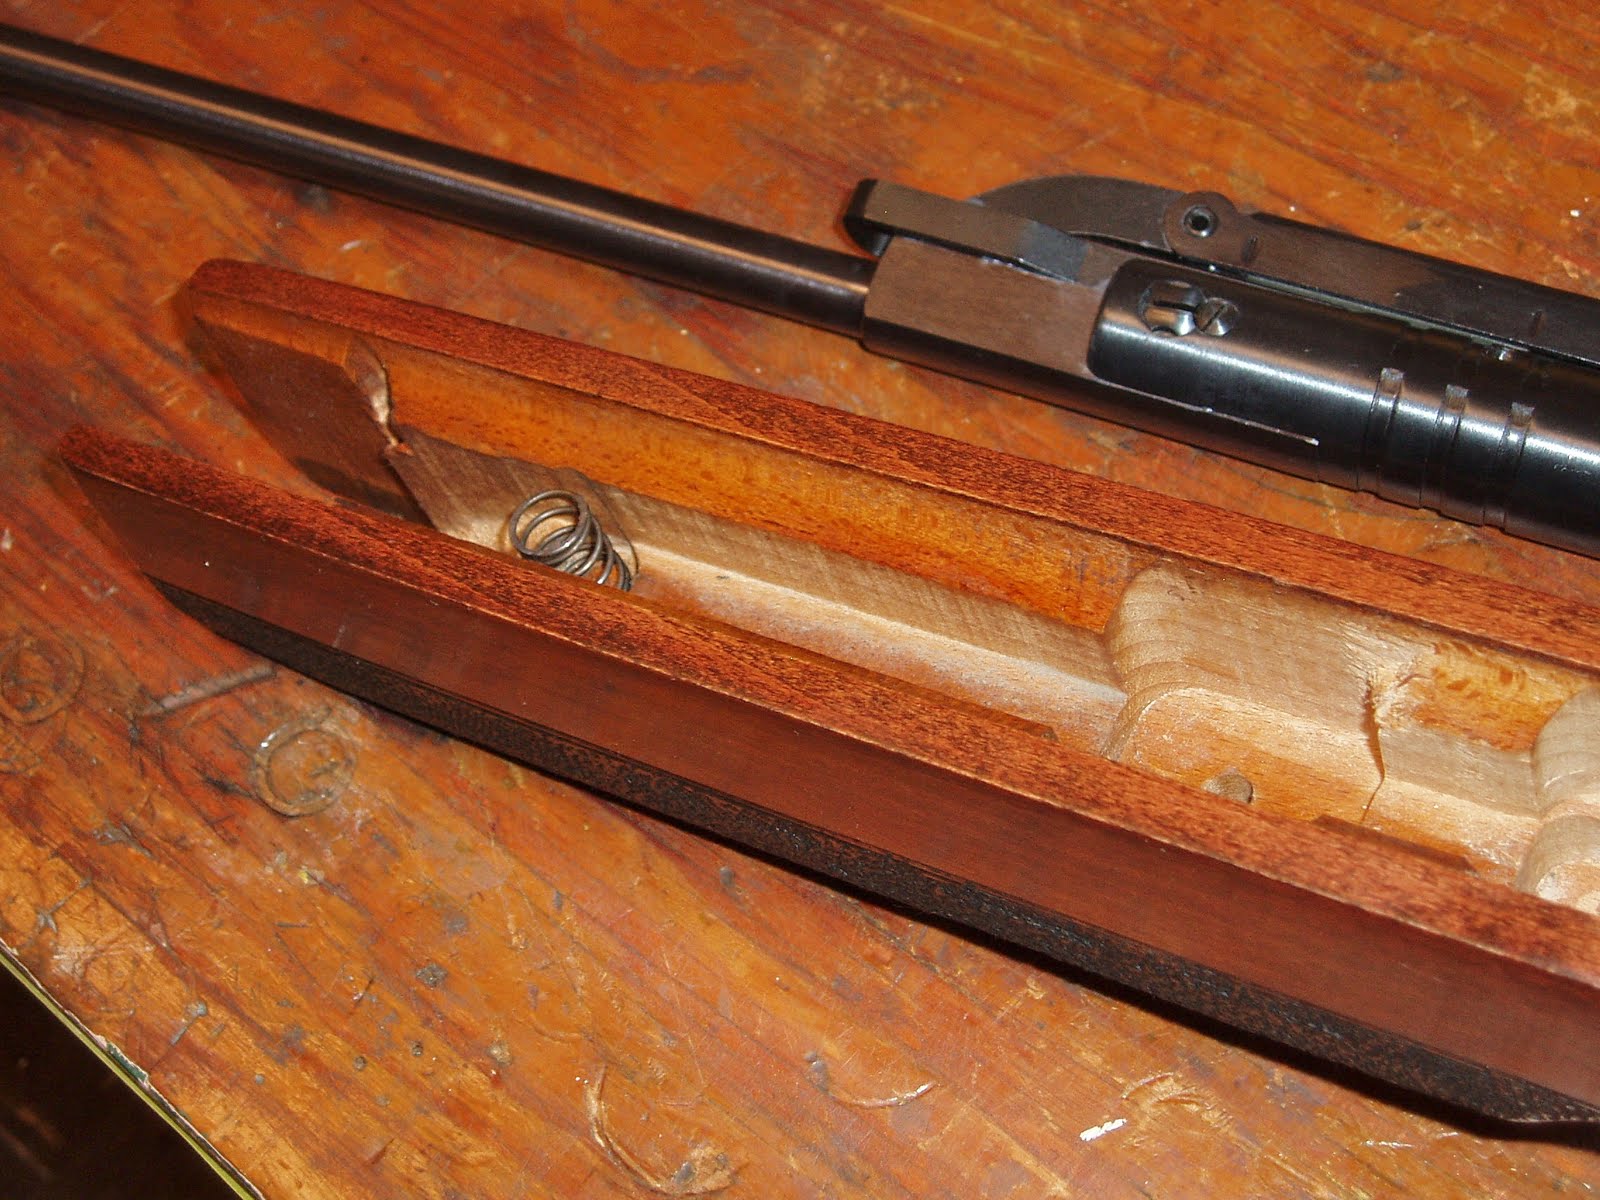
Deep breath for the test fit. The rail went in nice and snug. Not a hint of a gap at any point along the sides. Happily, the stock finish also fared well with zero damage to the sides. A couple small marks on top to repair, but nothing difficult.

Filed the back edge of the rail to fit the rear of the slot.

Cut the front to length and fit with a file. Sort of a half round radius on the front. Want to stain the slot ebony to protect and match the surrounding wood and those two very small scrapes to fix on the top of the stock need some Tru-Oil.

Just need to attach the rail then find some cool accessories.

I'll finish this in a couple days.

Wednesday, April 27, 2011

Haenel 303-Super Picture Addendum and Chrony Numbers

The sun came out today so I thought I'd take advantage and snap a couple better pics of the new
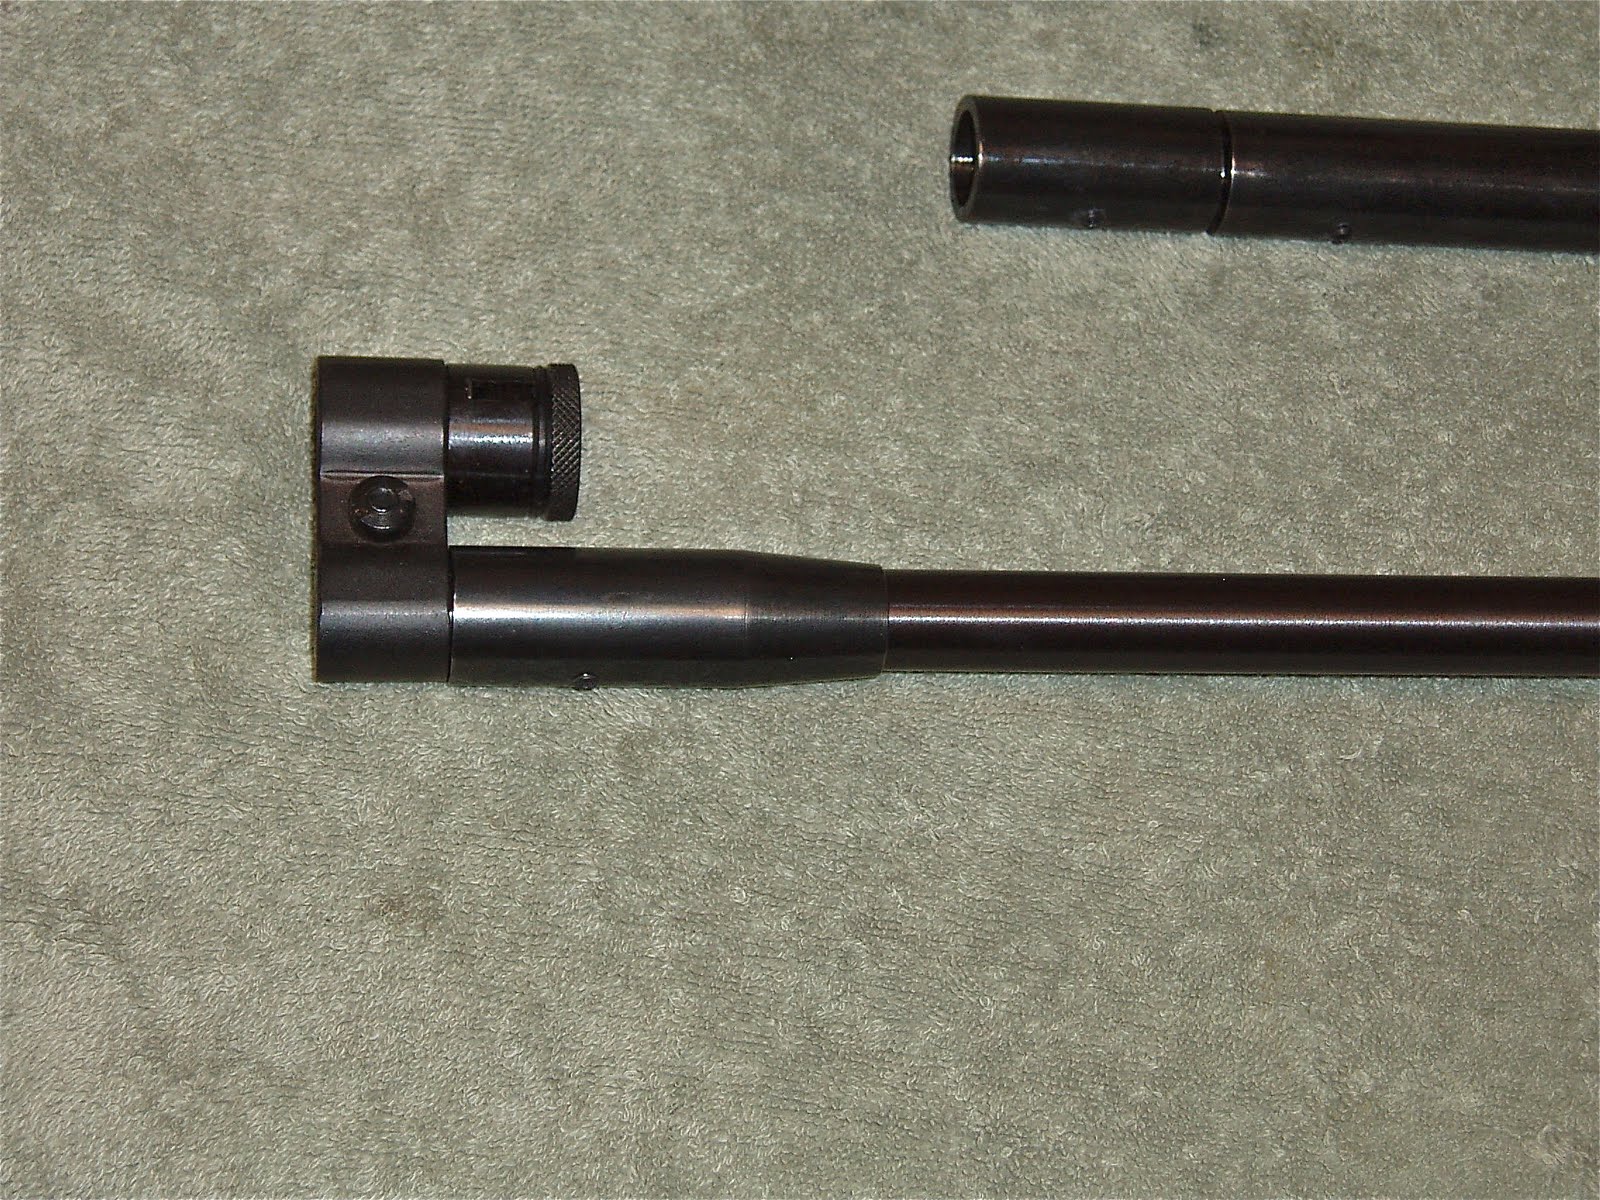
barrel weight.

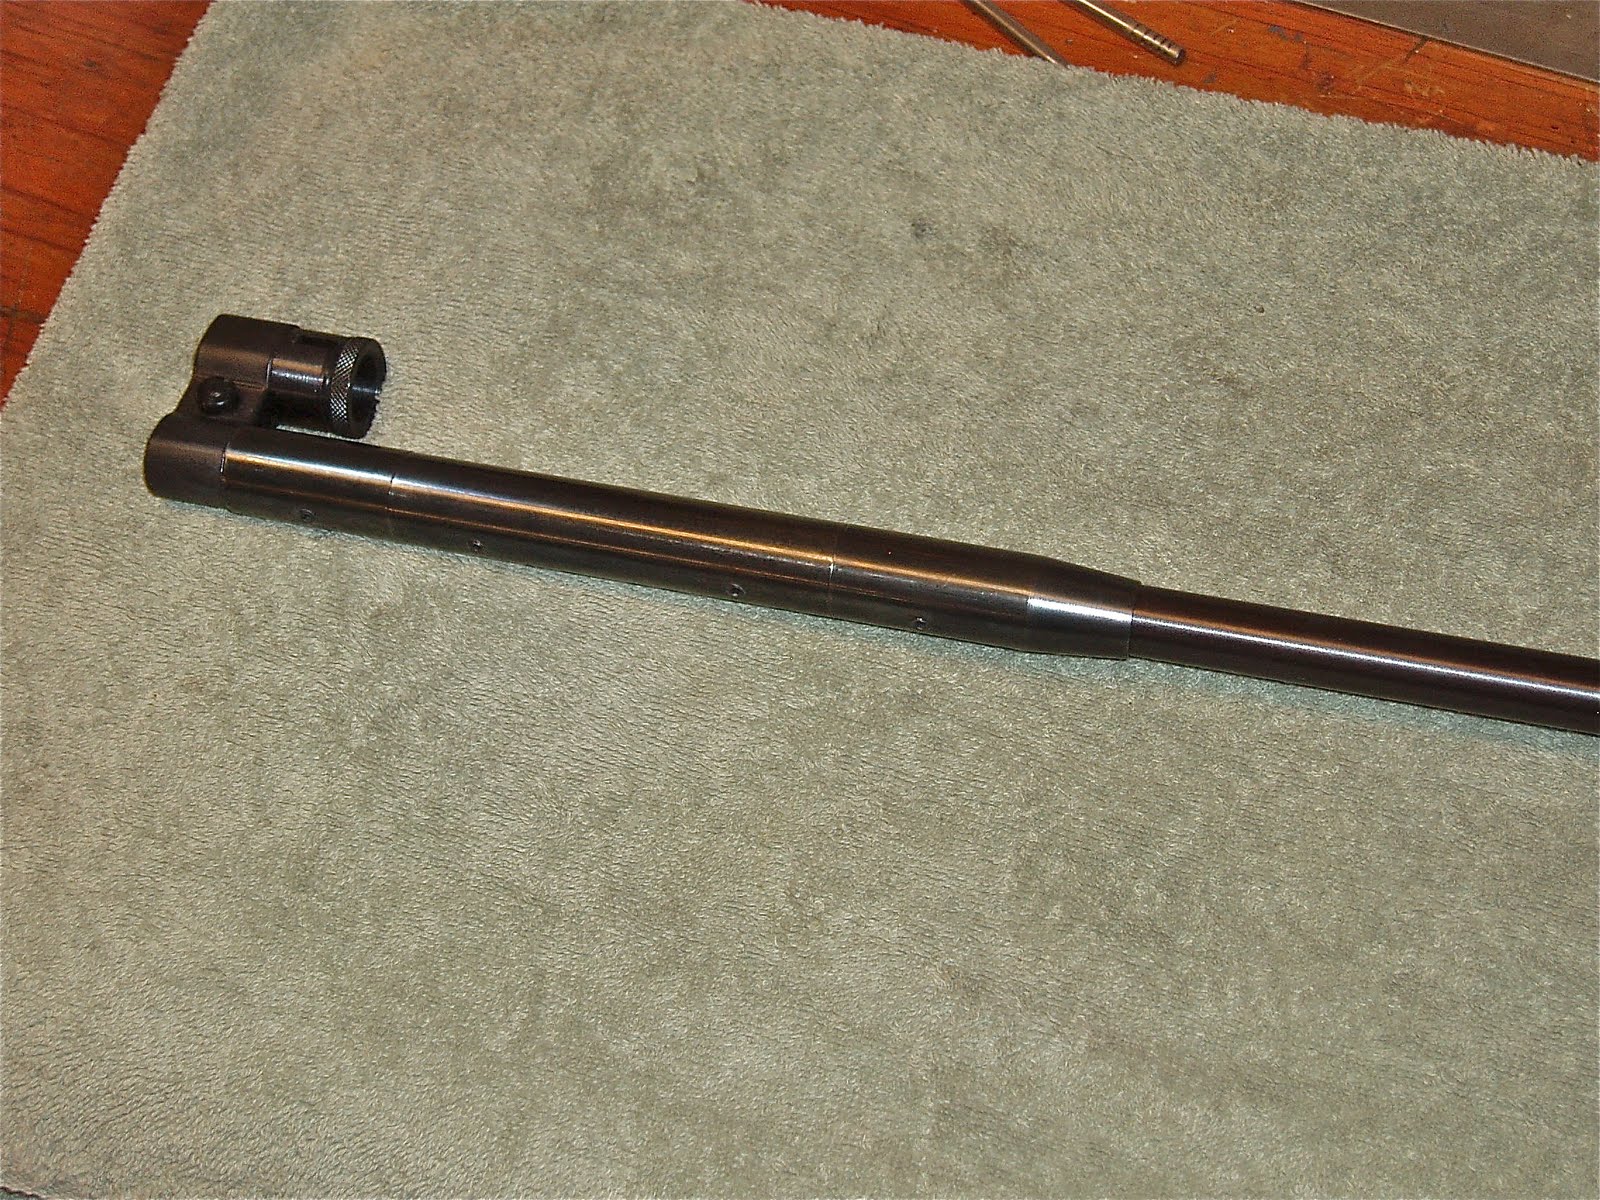
The 3/4" OD tubing was the largest size that would still blend into the front sight band. Didn't want to have to channel the weight for the front sight as this was supposed to be simple.

Here's the 4mm set screws.


Still needs an accessory rail and a hand stop.

Ran the gun over the chrony and it's putting out RWS .177 cal Hobby pellets at an average of 659 fps over a 30 shot string.

The next project will be an aperture for the IZH diopter I found at the Findlay, OH, Toys that Shoot show. Hopefully, just some basic lathe work.

Should have something up in a couple days.

Sunday, April 24, 2011

Haenel 303-Super Reassembly and Muzzle Weight

All set to reassemble the 303 until I noticed the breech seal was dead flat. Might have even been rebated slightly. I don't think that's a particularly good thing for a breech seal. Could have just shimmed it out, but for the time it would have taken me to make a shim, I opted for a new seal instead.

Dug it out, guessed at the correct thickness...

and found a scrap piece of a dead leather sling.

A couple punches on a block of wood,

and we're in business. Hit the seal with some pure silicone oil then started to put the gun back together.

Skipping the boring stuff. Painted the mainspring with a coat of moly.

Even skipped the spring compressor since I knew how little pre-load was involved. Used a deep socket and just leaned into the workbench. The plate and cross-bolt went together easily.

This gun doesn't require the barrel be attached to the compression tube before the mainspring is installed. Moly'ed the daylights out of the pivot joint and barrel latch. Excess will be wiped off.

Pivot bolt snugged up.

Lock bolt installed.

Trigger unit goes up then forward into the tube.

Like so.

Installed the end cap (I ran out of enthusiasm to make a steel cap) started the cross pin, installed the safety lever and drove the cross pin home. It's not a tight fit. It just keeps the trigger group in location.

Had to deepen the spring seat about 1/16" to accommodate the more substantial steel "button" made in the last post.


Button with a bit of moly. The cocking lever sits on top of this button and slides across the face as the rifle is cocked. The spring loaded button pushes the cocking lever upward against the compression tube. Installed all the stock bolts and trigger guard and test fired the gun. Vibration is now virtually non-existent, though the gun still has some recoil. No surprise--it's at least four pounds lighter than a typical 10-meter rifle. Trigger is now in the realm of useable. Feels pretty much like a Rekord at this point. I'm not really interested in making this an eleven pound target beast, but the gun does need some additional muzzle stability.

Ordered a piece of 3/4" OD steel tubing from Speedy Metals. It's a DOM tube--Drawn Over Mandrel--the tolerances are typically tighter and the seam is essentially removed during manufacture.

It's not quite the slip fit over the barrel that I'd hoped for. It has an ID of 0.560" but the barrel measures between 0.555" to 0.562". Gotta open the bore up a tad. I don't have a boring bar 4" long so...

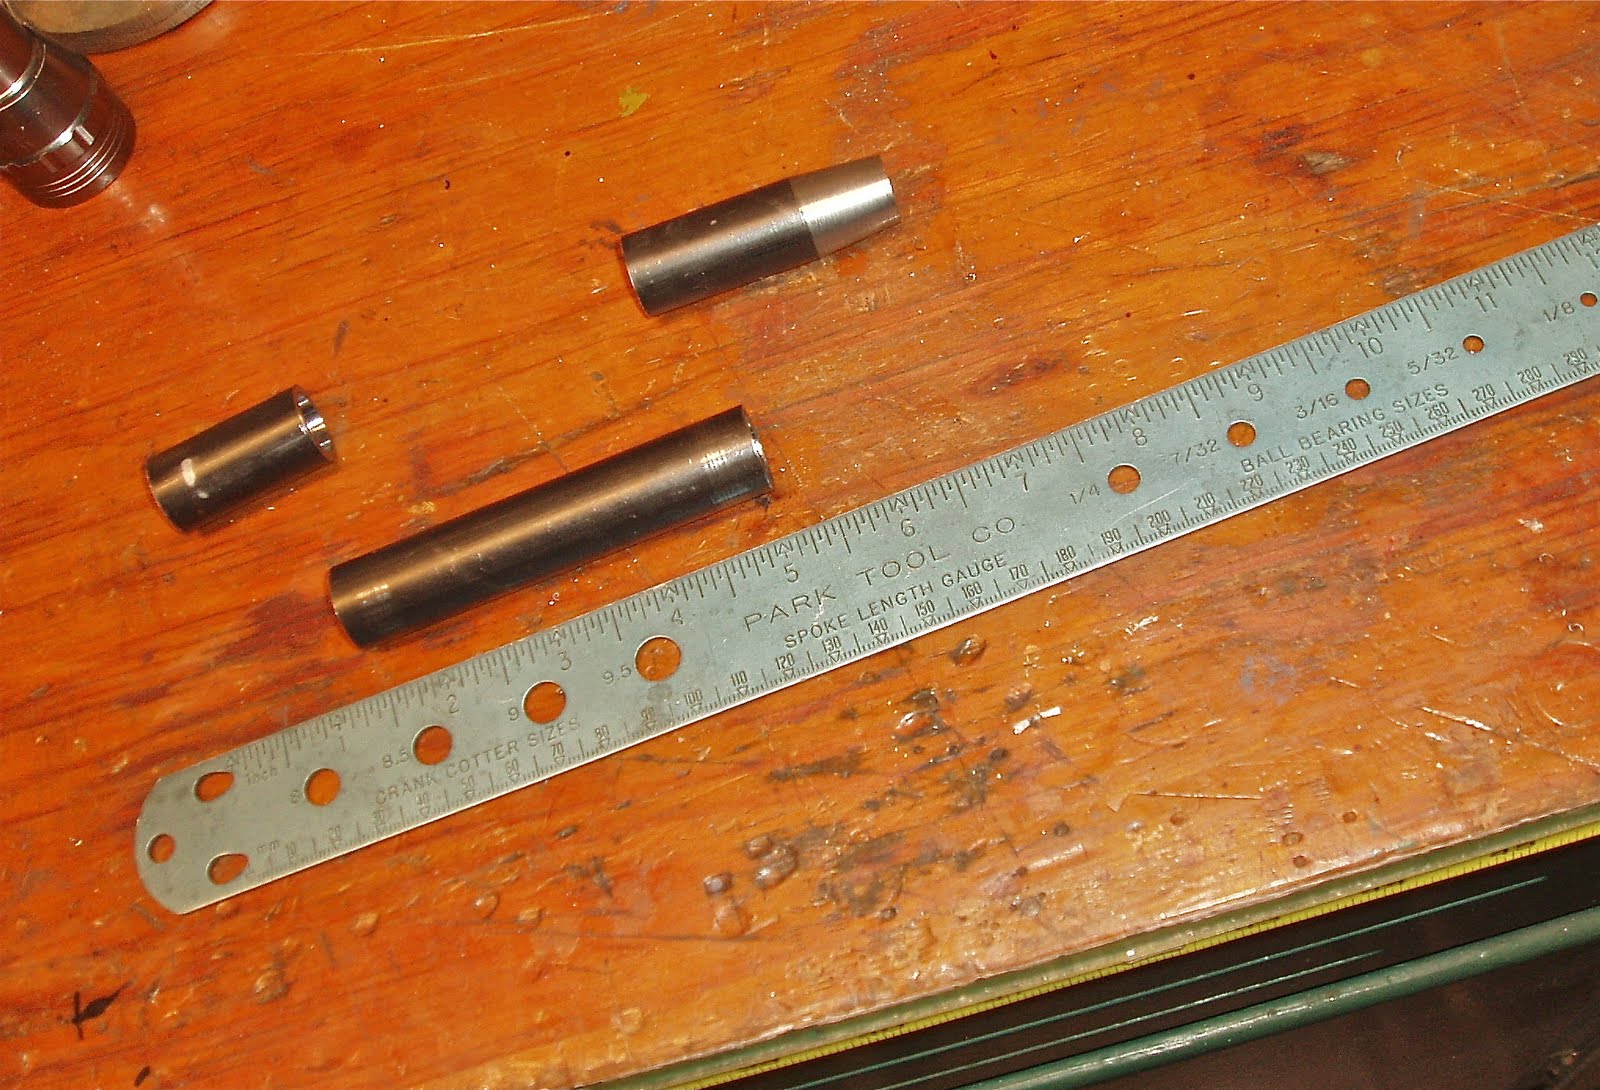
Chopped about 8" of tubing into three random length pieces.

Faced all the ends on the Taig.

Then bored all the pieces out. The longest piece was bored out just beyond half it's OAL, then flipped around in the jaws and finished. The amount of overhang shown here didn't work well.

The steady rest took care of the flex from the tube. Now, the flex from the boring bar was another matter--but it worked.

Two of the three pieces bored to size. Testing involved trying to slide them over the muzzle. Tricky.

The medium length piece was voted most likely to be tapered.

The compound was used on the crosslide to cut the taper. I didn't measure anything--just set an angle that looked good.

Lot of light passes at this stage will cut the final finishing time tremendously.

The three pieces lined up. About seven-and-a-half inches here after-all-the-facing.


Chucked each piece and sanded. Yes, the lathe bed was protected with extra aluminum foil from my hat.

A fine sanding pad followed by 500 grit emery paper worked well.

Need some set screws to attach the weight to the barrel. Luckily, I had just enough M4's--all the gun's fasteners are metric, so I try to stay consistent. A #30 drill bit is pretty close to the tapping size I need.

Centered up a vee block and spotted the pieces with a center drill.

Followed by the #30.

The long piece gets two set screws, so to put them in the same line, I drilled and tapped one hole before drilling the second.


I left the tap still threaded into the first hole sticking up.

By sighting from the side, I rotated the tube until the tap appeared parallel to the drill bit. It's not the perfect solution, but it works well enough for projects like this.

Still trying out the Van's Instant Gun Blue. So far, the "after-rusting" that plagues most of the cold blues hasn't happened. Van's is supremely easy to blend and doesn't wipe right off on an oiled rag the next day. It's possible to really buff the work with steel wool and the bluing stays put. So far, I think it's a winner.

Looks like a close color match. Really trying to make the weight unobtrusive. Want it to look like an original part from the factory.

The, uh, front sight.

Lots-o-options. Like no weights.

Or one weight...

Two weights--option A.

Two weights--option B

Three weights. Heady stuff!

The three combined add just over a quarter pound of additional weight to the muzzle.

Final: Well, sleeving the transfer port took care of the piston hammering into the end of the compression tube. As I was shooting the gun this evening, it was so nice, it was almost easy to forget just how bad it actually was from the factory. It's now very, very close to what I envisioned this old gun to be when I first saw it.

I didn't have time to set up the chrony, so next time it's out, I'll probably throw some velocity numbers in here.

I'm calling it quits on the Haenel for now. I'll probably come back to it in a couple weeks. Entertaining the idea of inletting an accessory rail into the forend. Yeah, the rail is already sitting here, but I want to do some work on the new TF79 from Guy first.

More soon.