Derrick, our Ohio correspondent, sent in pictures and description of his latest project, a Crosman 357. Enjoy!
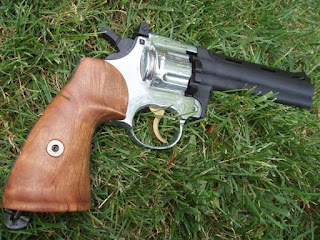
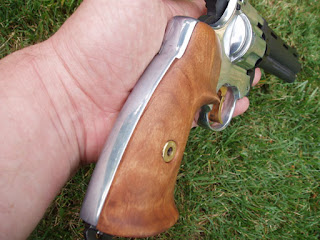
The brass "medallion" is a Winchester 357 magnum case head. I bored out the primer pocket hole slightly and drilled out the flash hole completely to run the 6-32 grip bolt though it. Also turned down the dia. of the bolt head to fit. Buffed out the frame. Got rid of all the nasty casting marks.
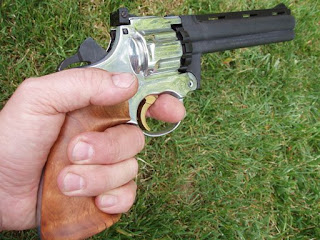
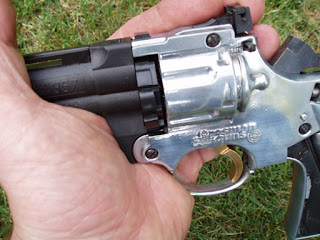
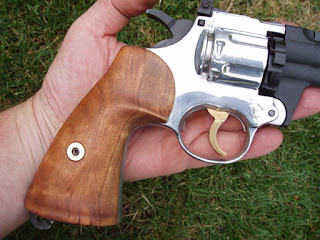
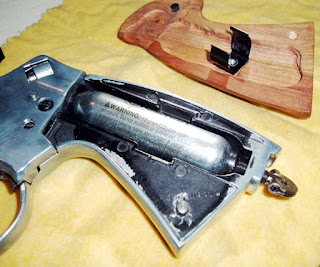
As you know, the 357 left grip clips to co2 cartridge. In it's stock form, it also does a good impression of the Wiggles. I drilled 2 holes in the frame and 2 matching holes in the grip for pins. One pin is glued into the grip, one is glued into the frame.
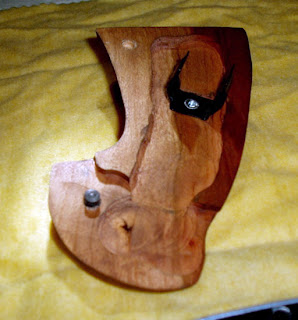
Virtually zero play when connected.
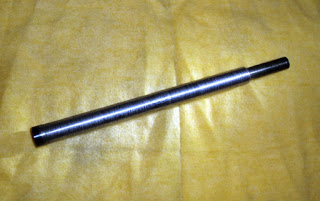
I chopped a section off the spare 1760 barrel and reduced the breech to match the stock 357 bbl. I think I turned it down to something like 0.312". It's a nice, tight press fit into the rear of the shroud. I left about 1/4" of bbl at the muzzle at full 7/16" diameter for added heft. Turned down the middle of the bbl just slightly so I didn't have to bore the shroud full length. The ID of the shroud in the bbl channel is just slightly less than 7/16. I didn't bother to measure it, I just took a hundredth off the bbl or so.
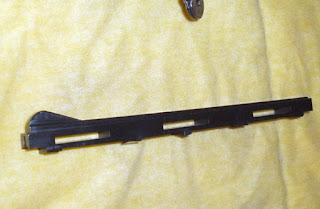
Now the bbl can't fit though the "fingers" of the rib sight. Chop. Off they go.
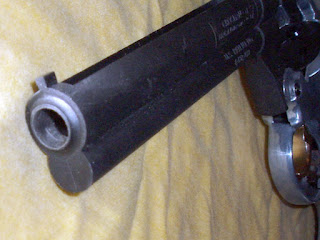
I bored the shroud out to 7/16" rather than reduce the bbl diameter. This is also a zero play press fit to the bbl.
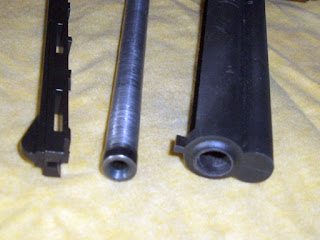
I cut the new bbl approx 1" too long to have material to play with. After reducing 1" or so of the the breech end to 0.312", I cut the pellet lead in. Then I reduced the bbl's middle diameter, then set the cylinder gap. Working forward, I was then able to determine how much--if any--muzzle I wanted coming through the front of the shroud.
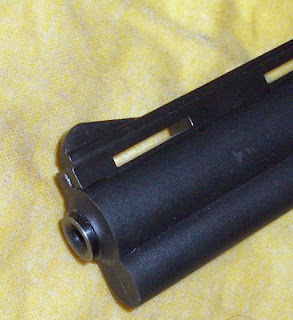
So, here's where I left the muzzle. I initially left it extended, but wasn't happy with the look. I cut it, faced it and recessed the crown, cold blued it, then got out the JB Non-Embedding Compound and cleaned the bbl. The 1760 barrel rifling was substantially more pronounced than what was in the flimsy stock 357 bbl.
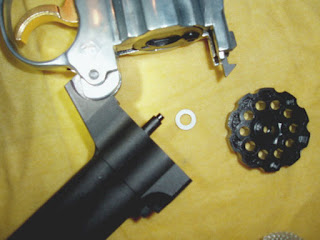
Here's my cylinder washer to fit over the post. Couldn't find a black one. Didn't want to make one. It's the white washer that comes with Uncle Mike's sling studs. It worked perfectly. Thanks Uncle Mike!
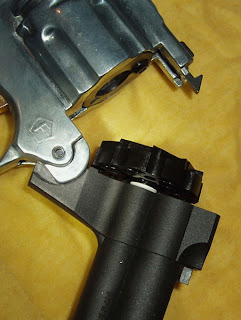
I glued it in place with a dab of Gorilla brand super glue. A little dab'll do ya.
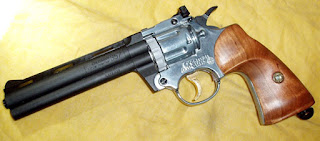
I ended up using epoxy to glue the lead weight into the shroud. I then epoxied the bbl into the shroud in the front and rear press fits. The sight rib is also epoxied (Hey, I had it out) to the shroud.
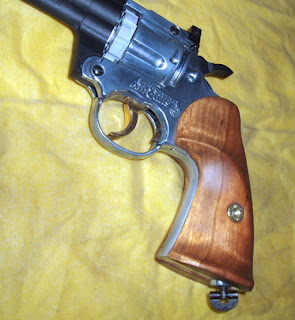
So, I charged it up and the first shot went dead-ass-nuts through the 10 ring on the 10 meter target. I shot several cylinders through it and I think the groups look about half the size there were with the "floating" stock barrel.


