
Rather than just guess where to put the front sling attachment point, I thought I'd use a piece of picatinny rail to allow fore and aft adjustment. An $8 Magpul MOE synthetic rail looked like it would be an almost exact match to the IZH's polymer stock. The fact that it came with threaded backing plates made the choice even easier.

With the stock removed, I fiddled around with where to mount it. Bottom of the stock or left side?

Bottom of the forend won. Barely. A couple pencil marks on the seam showed where to drill.

Drilled the holes.

This is where is gets tricky. There's no easy, direct access for the threaded bosses. They'll have to be fished into location and held while I try to catch the thread of each bolt. Those bolts Magpul included in the rail kit are non-starters for this installation. The factory applied thread locking compound will make it impossible to spin the bolt fast enough to advance it through the thread. It'd stick and just spin the backing plate inside the stock. A couple #10-24 SHCS without any thread goop were used instead. To get the backing plates into the stock, I superglued each plate to a bicycle spoke. The Zip Kicker makes the glue dry instantly.

Here's where I wanted to pull my hair out. The only access to the interior of the forend is through the trigger inletting. This was just an exercise in patience and dexterity. Honestly, it was awful. The boss had to be lined up with the hole, the bolt pushed through the rail and stock, then rotated to catch the first thread without moving everything out of position. Twice.

Eventually, I got to here. Bolts are tight and the rail nicely centered.

Doves flew up into the sky and a beam of sunshine lit my workbench.
Then the light went out because I still needed a rear attachment point.

Thought maybe (yeah, right) a conventional screw stud would work.

Centered up and drilled.

And it's hollow, too. So, no screw stud. Wouldn't be enough thread contact.

The only access to the interior of the buttstock, at least at the heel, is through this 8mm (about 5/16") hole.

I went through my "weird" fasteners and found a couple of these. Don't know if I'd call it a t-nut or just a threaded boss? This has an M5 x 0.8mm metric thread. It's probably from a bicycle road brake pad.

Shaved the thread down in height slightly until it would push through the 8mm hole. Then I rattled it around until I could pull it into position and get a bolt to catch the thread. For some reason, this was easier than the spoke fishing. Probably had everything to do with the interior shape of the stock funneling the insert down to the hole. After I caught a couple threads, a few drops of superglue were used to temporarily anchor the insert...

So I can make a sling swivel stud with an M5 threaded shank. This was starting to not look like a simple project. Piece of .375"diameter O-1 tool steel went into a collet and square block.

Found center.

Spotted and through drilled for the sling swivel hole.

Mic'd across the flats of an Uncle Mike's brand stud as a reference number. 0.312"

Chucked a 1/2" end mill, then set a stop so the piece can be relocated in the vise accurately. The piece is starting at 0.375" diameter. I need to take about 0.032" off each side to make the flats 0.312" apart.
Math: (0.375 - 0.312) / 2 = 0.0315" per side.

Touched off, zeroed the depth readout, then slowly milled downward...

Until the readout showed 0.032".

Turned the piece over and repeated the procedure.


0.3115" Close enough.

I'd left extra stock so there would be something to chuck in the lathe. Turned down the end...
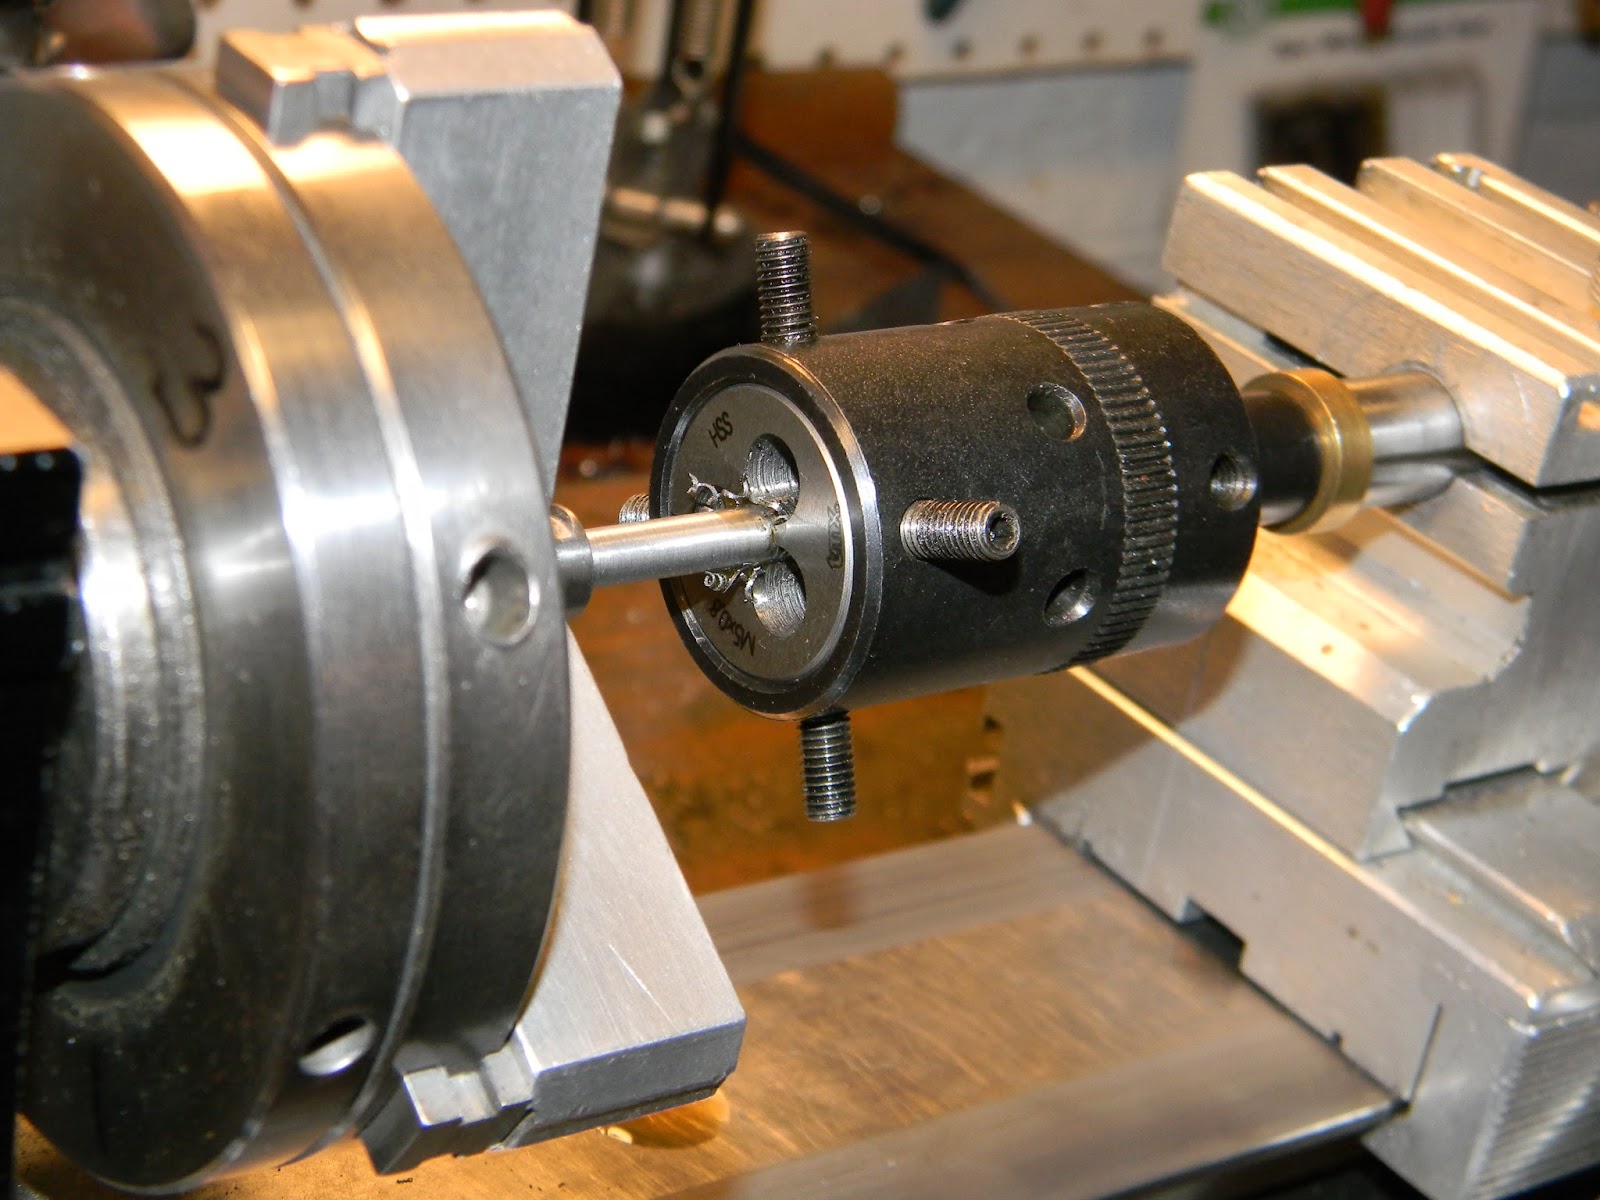
And threaded M5 x .8mm.

Trimmed off the excess thread and squared up.

Flipped the piece around. Faced and beveled the top.

Blued and installed. Got lucky and it aligned when it was tightened. Otherwise, it would've needed a shim washer.


Put the action back into the stock and mounted up a sling. No gaps between the rail and forend. Aesthetically, these projects are considered a success if they look like I had nothing to do with them.


Google "hasty sling" if you need better instructions, but essentially you wrap the sling around your offhand bicep and create tension to better steady the rifle. (Note: This doesn't work well with slings attached to the barrel of break barrel air rifles--it will actually overcome the barrel detent and break the barrel open.)


The gun is substantially more stable offhand when using a hasty sling. If I had to do this installation again, I'd think hard about using rivnuts--either aluminum or the ones specifically for plastic installation.
Thanks for reading.


