Where was I? Oh, yes. Finishing the longest IZH 53M rebuild in recent history. I'll put a post together to show what I've been distracted on soon.

With the new end cap essentially shaped, I needed a way to both secure the cap to the compression tube and fix the spring guide in place. Did some layout and marked the location of the 6mm retaining pin hole from the gun. Centered in a v-block.

Through drilled.

Tapped M4 x .7mm.
Finished by hand.
Obviously, the M4 thread size is smaller in diameter than the factory 6mm end cap retaining pin. The plan is to recess the M4 bolt and put the load path into the head of the fastener rather than into the threading. Looking at various tools on hand and options, it made the most sense to resize the M4 screw heads slightly. First, though, I needed to make a quick holder. Cut and faced a scrap of 0.500" diam. aluminum rod.
Then spotted and drilled.
And tapped M4 to hold the bolts for machining.
Turned the M4 bolt heads down slightly to 0.245". This only removed a couple thousandths.
Next, I opened up the retaining pin hole in the compression tube to 0.250" Considering the hole was already 6mm, this is only an increase to about 6.35mm. Not much.
Test fit. Holes line up and the cap is bottomed against the tube. Almost there.
As it sits now, the shear force from the spring pressure will load the M4 threads.
Need to counterbore the cap on each side for the heads.
Used the compression tube as a guide. Some v-blocks and step clamps to hold it in location.
Had to make a bottoming drill bit first, but it worked.
Another test fit. Note how much deeper the head sits now.
Cleaning up the end of the cap.
Beveled the edge. Nothing fancy.
A few coats of Van's Cold Blue. This is hands down the very best cold blue I've ever used. Found a suitable rotation washer for the end of the mainspring to bear.
Goes like so.
Final test fit.
Almost no protrusion. Looks clean.
Cleaned up the cocking slot with a deburring tool. Took a couple seconds.
And then put moly grease on all the moving stuff.
Reassembly is just a reversal of
Part 1.
A transfer punch worked as a slave pin to hold the cocking link together as I seated the pin.
Before installing the spring and endcap, the rear sight had to be slid onto the dovetails. I have a couple other sights that I may try on the pistol in the future. Each are a bit more substantial, but neither has a notch wide enough for a pistol and will need modification.
My first replacement spring candidate didn't make the final cut. Too stiff. Too hard to cock. Too much stress on the synthetic breech. Found another spring just like the original in my giant spring box.
Pressed the cap into place and secured the screws on each side.
Reinstalled the action into the grip frame.
Much better firing characteristics. Considering how devoid the gun was of lube, the moly alone probably made a big difference. The spring guide will doubtless add life to the mainspring.

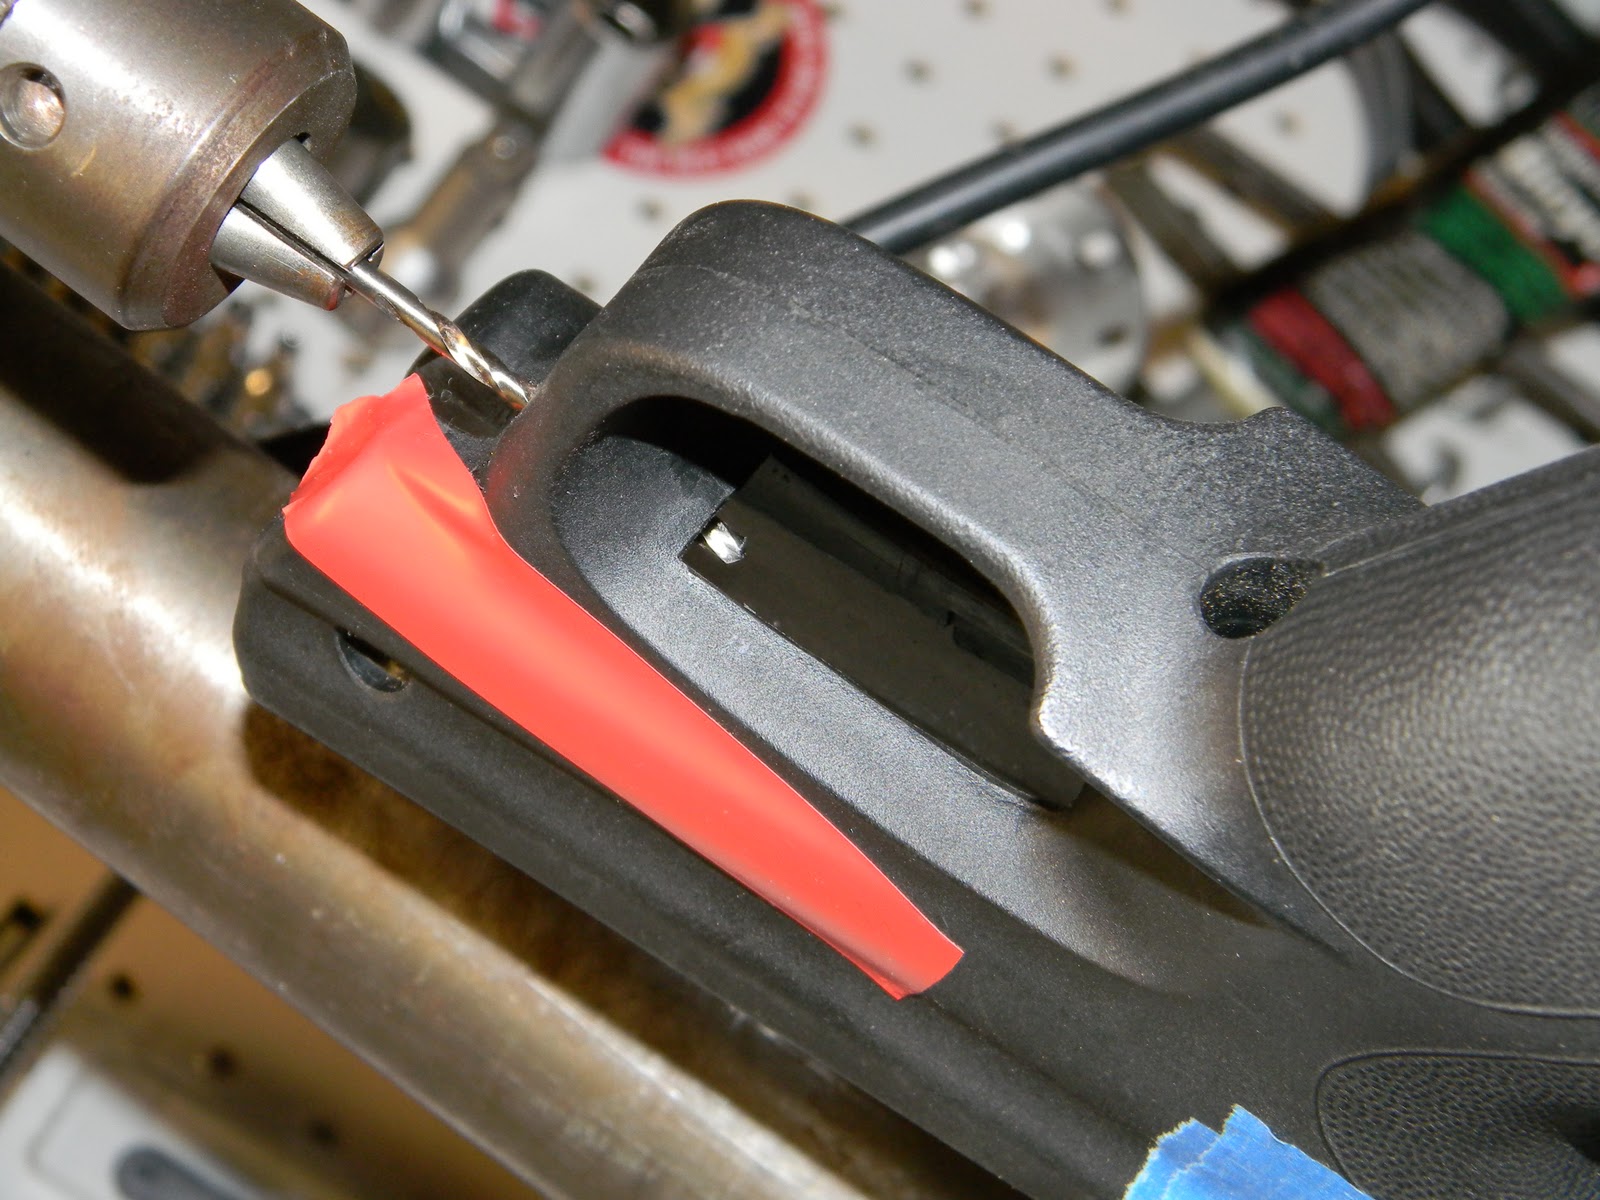
You can just see the unreachable trigger adjustment screw. Think I need to drill an access hole in the grip frame.
More soon.