Showing posts with label Rienecker. Show all posts

Sunday, May 29, 2011

Copy of Anthony Rienecker's Pro-Top Part 2 Final

I'm back at it here and almost done with the valve front.

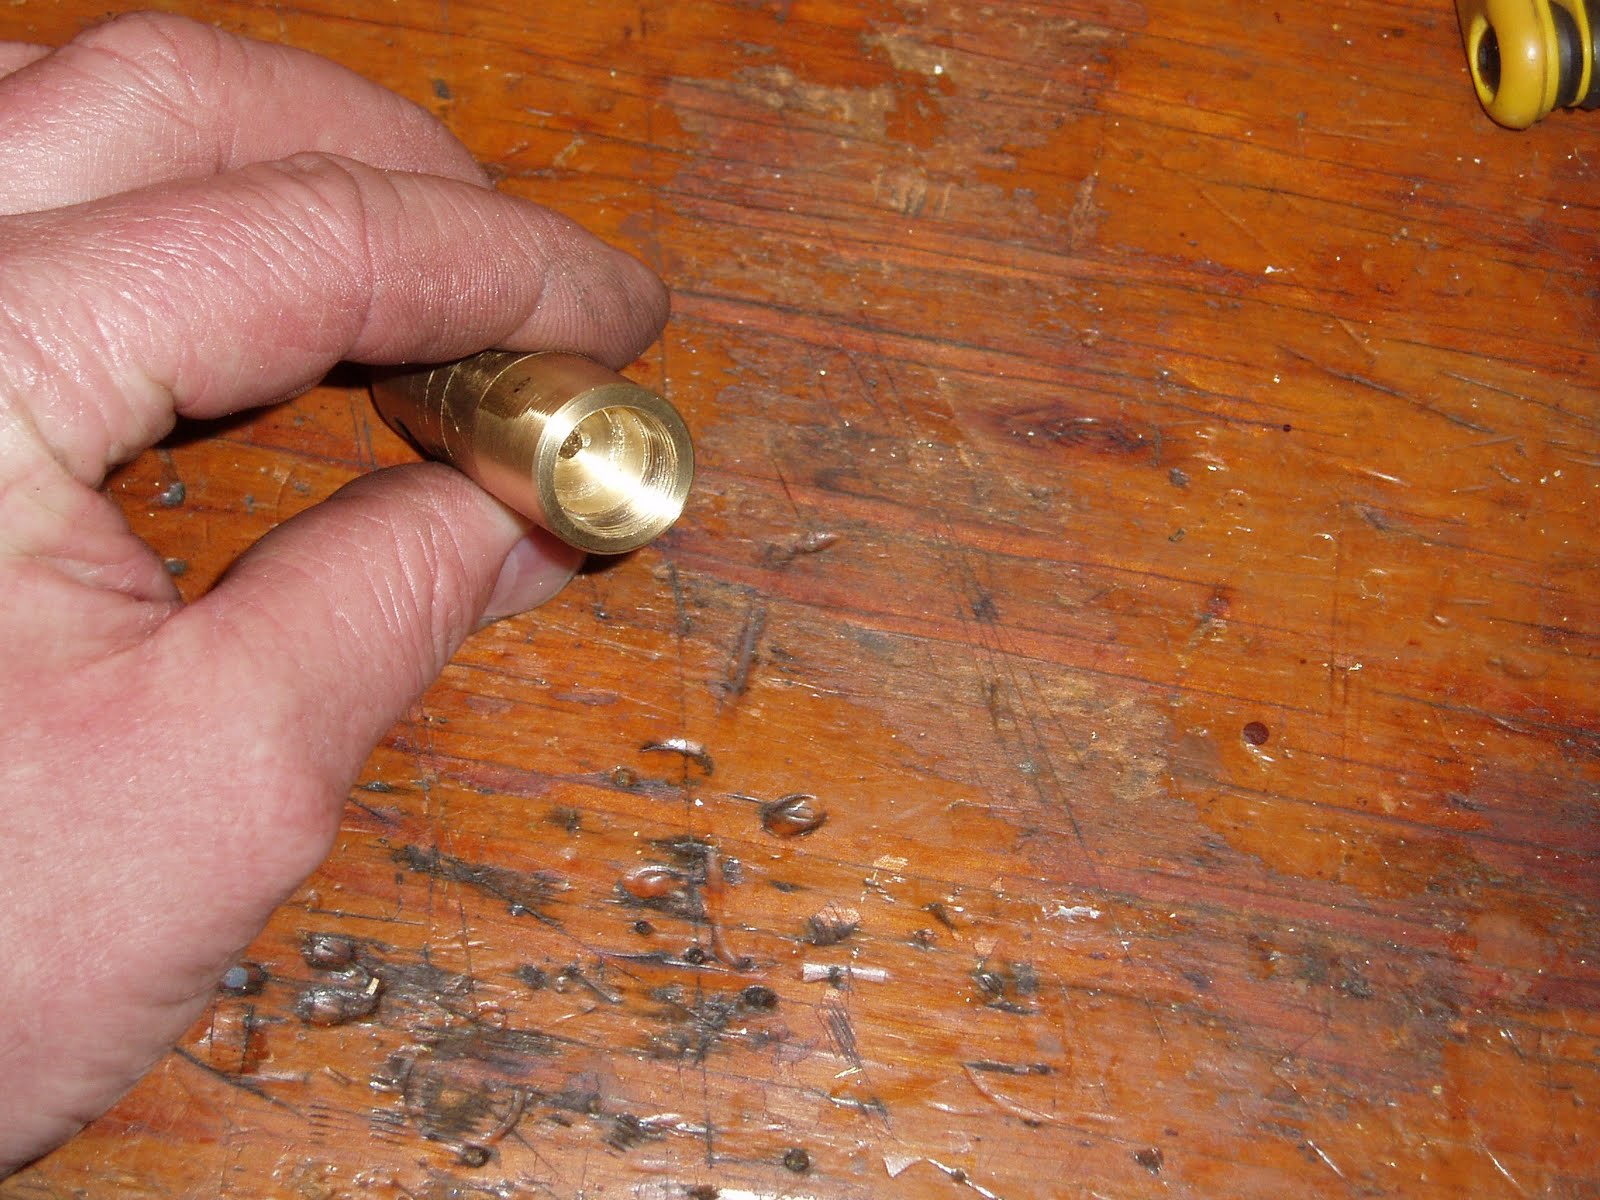
Drilled a seat for the valve spring.

Finished it with a flat ground drill bit.

Here's the guts of the project. Elected to use a brass mesh filter screen washer like some of the old Crosman guns.

After assembling the valve, I scribed a witness mark across the halves. This lets me disassemble and reassemble repeatedly to the same location. Why is this important? Because I'm only going to notch the valve body for clearance on the front grip frame screw. Rienecker solves the problem nicely with a relief groove.

Excuse the marks on the body. Got the gun used and that's what I found inside. Strap wrenches, rubber or leather-lined vise jaws, nah. Slip-joint pliers or pipe wrench! (sigh)

Installed the valve in a 2240 gas tube. Dropped in a 12g cartridge and screwed the endcap down. All the way. Bottomed. No go.

It doesn't go any further.

Missed it by that much. The cartridge is literally a few thou from piercing. Well, pretty close for all the guestimating. Failed to account for the valve setting backward in the gas tube due to the sloppy head fit of the 6-40 mounting bolt and forgot about the CO2 cartridge seal stretching before piercing. On the plus side, it's easier to fix this than if the valve front was too long...
I reinstalled the same cartridge tightened the cap then smacked it with my palm. The cartridge pierced. It was that close, but that's not enough wiggle room for different cartridge brands, lot variances, wear, etc.

Easy fix. Add a spacer to the gas tube cap.

Found a scrap of W-1 drill rod.


Turned down one end to press fit into the inside of the cap.


Squeezed it together in the vise. The maple block prevents marring the end cap. I was gonna use the pipe wrench, but then...

Way too much spacer. Only need a few hundredths.

Chopped most of it off with a hacksaw.

Then faced it down. (Opted for a press fit as I didn't want the possibility of dropping the spacer outside in the weeds during a hasty cartridge change.)

Done.

Last item--Need some space to screw the front grip frame bolt into the tube. The front of the valve needs to be relieved a bit (how much depends on the screw length). I marked the spot with a sharpie.

A center cutting end mill in the drill press made the notch.


With the added spacer, the cap has 100% thread contact and plenty of adjustment range for all the 12g cartridges out there.

I'm on the fence about posting velocity numbers and shot counts. Largely because they aren't going to necessarily represent Rienecker's production Pro-Top and I don't want to take anything away from his idea. He was kind enough to humor me to (badly and sort of ) copy his work and write this up as I saw fit. Honestly, I was impressed that he even returned my email. After working with this design for a couple weeks now, it seems that this should be the Crosman 22XX valve standard rather than the piercing pin design they currently use. The only single advantage the stock valve has is that it's self-piercing by virtue of the striker firing the pin into the cartridge. I look at Rienecker's modification and see a tuning tool. It increases valve volume, and can support less striker spring force if you want a higher shot count. Conversely, you can also use a heavier striker spring and not have constriction from the pin. The benefits are there for both low powered shooters wishing to get a few more consistent shots as well as for the power mongers looking for a few more fps. I just don't see any real downsides.

Anthony Rienecker can be contacted here for additional information about his Pro-Top valve:
amriensr@yahoo.com

Saturday, May 21, 2011

Attempting to copy Anthony Rienecker's Pro-Top Part 1

A couple months ago, I saw an ad in the Yellow Airgun classifieds for a "Pro-Top"--a modification to the front half of a Crosman 22XX valve that does away with the standard piercing needle. The Pro-Top was conceptualized by Anthony Rienecker as a way to get rid of the piercing needle on the valve stem thereby improving CO2 gas flow. I found his design to be fascinating in it's straightforward solution. Some of his original design ideas can be found here. Crosman's valve design jams the needle into the CO2 cartridge when the stem is hit by the striker. The needle can--and does--restrict the gas flow by plugging the hole in the cartridge momentarily. Anthony's idea was to change the front half of the valve and use the old-style 38T type piercing design. This design gets rid of the piercing needle that compromises gas flow. The same 38T valve parts are still used today in Crosman's 357. It's ingenious. If you've read this blog for any length of time, it's obvious that I'm not a power hound when it comes to airguns--but I am a sucker for a nice design. I was going to buy one, but since I had most of the parts on hand and I'm an inveterate hack, I really wanted to make one for myself even more. Make no mistake, it wasn't about the cost of a Pro-Top. At $26 shipped, they're an absolute steal. I wanted to try to make one and see what Anthony went through to make his design work. I contacted Anthony about two weeks ago via email to get his thoughts about this blog post. I ended up calling him a day later and we spent an easy hour talking about his design and it's origins. Surprisingly, he's a regular reader of this tawdry blog and encouraged me to give it a shot. I can tell you unequivocally that I wish he lived next door. He's a genuinely good guy. If you want to buy a Pro-Top, simply contact him at amriensr@yahoo.com and he'll take care of the details.

Here we go--Hey, remember, this copy is not going to be an exact duplication of Anthony's work. I'm making a one-off based on his idea and design. His is the real deal that has gone through prototypes, testing and improvements.

Here's the spare 2240--yes, another gun from the Findlay, OH airgun show. Also scrounged up an extra 22XX valve and some brass rod

End seal on the stock valve. This one is pretty trashed. Got it used and the previous owner really overtightened the cap.

There's that piercing needle. Pressing the stem against the bench simulates the striker hitting the stem. That needle can restrict gas flow--especially when using a heavier hammer spring in an attempt to gain velocity.

Here's what I've been referring to as the 38T style piercing pieces. I have a slightly different threaded collar than what Rienecker uses.

Unscrewed the stock valve. Just trying to conceptualize how I'm going to proceed.

Cut off a 1.5" long piece of brass. Faced the ends and turned the end down.


Threaded 9/16-18 to fit the Crosman body.


Couldn't cut the full thread in the small lathe, so I transferred the work to the vise and chucked the die into a handle.

Threaded.

With a parting tool, I cut a groove for the valve body o-ring

Test fit.

Chamfered the end of the thread.

For concentricity, I threaded the piece into the (gutted) Crosman valve body and snugged it down. Took a very light skim cut to remove any runout between the halves.

Looked too long, so I used the parting tool again.


Spotted the front of the valve with a center drill.

Selected a #30 bit for the through hole.

After through drilling, I started an 11/32" hole then progressively enlarged it...

Until I finished the hole to 0.500" with a tiny boring bar. The 38T piercing pin and seal sit in the bottom this counterbore.

Had to make a quick run to Kromhard Twist Drill for an oddball 9/16-28 bottoming tap. The tap ran me $18.50 or so out the door at the good guy price. Vaughn at Kromhard is still waiting for the day when I just need a "normal" 1/4-20 plug tap. Don't hold your breath, Vaughn.

Only tapped the front half of the hole for the retaining collar.

More to come...