Monday, February 3, 2025

#4-48 Breech Screws for Crosman

Just a quick post tonight.

The other day, I was taking apart a Crosman 2240 pistol and I thought the stupid tiny #4-48 breech screw should be replaced.  I went to my spare parts and found I was down to two.  Used to buy these screws right from Crosman, but with the Daisy/GAMO buyout, I think that option is now gone.

With all the Crosman CO2 guns around here, figured I'd better come up with a new source.


Let's face it,  #4-48 just isn't a common fastener size.  Crosman was essentially forced to use such a fine thread due to the thin gas tube wall thickness.  To make it even harder to source, Crosman spec'd a low profile head--pretty much guaranteeing that this is a custom fastener.  These just don't exist at the local hardware store/home center.


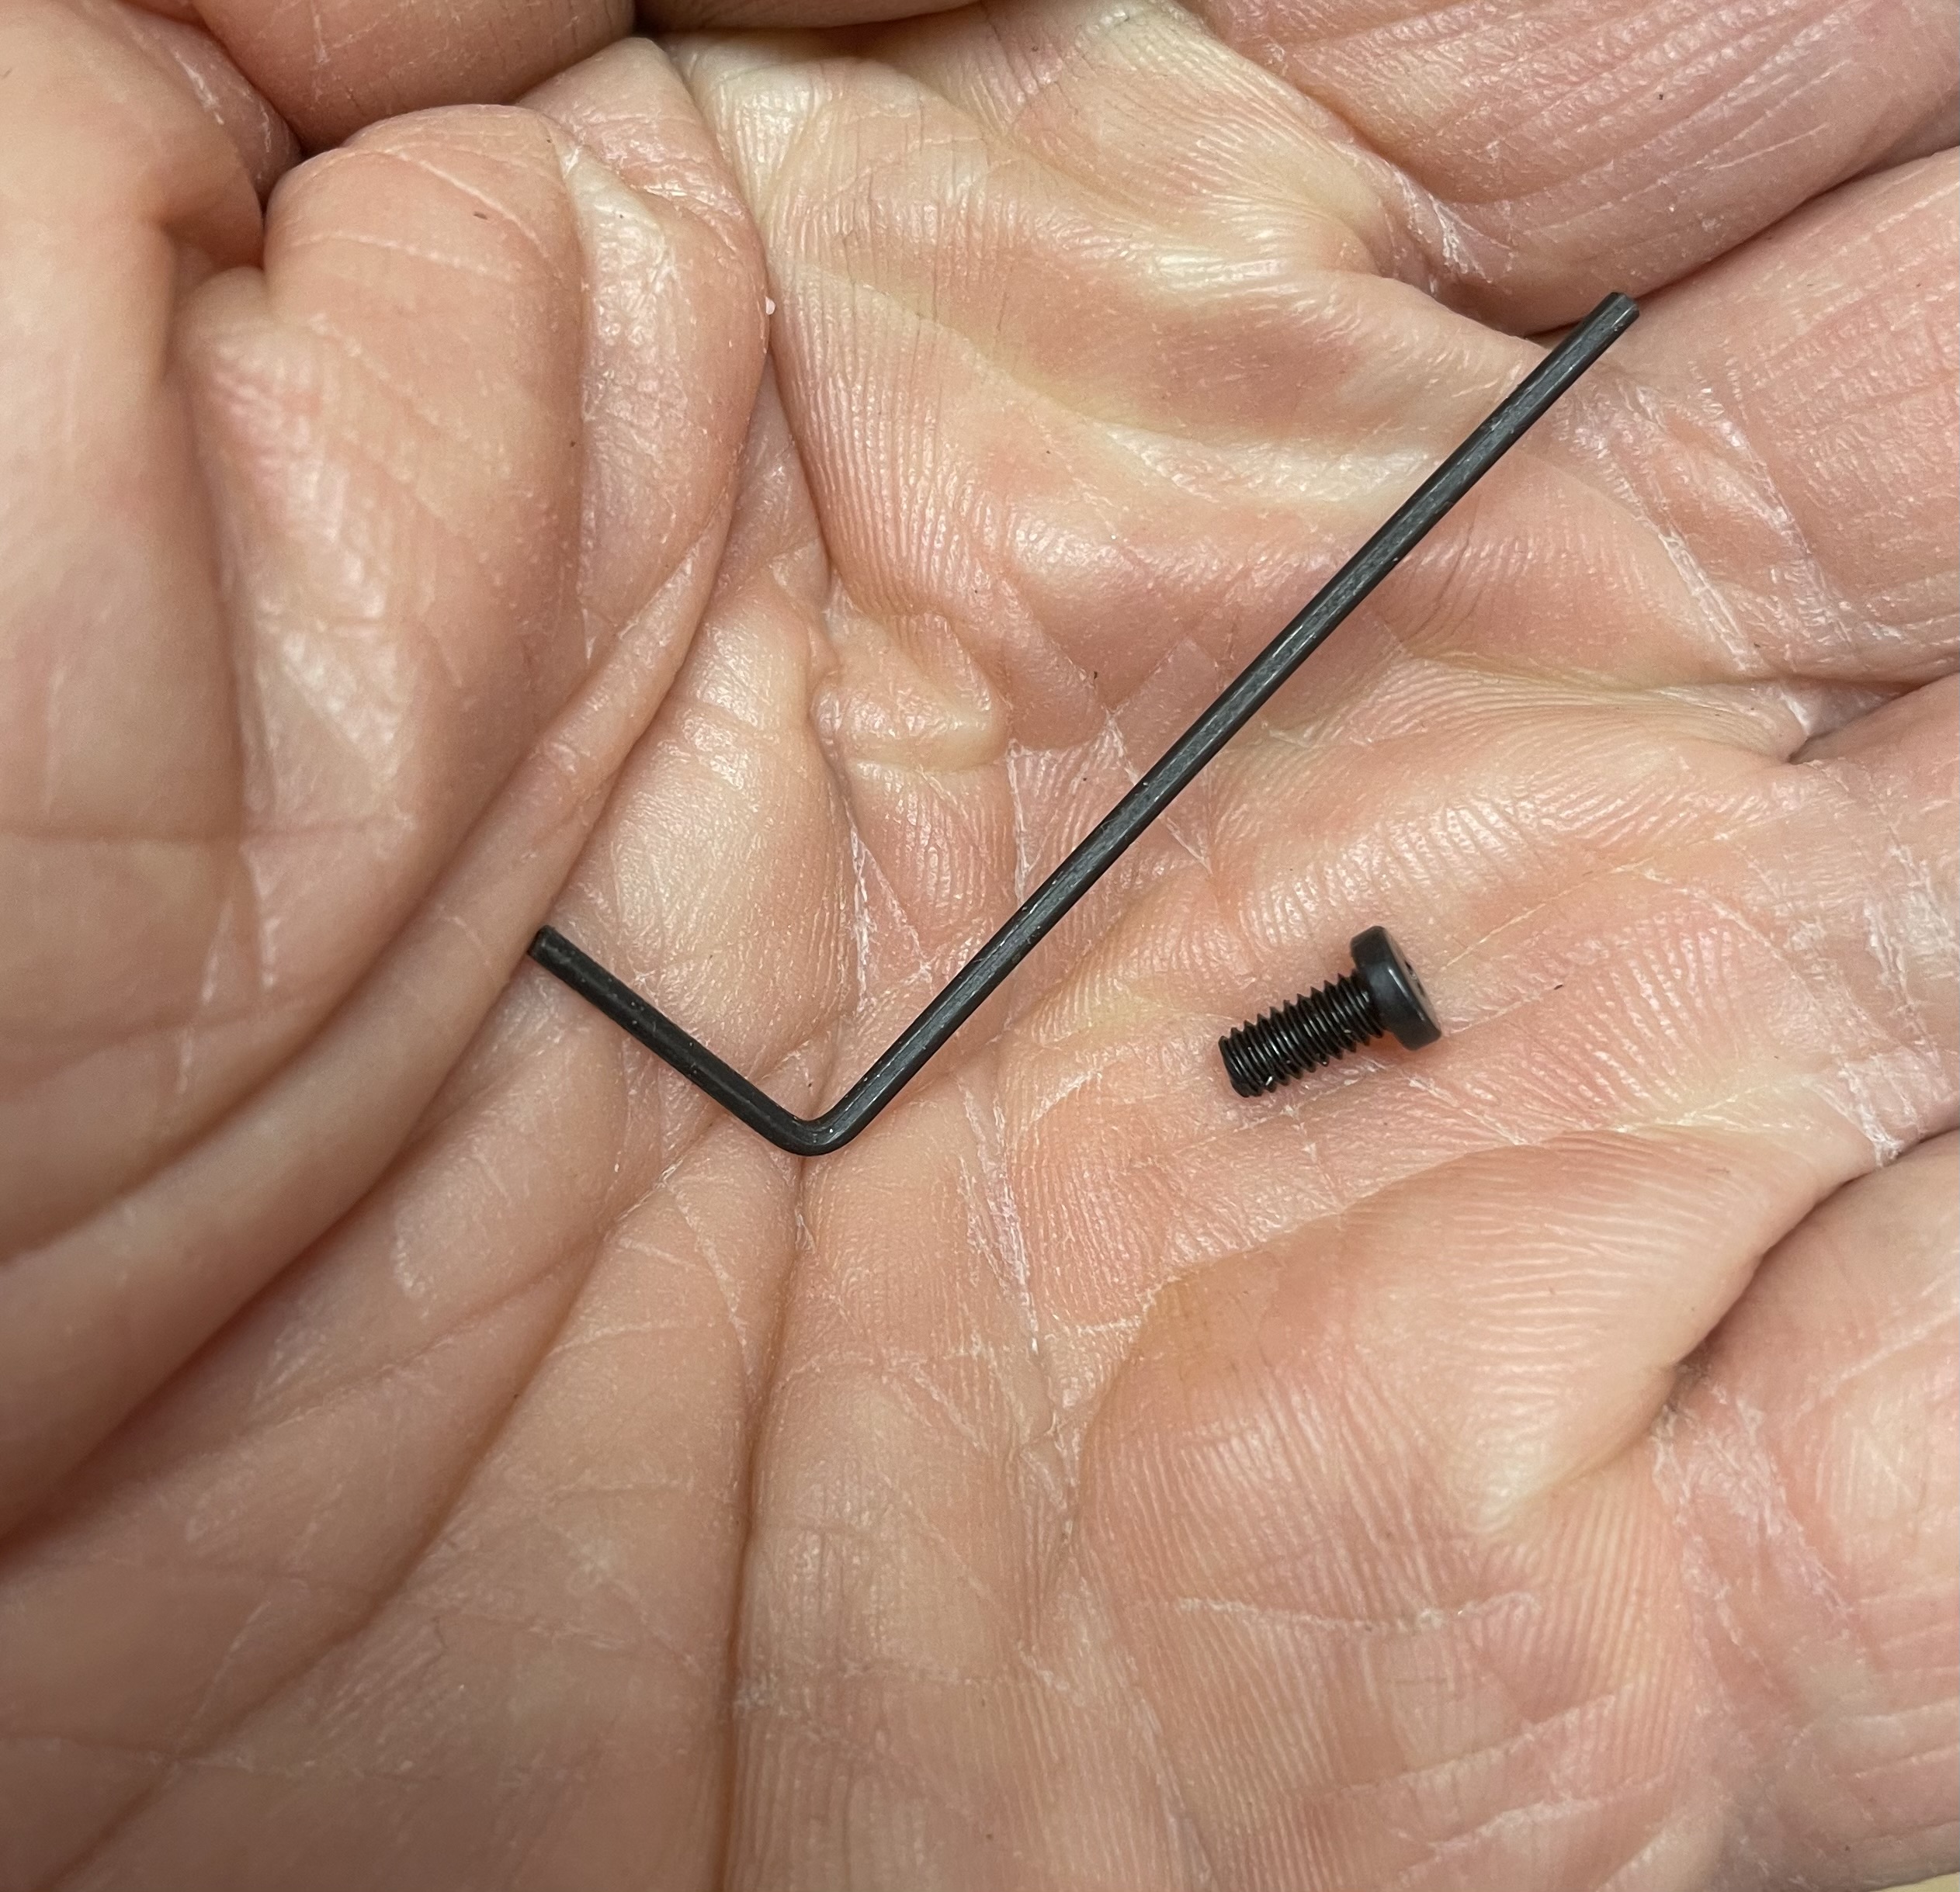
That micro 0.050" hex wrench is icing on the cake for a bad experience.   Over torquing the tiny fastener--or wrench-- is pretty much inevitable.  

Yeah, I pretty much hate this fastener.   I usually treat these screws as single use.  I'd much rather burn the dollar they cost than have to remove a stripped, stuck screw in a gun.

In an effort to solve my shortage and not have to think about this again--at least for the forseeable future--I bought a 25 pack of #4-48 BUTTON HEAD CAP SCREWS from McMaster-Carr.  


Of course, the button head is a bit too wide in diameter to fit into the counterbore in the Crosman breech.


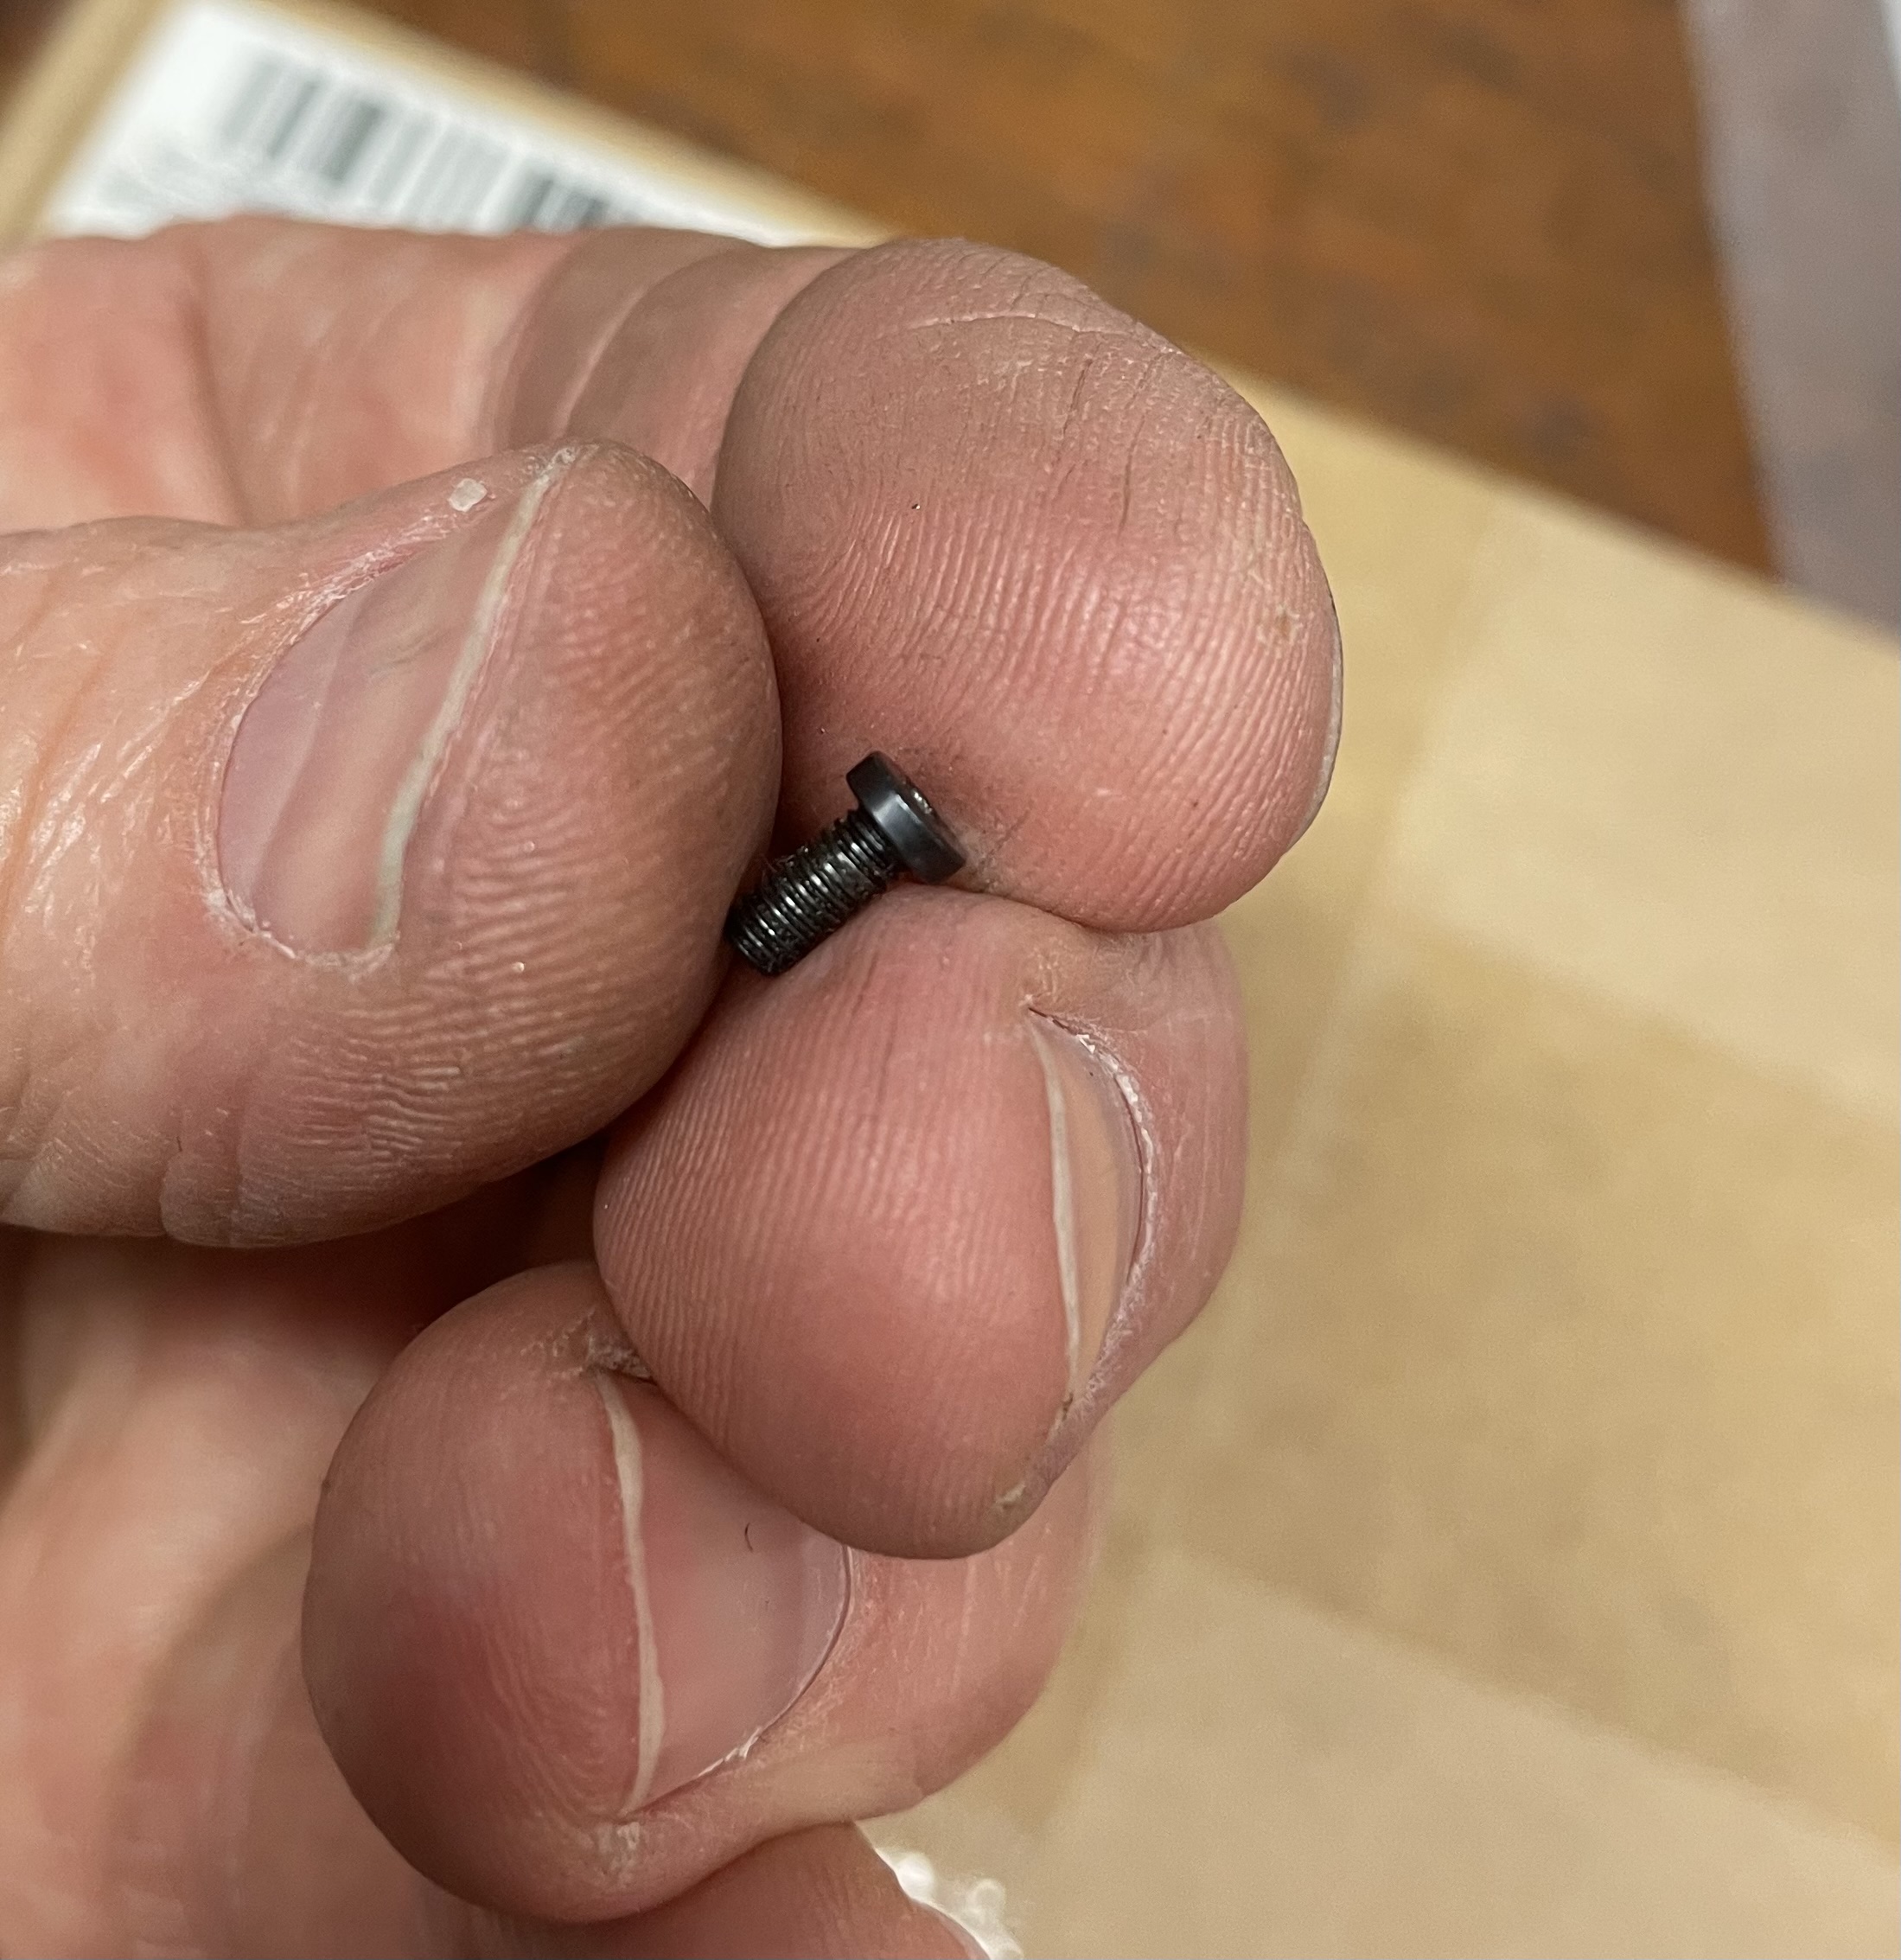
Here's the button head vs. the low profile socket head.


The button head is about 0.208" diameter vs. 0.180" of the original Crosman spec.


Made one of my fancy thread holders.
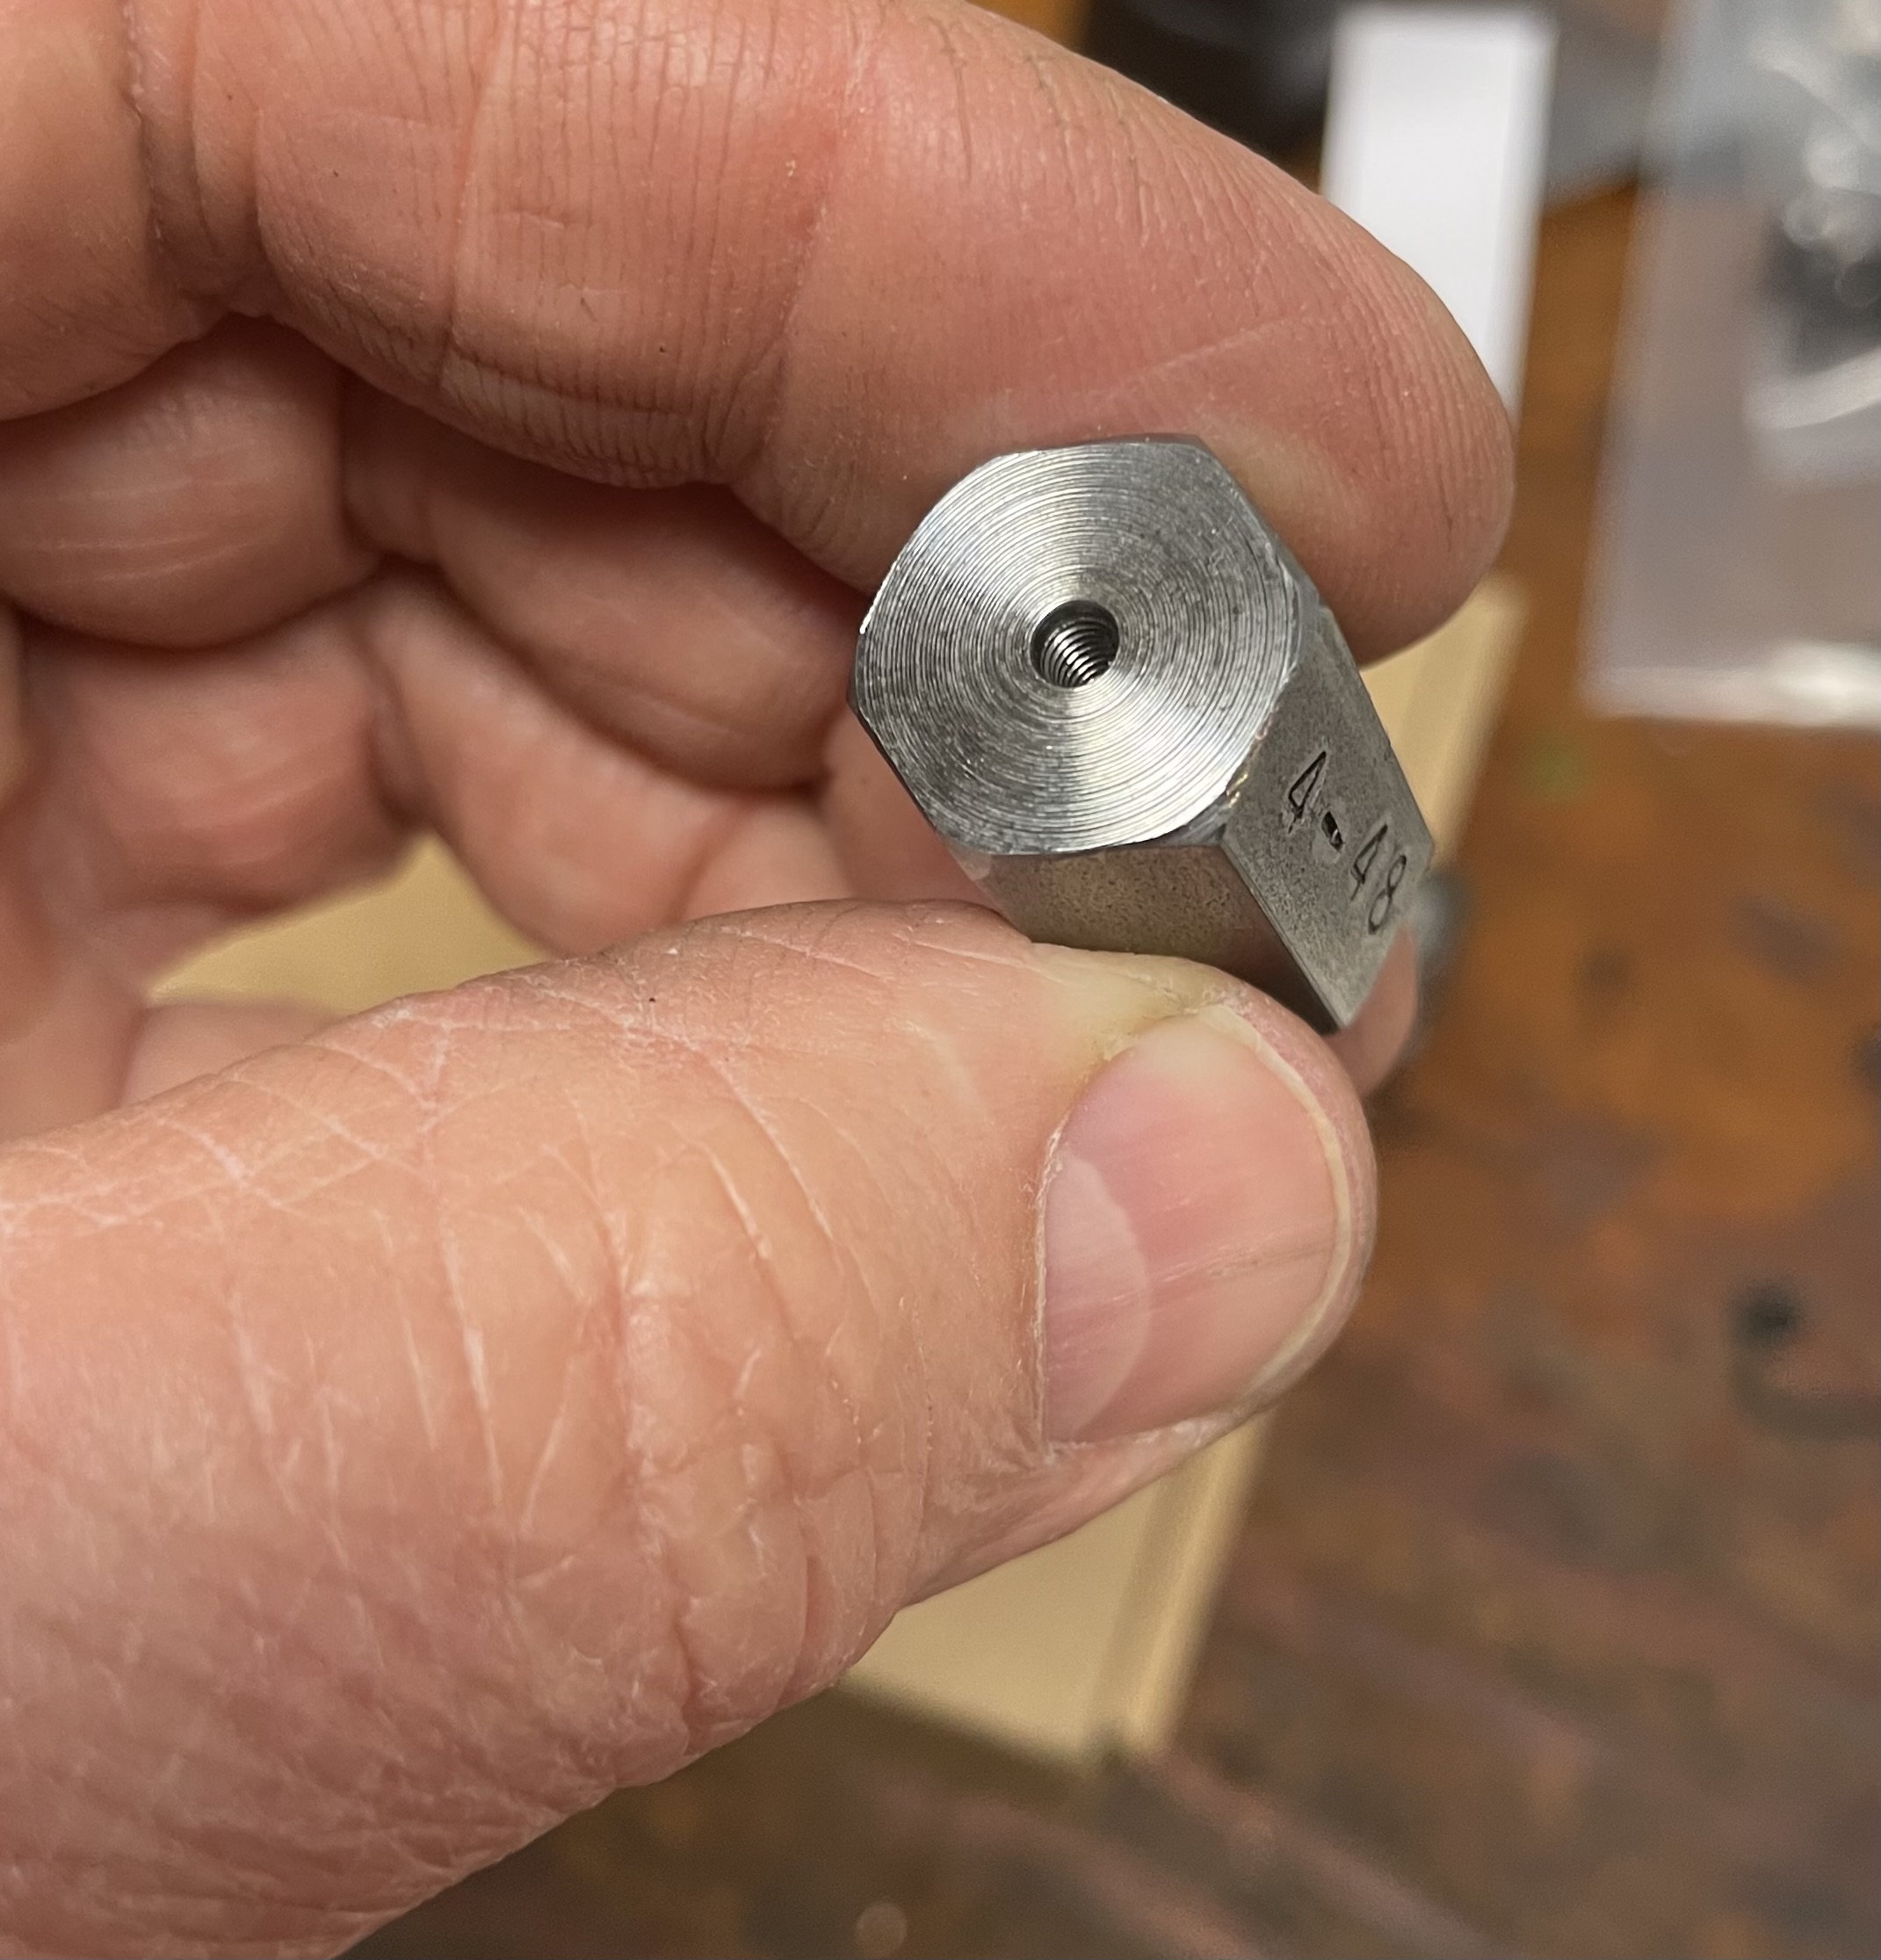


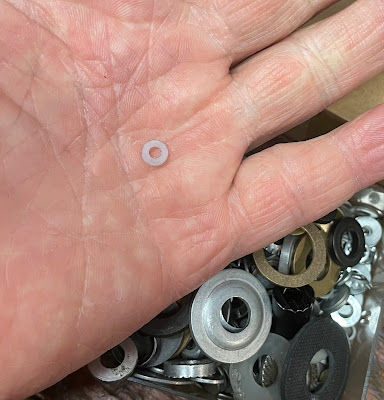
And a #4 nylon washer for standoff.


The Taig lathe makes short work of problems like this.


In a few seconds, the head diameter was reduced to a functional size.  Don't need to hit the 0.180" diameter to the exact decimal.  As long as the head fits the counterbore recess of the breech, it'll work.


Since I was still feeling all fancy from making the thread holder, I blackened the head and called it good.  


As a marginal benefit, the button head fastener takes the next larger 1/16" hex wrench.  The (.0125") larger wrench size feels gigantic in comparison.

No lathe?   I just chucked one of these screws in a DeWalt cordless drill and reduced the head size with a small file in a little over 3 minutes.  

More soon.

Monday, December 30, 2024

Volvo’s QB78 Deluxe CO2 Tanker Rifle Part 5

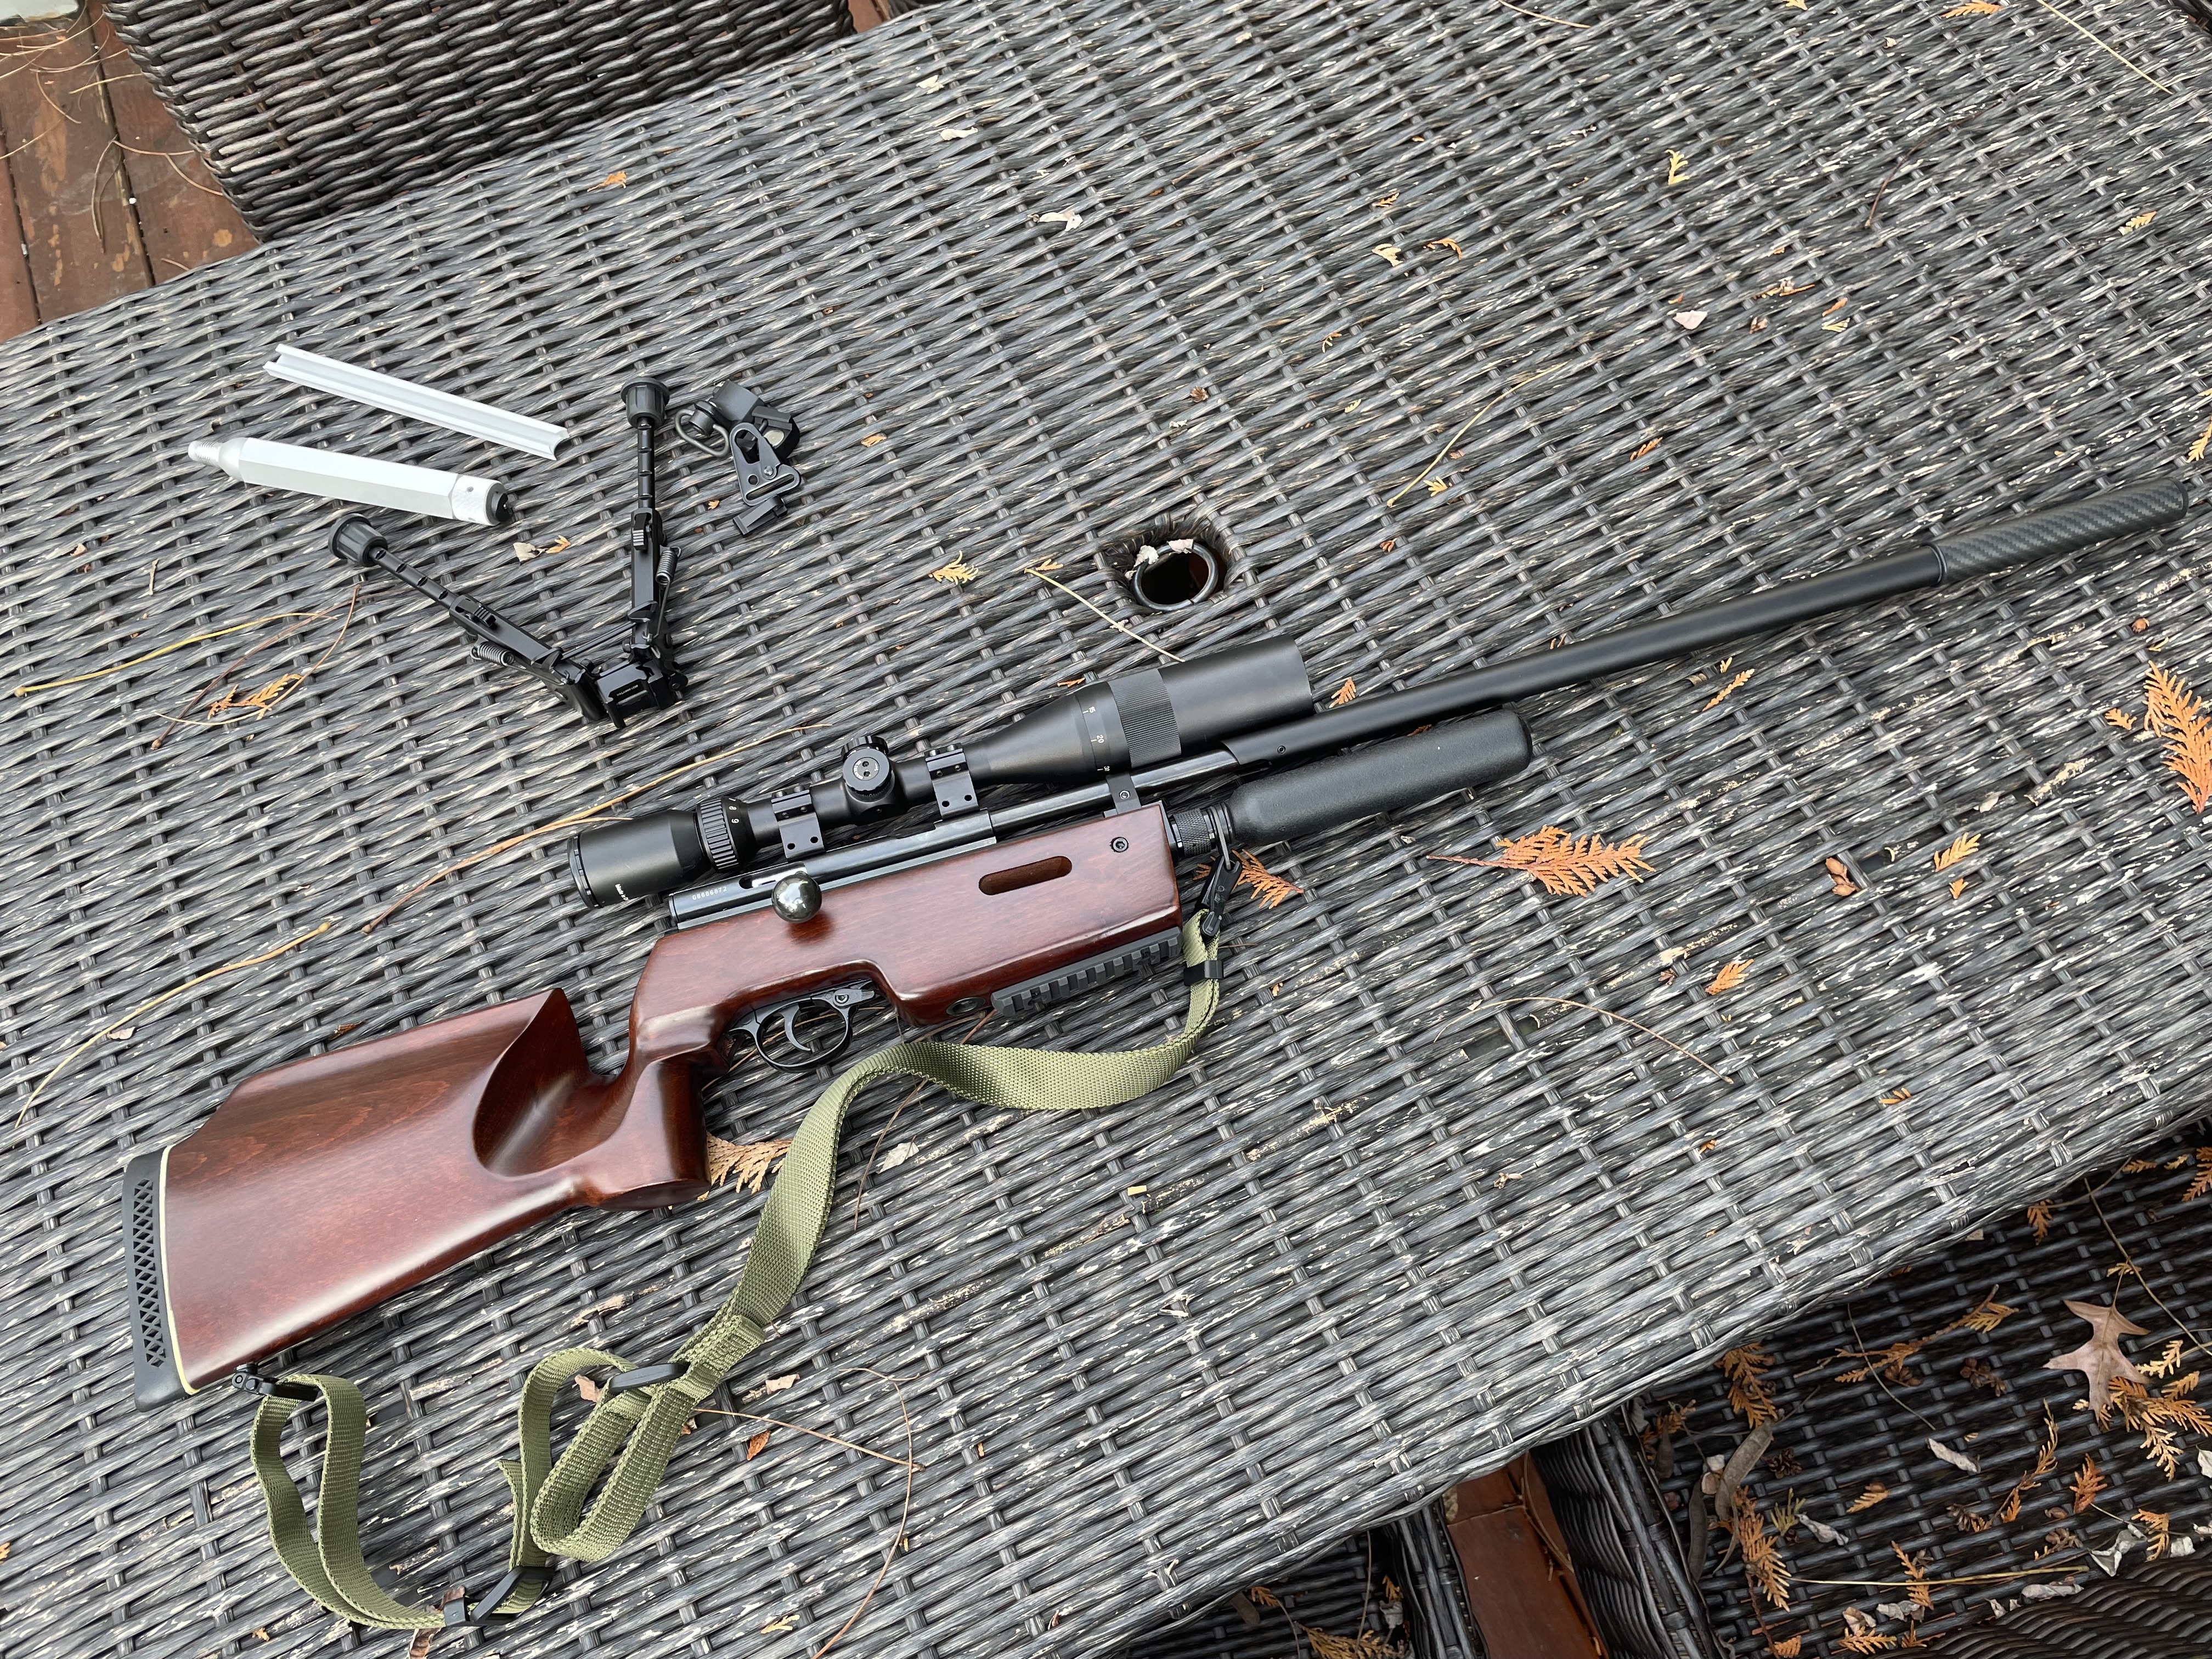
I've got the QB78 pretty close to what I'll call finished.  The gun's been holding CO2 for weeks now.  It's scoped with a 3x9.  The sling can be attached in a couple different ways.  The various accessories plug into the t-track.  


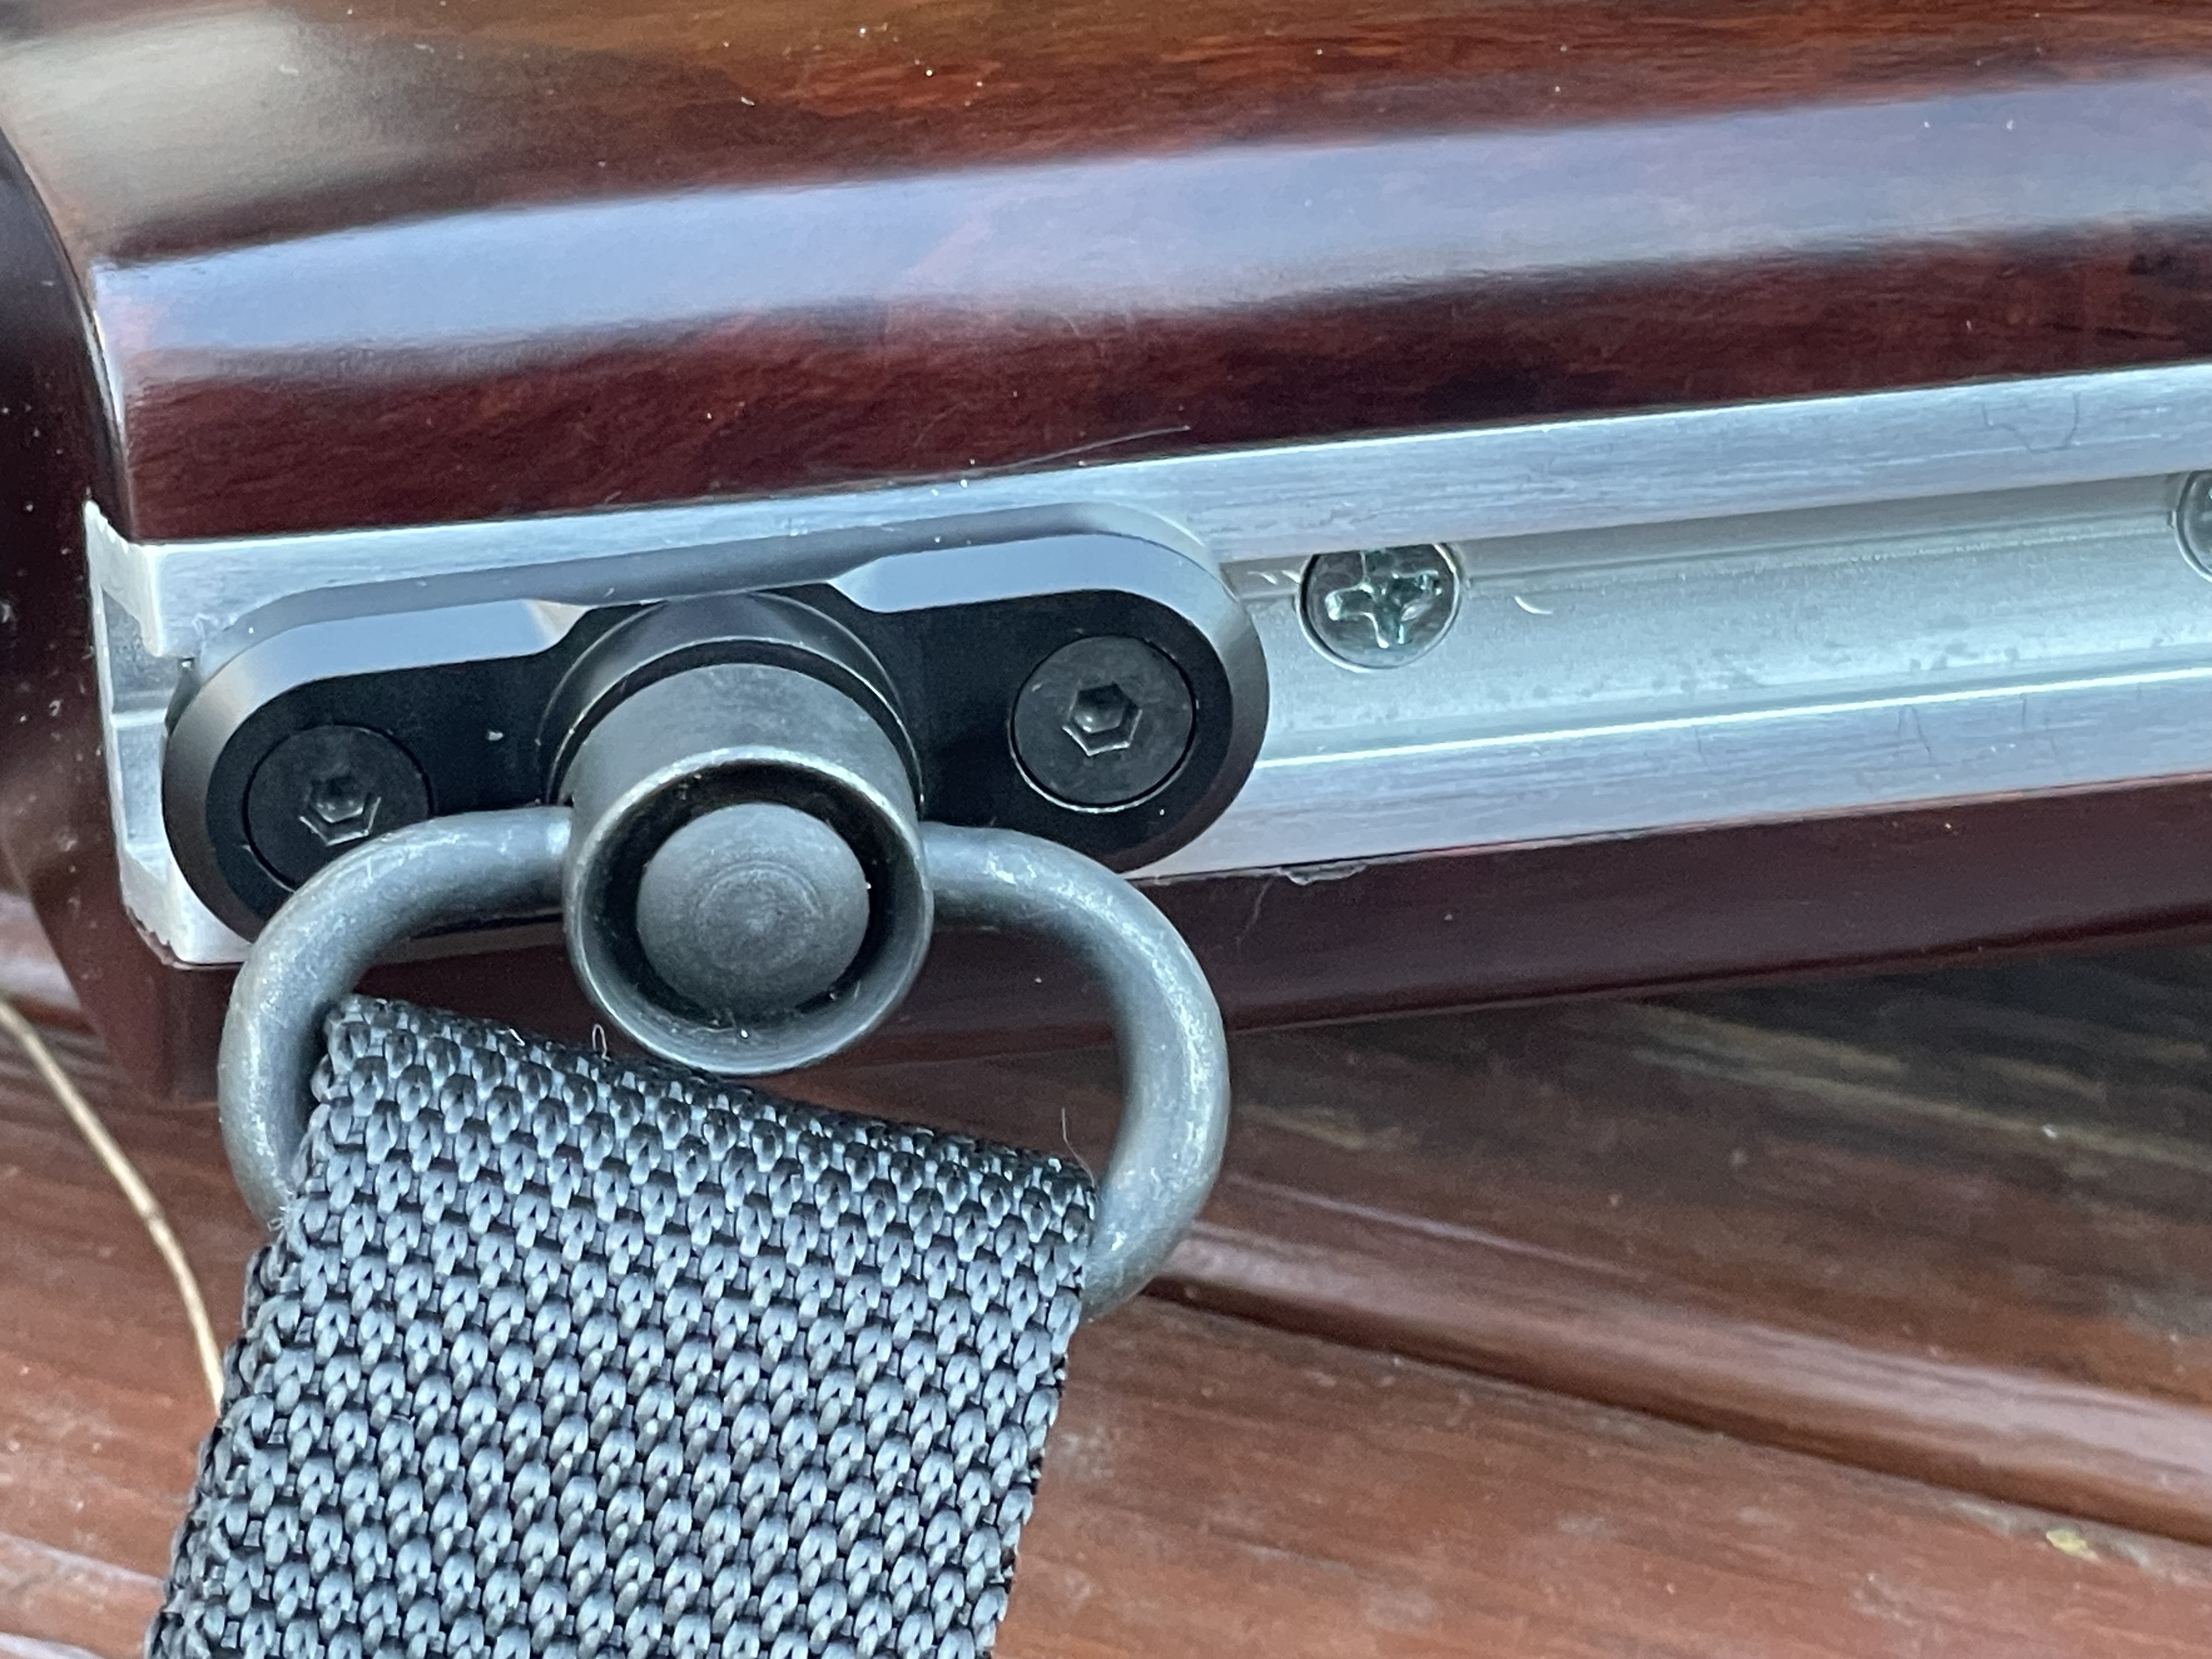
Used a modified KeyMod QD fitting to attach the sling at the butt.  Could've used a conventional sling swivel stud, but this makes a couple of my rifle slings compatible without changing any hardware.


Sanded/filed a small flat and drilled a couple holes.  


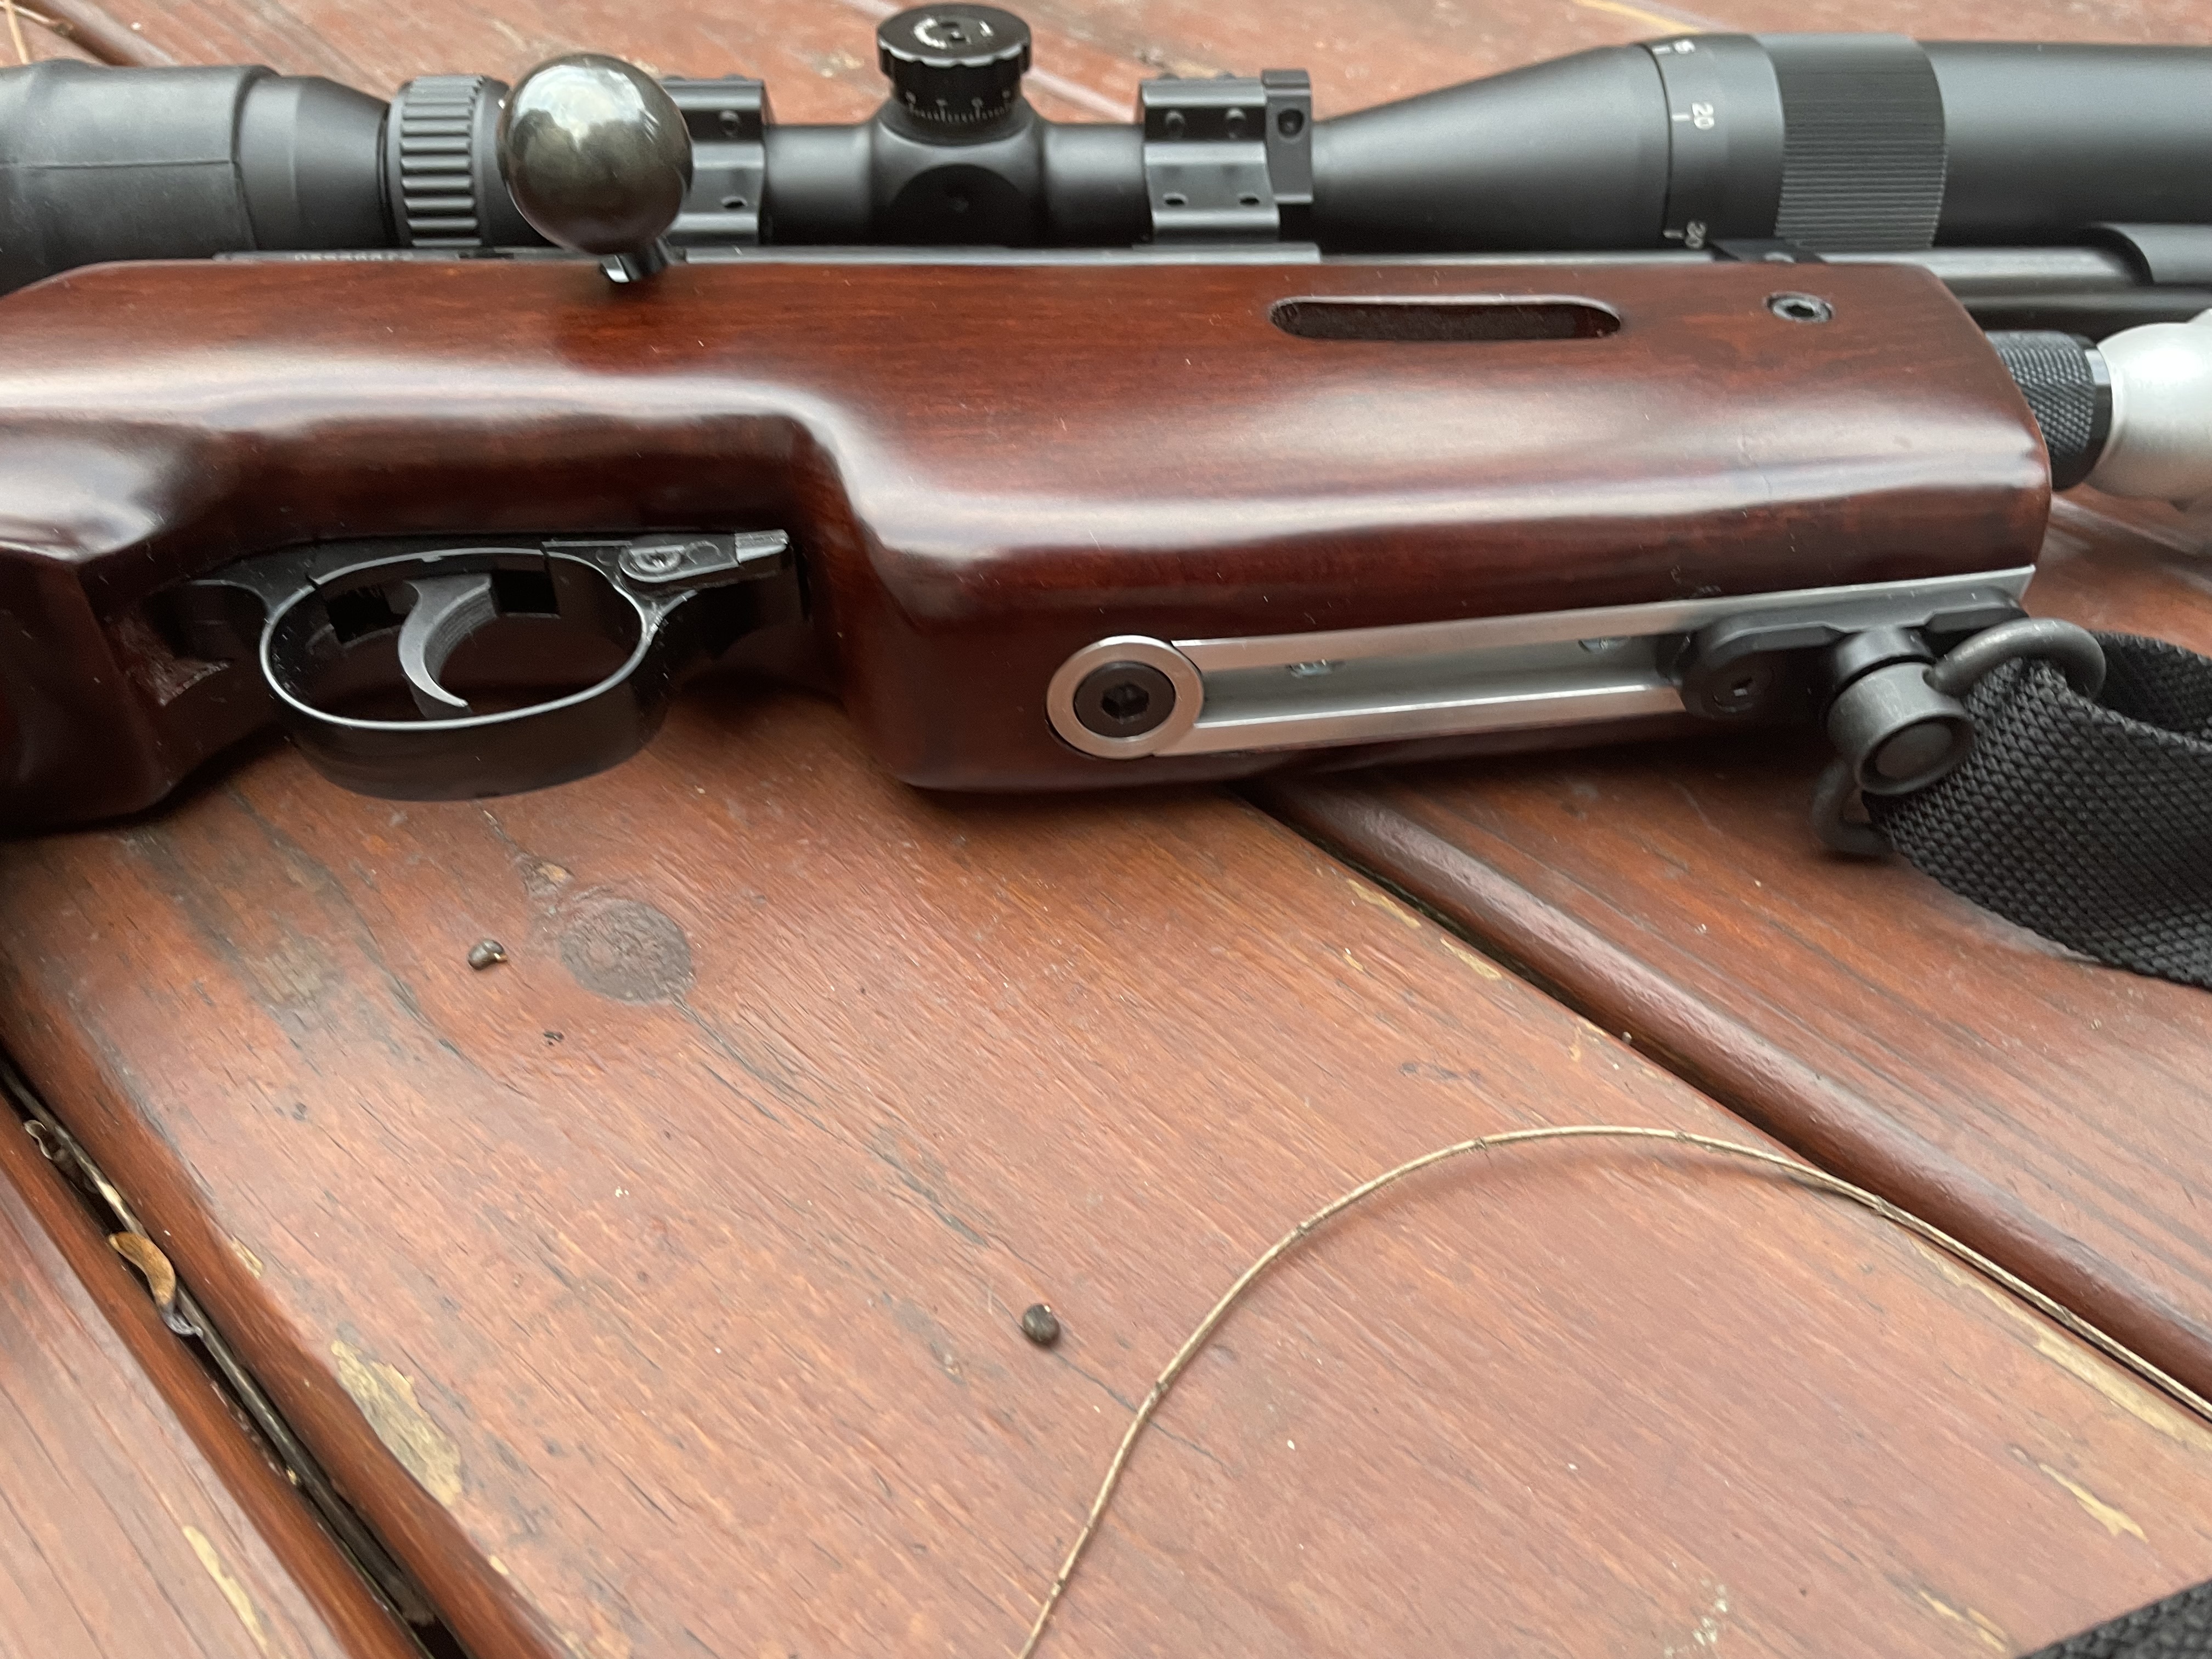
Revisited the mounting bolt.  I didn't like that I had recessed the original bolt.  Having it flush to the bottom of the forend seems cleaner.


This is a modified M-Lok QD fitting.  Can be slid fore and aft along the T-track.


Going out of my comfort zone, I thought I'd use this as an opportunity to try a scope eyeshade.  I've managed to acquire three of these in different sizes over the years--and I can't remember ever trying one before.  To be honest, I can't remember ever actually buying one either.  Anyone have any input about using one?


Made a pin for the magnification ring.  Easier to thumb than the small plastic protrusion.


Some parting shots.


I could be convinced to add an adjustable butt pad.  It wouldn't take much.  Anything that improves shooter fit to the gun is worth the trouble.   I could also be cajoled into refinishing the stock once spring rolls back around.  Though for now, I'm just going to shoot it.  I love that it can be set up in a couple minutes to use a 12g cartridge, a 90 gram AirSource, the Czech CO2 tanks from my Aerons or any of the 9 oz paintball tanks on hand.  Being able to slap on a bipod or a hand stop is also really convenient.  Expect that I'll leave a small bipod on this rifle.  Very pleased that the rail installation didn't require any additional stock repair.  Gonna call that one a small victory.  

Happy New Year everyone.  


Sunday, December 1, 2024

Volvo’s QB78 Deluxe CO2 Tanker Rifle Part 4

Been shooting the QB78 Deluxe for a few weeks now. Shooting offhand, I found that it was a bit too front heavy with the paintball tank attached--more so with the paintball tank and the Rich From Mich moderator. In an effort to lose the weight of the tank, tried both a 12g dual adapter from Umarex as well as a 90g AirSource CO2 cartridge.  The modified valve in the QB went through the CO2 in the dual 12g adapter at a record pace.  Maybe 20 good shots?  The 90g AirSource cartridge seemed a better compromise between weight/balance and a reasonable shot count.   Removed the moderator and installed an even quieter combination shroud/moderator I had on hand.  Yeah, there was some minor machining to make it fit...   This dropped and shifted the weight so it wasn't all cantilevered over the front end.  With the balance changed, now I wanted options.  I want to be able to quickly set this up for various roles.


Of course, a rifle sling was mandatory.  On a PCP or CO2 rifle, aside from making the gun easier to carry, the sling can actually be used as a shooting support.


This is a sling attachment I made a few years back to fit 88/90g AirSource tanks.  It fits over the M16x1.5 tank threads.  Can also see how the rear of the shroud is attached with set screws to the QB barrel.


Front of the shroud has 1/2-20 threads for this carbon fiber moderator.  


Picatinny rail is always convenient.   Well, it's usually convenient.  I should know better by now to not use these polymer rails.  They're OK for sling or hand stops, but marginal for bipods. A bit too flexy and twisty for me.   Had I just gone with an aluminum rail initially, I might have been tempted to call it good enough. 


But this was not what I really wanted.  

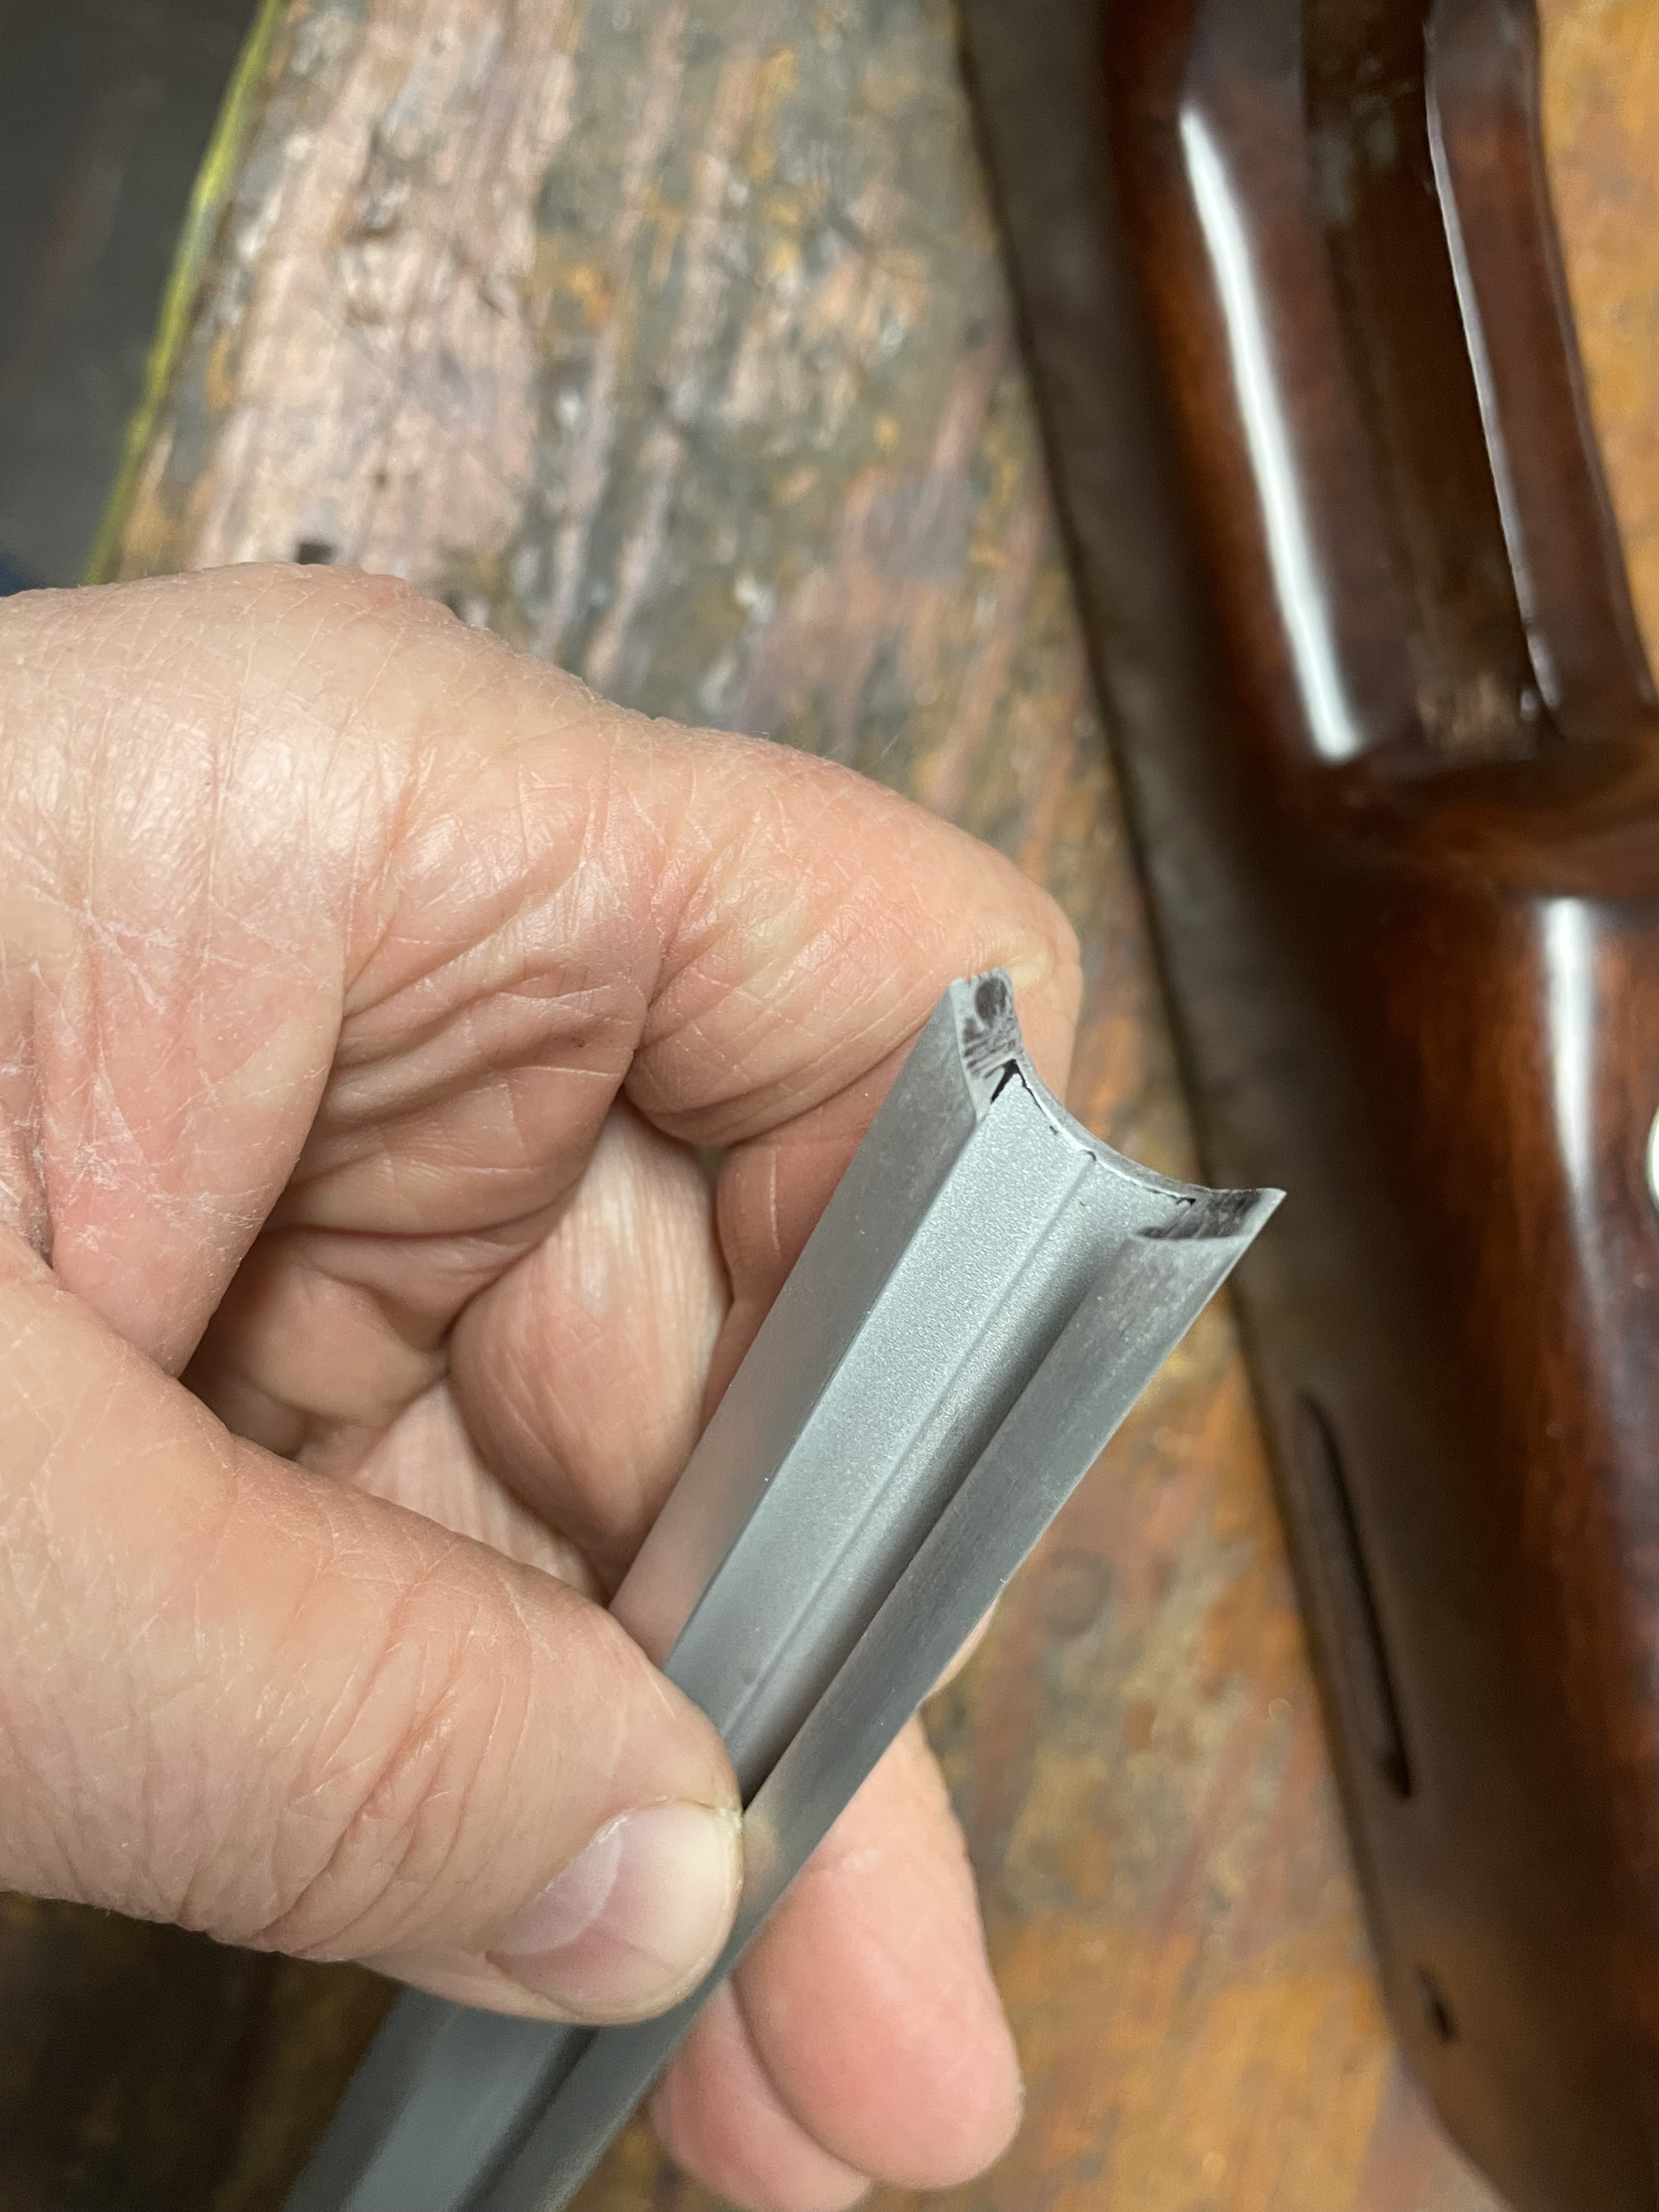
Still had some t-track rail from the QB I converted from .177 to .25 caliber.  No, it's not a UIT/Anschutz rail.  While I've used those in past projects and acknowledge that they seem to work fine, I've never been thrilled with using one as the mounting base for a bipod.  This piece of t-track from Rockler Woodworking & Hardware uses a much thicker, more substantial nut than the Anschutz rail.  Since I can mill the t-nuts, it becomes relatively easy to make a half dozen with both 4 and 5mm threads.  I can attach anything to this rail.  Anschutz, M-Lok, KeyMod, Picatinny,    Any type of sling mount, hand stop, barricade rest, forward grip, bipod, tripod...can all be made to work with this rail in a few minutes.

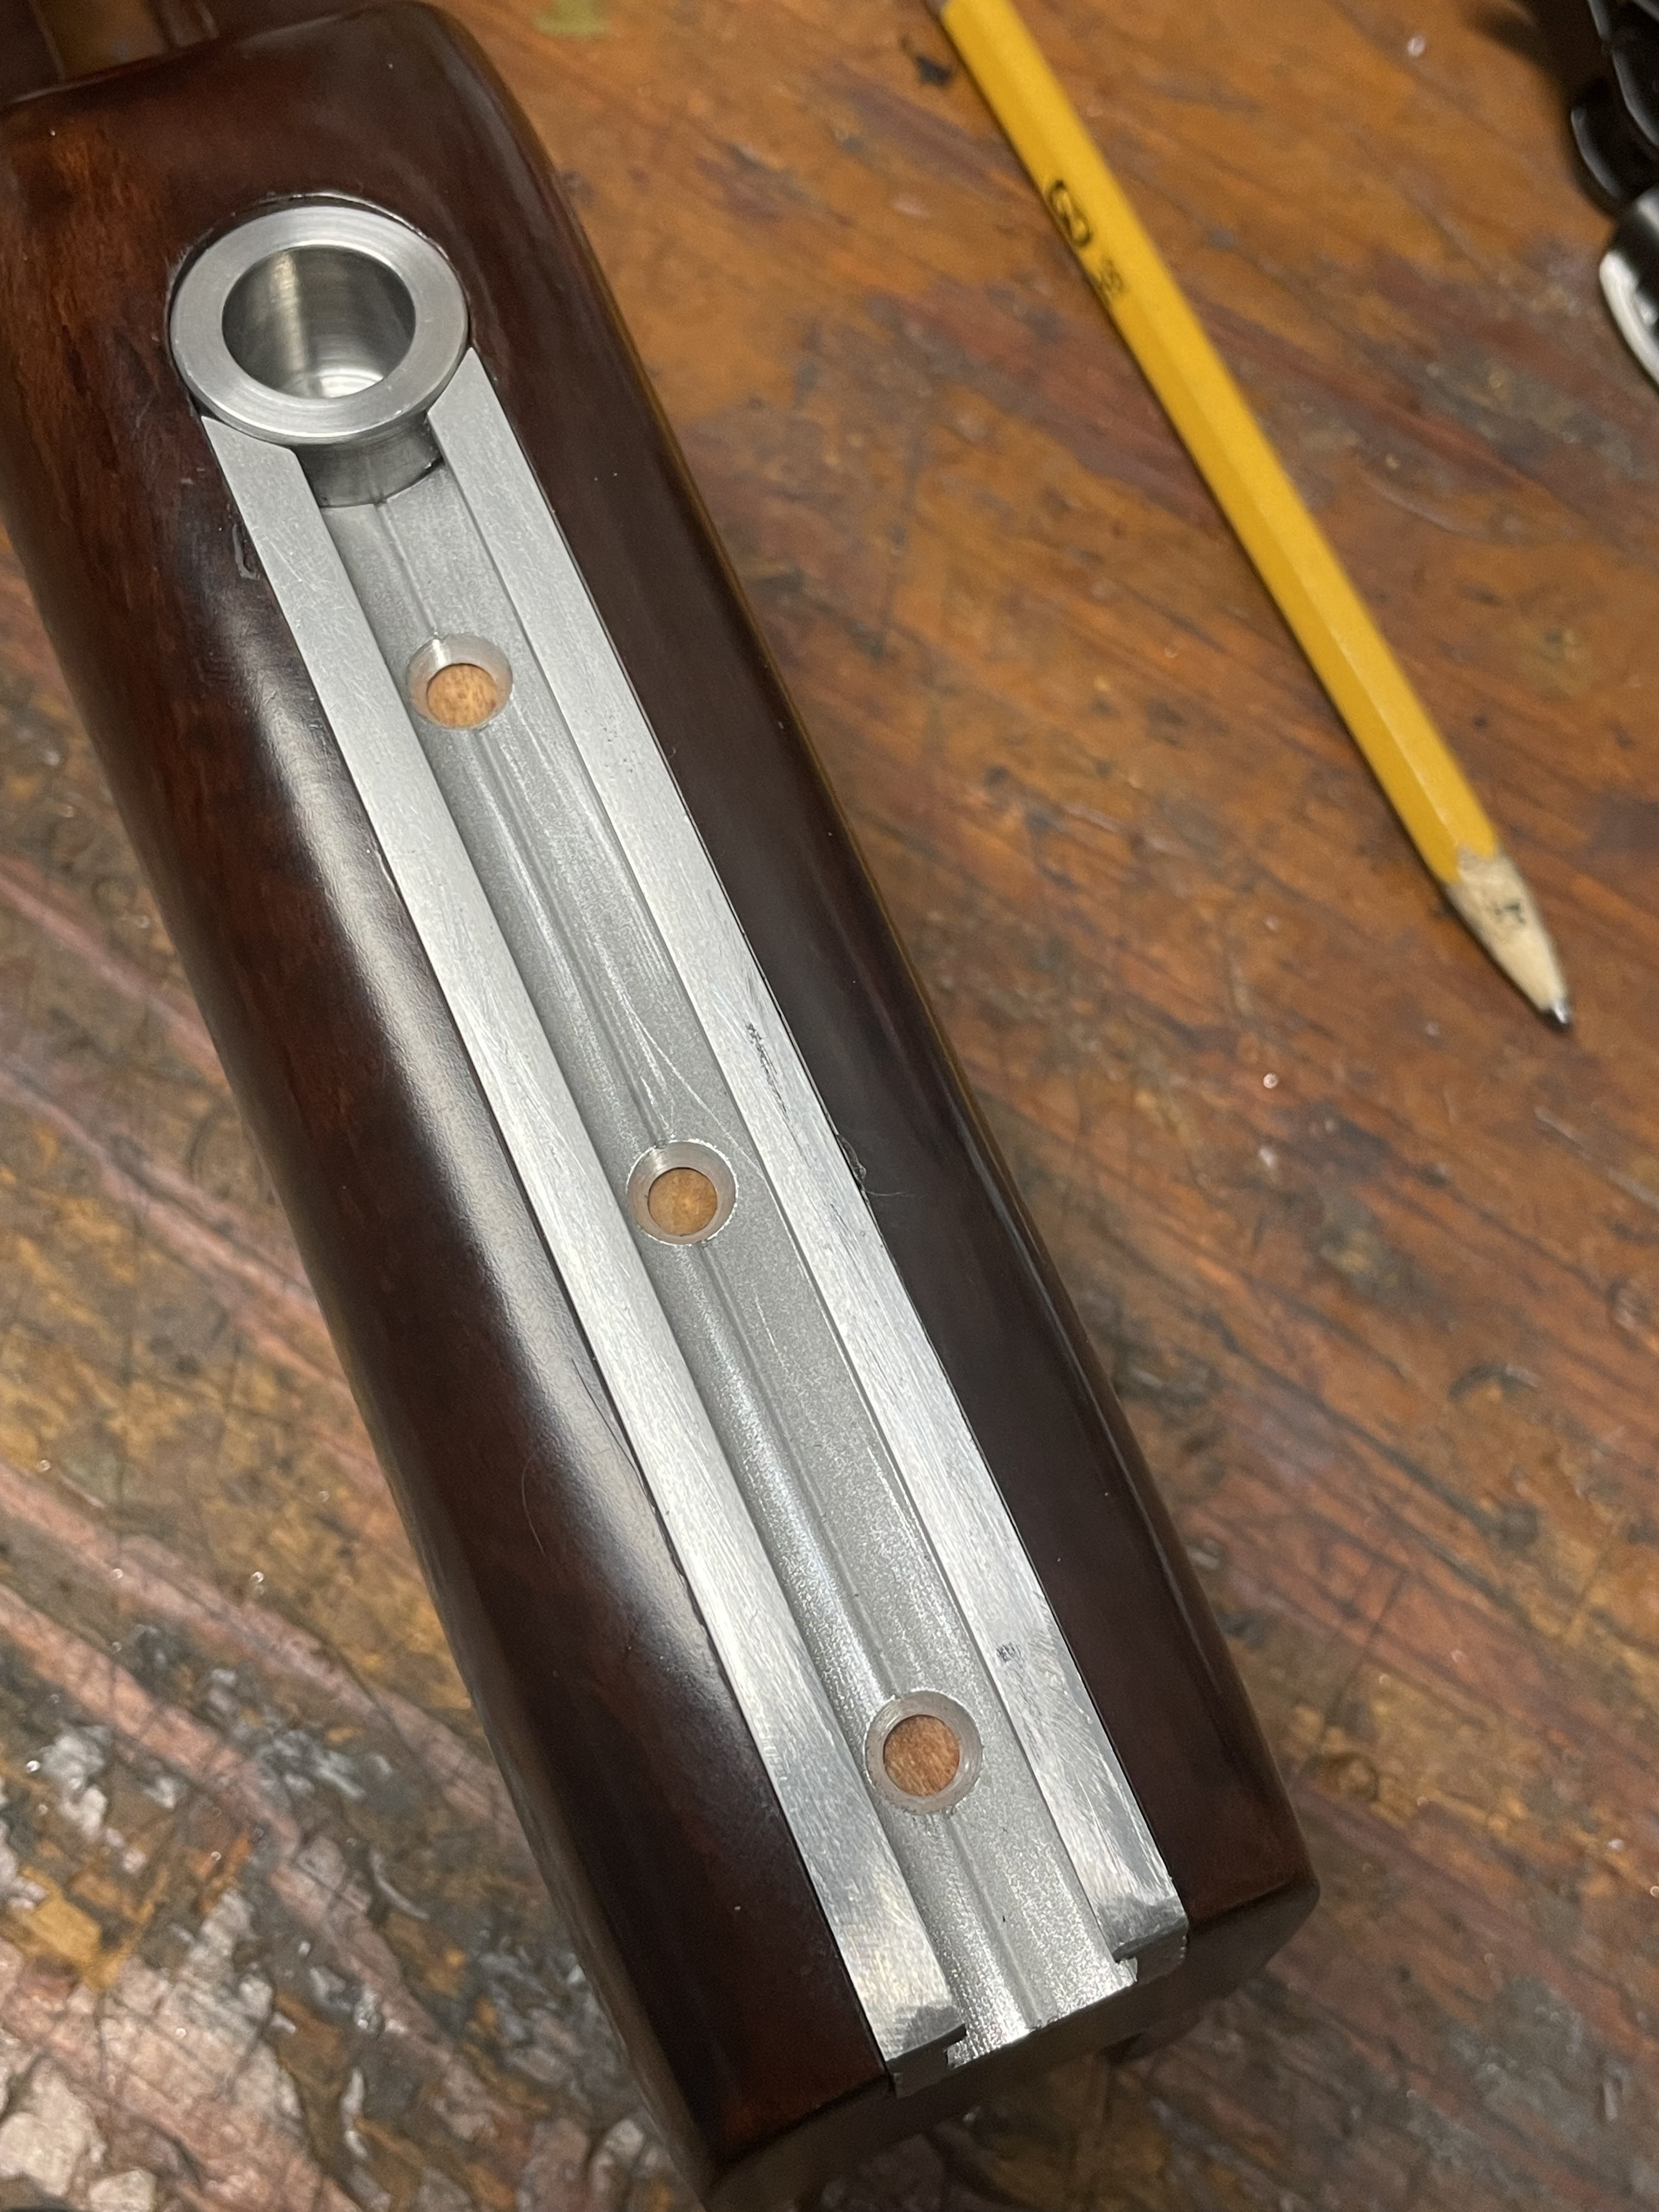
Here's a slice of t-track that I've already started to fit.  The only real downside is the work involved to inlet the stock.  At least I have milling cutters in the same 3/4" width as the rail.


Media blasting got the red out.


The biggest hurdle in fitting the rail was the stock's shape.  Couldn't get a grip on the tapered sides.  I tried multiple combinations of tapered shims. Nothing was particularly promising.  It's 25 degrees F in the garage right now.  Rather not damage the rifle's finish, as I won't be able to fix it for four more months.

Eventually my squirrel brain realized there was a simpler solution.  Bolted and screwed on a block of wood.  The bolt is through the existing hole for the locator stud.  The screw went into wood at the bottom of the barrel channel.  Nothing visible after reassembly.


The block gave me something parallel to grab in the milling machine vise.


With a straight edge, I leveled the forearm as best as I could.  


Centered up.  


These set ups are best efforts.  The wood stock isn't straight within 1/16". The curves aren't perfect.  If I have to do this again, I'll take the full depth in one pass.


There was a small surprise.  Notice the void in the wood.  There's still some wood putty visible.  Never saw this from the outside.  I'll fill this with superglue and fine sawdust.


The mill needs a vacuum attachment.


Of course, test fitting as I go.


The brown colored Sharpie marker was almost a perfect match to touch up the edges.


Call it camouflage in case any of the edge is visible.


There's the superglue filled void.


The screw cup got uncolored to match the accessory rail.    


This curve was another best effort.  


Marked the high spots to blend the rail into the stock.


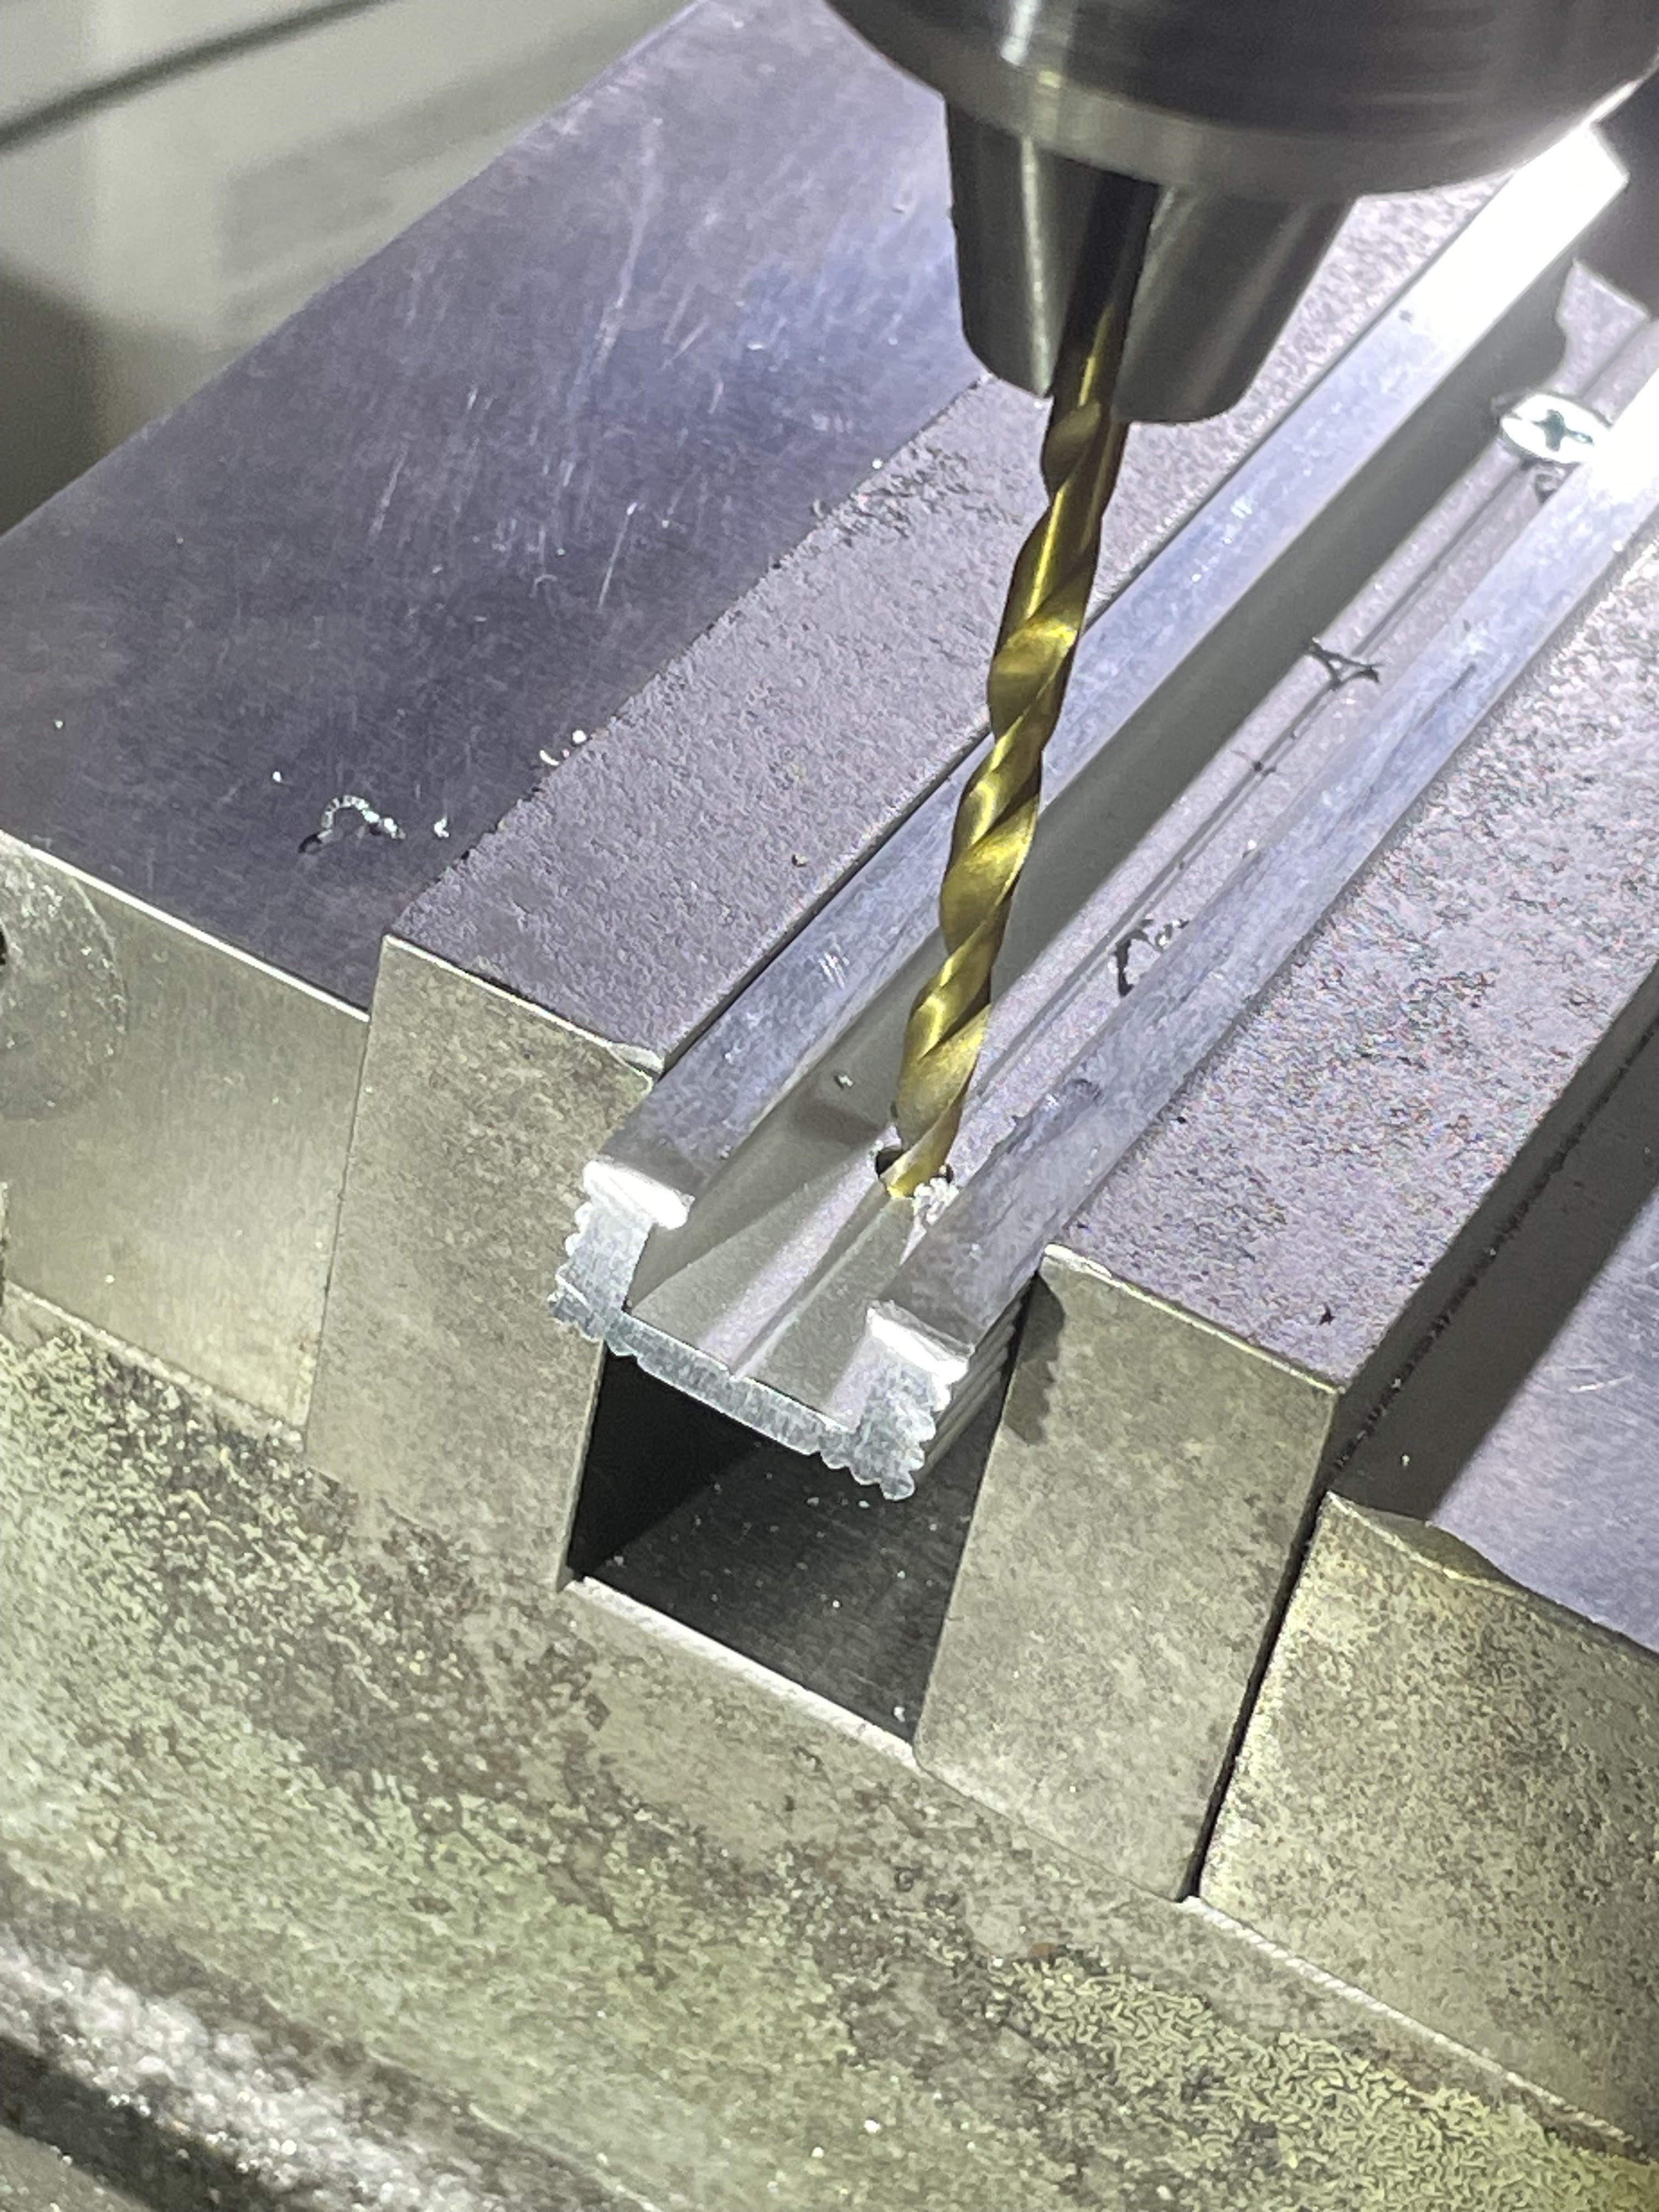
Then some mounting holes. 


Countersunk.  These screw heads need to be flush--or below--for the t-nuts to slide freely in the track.  


Smoothed out the finish on the accessory rail.  


 Polished with a block of Cratex.  


Cratex is a rubberized abrasive--a big rubber eraser charged with silicon dioxide.


Wow.  All that work for this.  At least I managed the fit without mangling the factory finish.  Now I've gotta go get some Christmas decorations out.

Need to redo the rear sling mount and get some better pics up.

More in a few days.