Since I can't just cut down the cheek piece and refinish the stock, I'm also going to add an adjustable palm rest to the grip. It's an ergonomic feature that I've seen on several vintage Anschutz match rifles and thought could work on this rifle, too. The rest cradles the base of the palm and makes for a very comfortable and consistent hand placement. Aside from all that, I like the variety.
With the padauk grip cap glued up, I did some shaping.

Rubbed in a coat of a Varathane brand walnut colored stain.
The padauk turned a vivid red color.
Mirroring the
CP1-M palm shelf installation, I set up on the mill...
And cut a slot for a scrap piece of Anschutz accessory rail.
Drilled for a wood screw.
Rail stub fit.
Turned my attention back to the Bisley recoil pad. The aluminum base plate was fit to the rifle in the last blog post, so now I'm looking at the backing plate for the rubber pad itself. The plate doesn't quite fit and stands proud all around the edge. Used a magic marker as layout fluid and traced around the rubber pad with a scribe.
Sanded the backer on a belt sander then polished the edge.
Can't really see it here, but the rubber pad doesn't lay flat against the aluminum backer.
Mixed up a two-part epoxy and clamped the plate to the pad. With the five minute quick set epoxy, there is a moment in time near that five minute mark where the epoxy turns rubbery as it begins to harden. That's the time to peel off any excess glue that's squeezed out of the joint. Beats trying to wipe the glue off early when it still wet and just smears everywhere.
As all this was going on, I was also filling the grain with shellac and scuffing the coats back after each dried. Used a gray scotchbrite pad. Think it's listed as 800 grit. The sanding pad is readily found in auto parts stores that carry painting supplies.
The stock is pretty much done. Just need to figure out the palm rest.
More of the padauk. Traced the bottom of the grip and started cutting.
This was the first one I cut.
After test fitting, I think it's too big and blocky. The second one is there on the bench.
Much more diminutive. It also matches the lines of the grip cap.
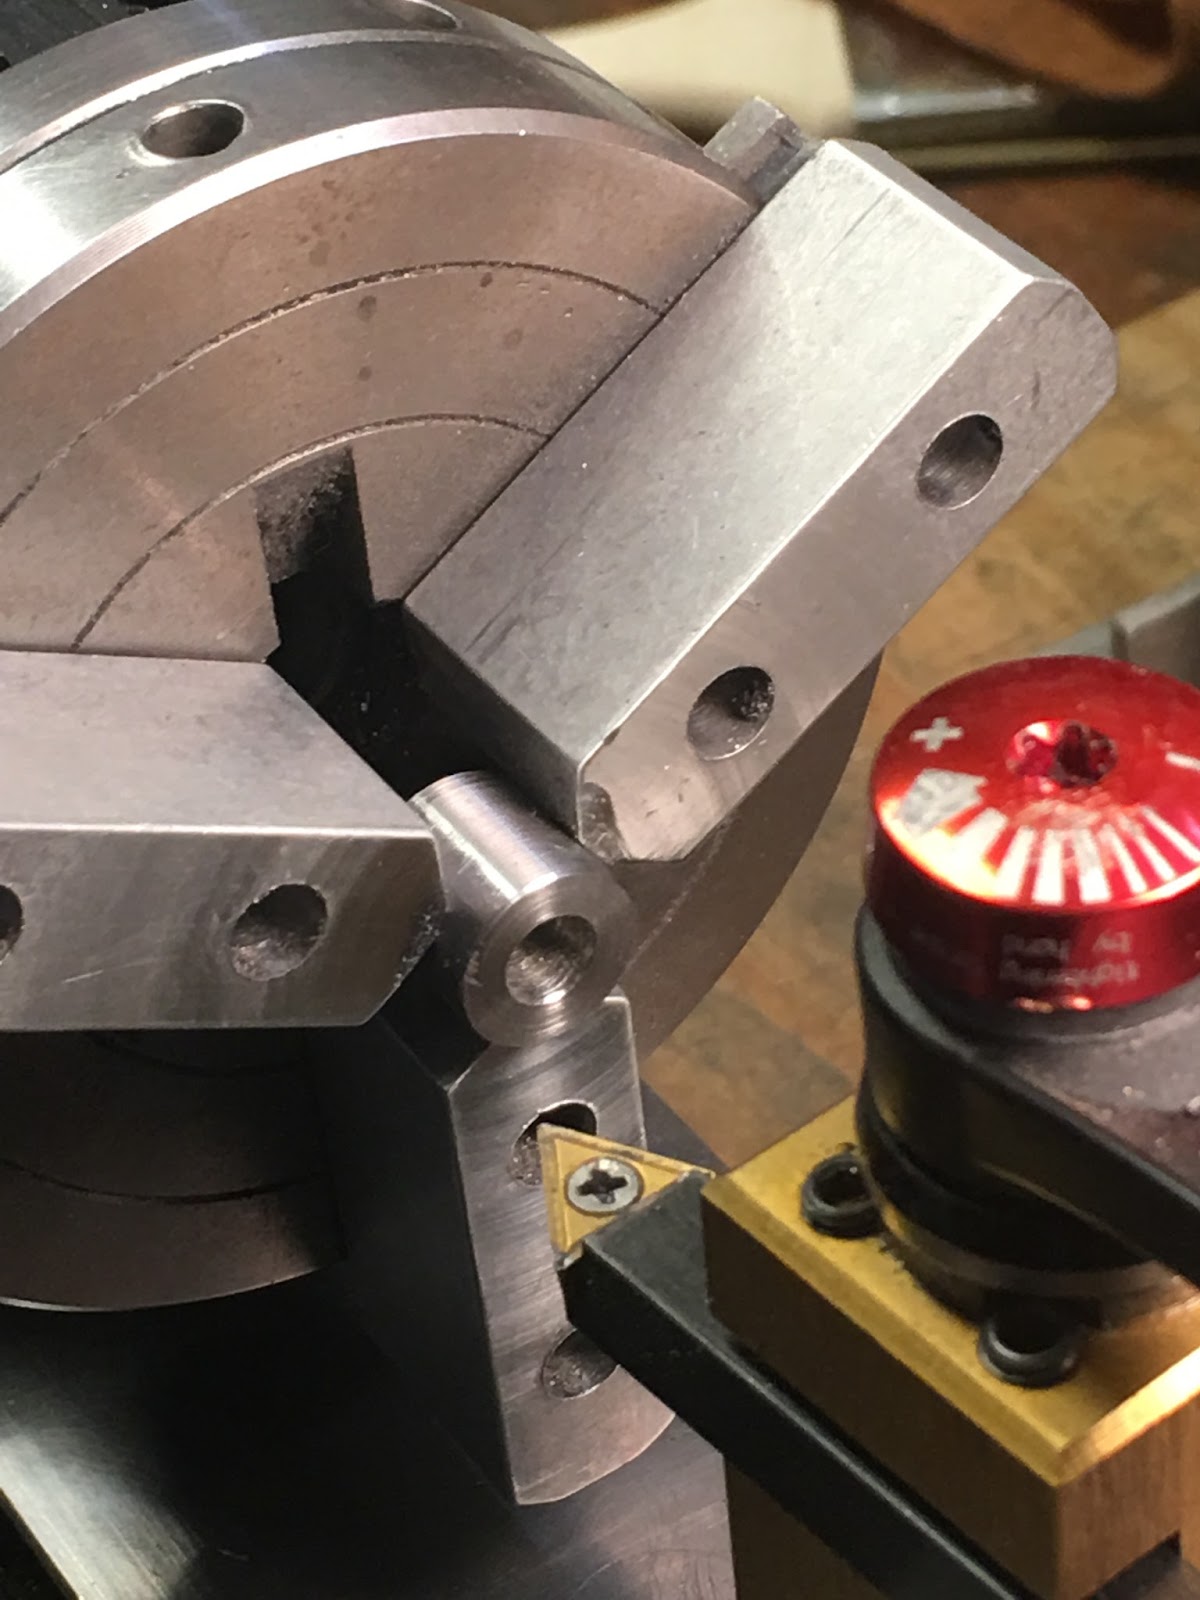
Gave it a coat of clear shellac then started making a screw cup for the fixing bolt.
After making the cup, it was filed and sanded to the radius of the wood.
Blackened and installed.
Finally got the scope mounted without the extra riser plate.

I'm very pleased with how the rifle finished up. It shoulders better than I ever could've hoped. The palm rest works and functions perfectly with the thumbhole stock. Feels like its been custom tailored to fit me.