Saturday, July 28, 2012

Custom Crosman Breech--Part 2 Starting the Shroud

Picking up where I left off... 


Chucked a Crosman 22XX barrel in the lathe jaws and pushed it into the counterbore in the breech.


Just using the barrel for alignment.  Used several setup blocks as well as some shim stock underneath the breech until the through hole was centered up on the lathe's headstock.  I need to paint that window frame in the background...


Then I clamped the breech down to the crosslide.   Aluminum sheet was used between the setup blocks as well as the clamps to prevent marring the breech.


Removed the barrel and mounted a 5/8" center cutting endmill in the lathe chuck.


Very slowly shaved metal to produce a stepped hole at the front of the breech.


No measurement as the depth isn't critical.  About 1/4"+ will do.


The plan is to sleeve the skinny 7/16" OD Crosman barrel for additional muzzle weight and stability.


The step will accept the end of a 5/8" OD barrel sleeve.  The sleeve will be made from the piece of DOM tubing on the right.


The DOM tube is both too long and too small in the ID for the Crosman barrel to fit into.


With a parting tool, I cut about 3" off the end of the tube.


Then through drilled with a long 7/16" bit in the tailstock.  Had to flip the workpiece around and drill from both ends to the center.


Cleaned up the ends of the tube.  Not shown:  After drilling, a 7/16" reamer was run through the tube for clean up.


Couldn't take the humidity outside any longer.  Brought the tube indoors and wrapped the Taig bed with foil protection and polished the tube to 400 grit.


Test fitting.


Barrel slip fits into the breech.  It'll get set screws later.


Sleeve installed over the barrel.  Could've just butted the tube against the end of the breech, but recessing the end is cleaner.

More soon.  The next step is make or break.

Sunday, July 22, 2012

Custom Crosman Breech--Part 1 Drilling

Thought I'd give the breech project another go.  I'm still trying this the hard way as I still haven't sourced a 4-jaw chuck for the new-to-me lathe.  If it all goes south again, I'll have to move the 4-jaw a bit higher on the list of priorities.


Chucked a chunk-o-steel.


Gonna try this on a larger drill press.  This is a 3/4 hp and about the largest "bench top" press that will still fit on the bench.  I need a step stool to change the belts (since it's awkward to work in high heels).  Not shown:  Adjusted the table to get it perpendicular to the bit then locked down all the table adjustments. 


A pile of milling clamps secured the vise to the table.   Going to through drill the block up to 0.250", as that's the diameter of the pellet loading bolt. 


If you've never tried to put a 0.250" hole through a piece of steel 6" long,  you really don't know what you're missing.   This is where the 4-jaw independent lathe chuck would've come in handy.  Could've held the bit steady in the lathe tailstock and spun the work.  Anybody got a 5" diameter plain back?   I could've just started with a large enough piece of round or hex stock and use the 3-jaw and be done with it.  More milling time afterwards, but the drilling would be more straightforward.


A brand new 7/16 "aircraft" drill bit.  It's waaaaay too long for this job--around 14".   Most of it is shank as they're used to drill holes in odd, tight locations with poor access--like wings and fuselages.  The blue tape is to protect the flutes...


...while I shorten the shank.


Looks about right.  


Progressively drilled with larger sizes until finishing with the 7/16"--the OD of a Crosman 22XX barrel.  Didn't have to through drill with the 7/16"--only had to go about 3.250" deep.


Success?  Well, maybe just, "so far, so good".  Test fit a Crosman barrel and there's very, very little runout.  The barrel is exceedingly close to parallel to a straight edge set against the sides of the breech.  Yeah, my technical drawing there leaves quite a bit to the imagination.

Still a multitude of ways I can screw this up for the recycle bin.  More in a couple days.

Sunday, July 8, 2012

Tech Force TF79 / AR2078A Buttplate Update

Been meaning to taper the lower blocks of the TF79's buttplate.  Finally got on it.


Yeah, it's too blocky.  Kept putting it off as other things rose to the top of the pile for various reasons.  Looked at it the other day, but didn't think I could mill the angles into the semi-finished blocks with the clamping equipment on hand.


Then, I wondered if an insert vise would do the trick.  Handy work holding devices.  Got a couple in various sizes.


Scribed a ten degree taper with a protractor. 


The block sat a bit too low in the vise.  Settled on using an adjustable parallel.


The parallel sits in the bed of the vise and the work is set on top.


Like so.


With a protractor, I set up the insert vise at a ten degree angle in the milling vise.


Made passing cuts with a center cutting end mill until hitting the scribed line.


Some Anchor Lube kept the aluminum chips from welding to the cutter. 


Flip the part over and flipped the vise to cut the other side.


Once the angles were cut in all three plates, I had to deepen the counter bores for the clamping screws and re-adjust bolt lengths.


Reinstalled.


A bit more svelte than before.


Relatively happy with it.  I'll probably put a matte finish on the sides of the plates when it's not 100 degrees out in the garage.

More soon.

Thursday, June 28, 2012

A Few Ergo/Aesthetic Adjstments For The Air Match 600

Well, the size medium grip on the Air Match 600 was pushing my size large hand upward into the sharp bottom edge of the trigger guard.  Every time I should've been concentrating on the sight picture, I was thinking about the pain in my finger.  So, I pulled the grips off to grind away the offending area of the frame then got a bit distracted with all the other little things. 


As mentioned previously, the grips looked really dry...


And of course, the star washer in the palm shelf wasn't up to task and the shelf adjustment screw was starting to burrow into the wood.


Gently clamped the shelf into the milling vise and by using a drill bit that precisely fit the through hole, I centered the head with the x-y adjustments.


Without disturbing the set up, I changed the drill bit out with a 3/8" forstner.


Enlarged the counterbore diameter as well as deepened the hole just past the damage.


Faced off the end of a piece of 3/8" diameter tool steel in the Taig.


Spotted.


Through drilled with the same bit previously used to center up the shelf.


Cut a counterbore with a 1/4" drill bit modified to produce flat bottomed holes.


Measured the depth of the hole in the shelf then transferred that to the piece.


Also cleaned up the head of the M4 bolt to fit the new screw cup and test fit.


The grips had a few stray sanding marks from the factory.


Gave the wood a couple coats of Minwax Golden Oak.  Really just wanted something light to enhance the color.


Much nicer.


Finally, the sharp edge of the trigger guard.  I highlighted it with a silver Sharpie.


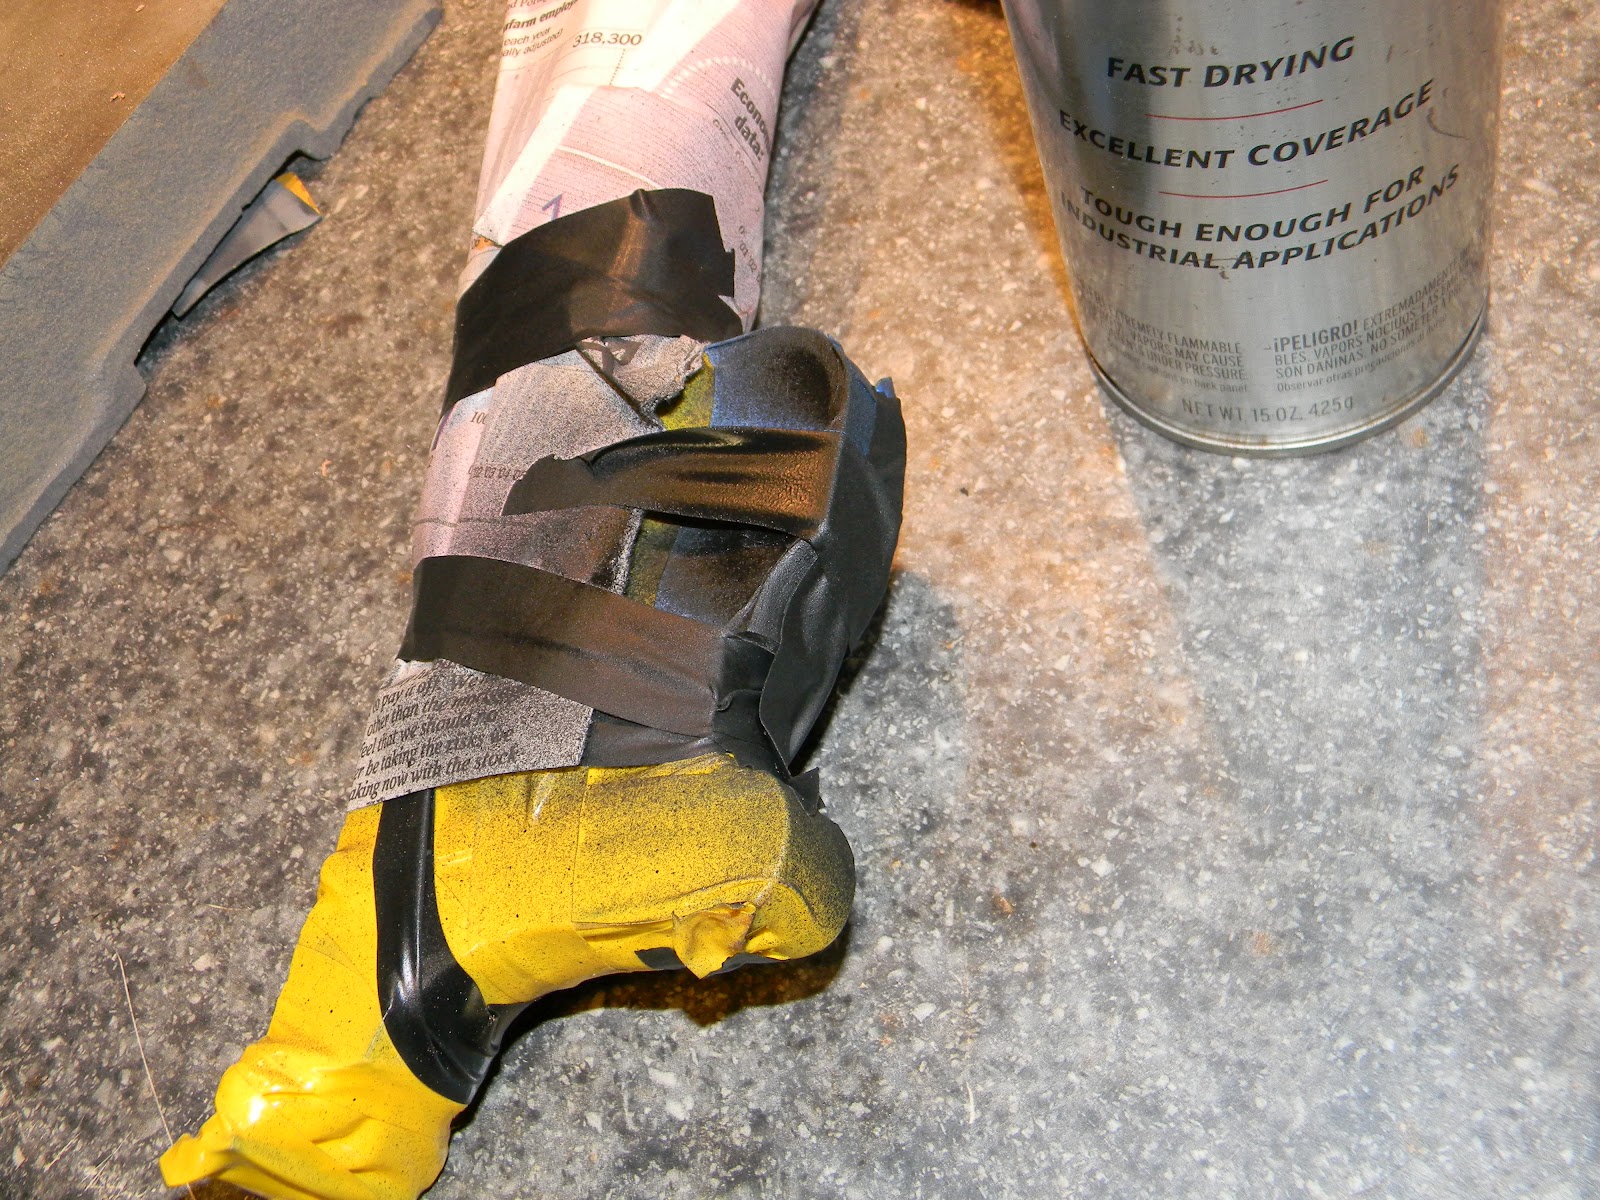
Taped the heck out of the gun to keep the grinding dust out.


Selected a small sanding drum and removed material until it looked about right.


Bitey edge begone!  All that other stuff just to get to this.


Really should install the grip and see if it fits my hand, but it somehow made more sense to finish wrapping the gun and repaint the exposed edge.


Not pretty, but it's covered--save for the newly beveled edge.


Sprayed with Rustoleum High Performance Enamel Flat Black.  Dries to the touch in 10 minutes or so.  I left it alone for about eleven hours then put it all back together.  Not shown:  Resprayed the barrel weights as there were several shades of black going on there.


Here's the relieved edge after paint.  Blended perfectly.  The trick was to not get too much paint thickness.   Refinished grips now have a bit more color and sheen than previous.


And a couple pics of the new screw cup for the palm shelf.


Both the cup and the screw head were heat blued with a torch.


Weights.


The relief cut on the trigger guard turned out to be exactly right to fit my hand.  A small success!  No more pain when shooting.


More soon.