Saturday, January 21, 2012

Benjamin Sterling HR-81 Fallback Plans A and B

Not to be deterred by the defective compression tube on the Sterling, I went back up to Precision Airgun in Maple Heights, OH and showed the bad tube to Chuck.  He had a couple more Sterlings still in inventory, but not another .20 cal.  Neither of us wanted to cannibalize another gun just for the compression tube, though he seemed less concerned than me.  He dug around for a few minutes and found a cutaway/demo HR-81. ???!!!! Who has this kind of stuff lying around?


The tube looks intact. It was obviously made to show the unique bolt loading design.


Made from early (pre-Benjamin marked) components.  Maybe this was a way to use up some of the leftover British components.


Right side.  This is the bolt loading trough.  Note the line of brass at the brazed joint.


The cutaway on the left side shows a non-lead synthetic skirted pellet just forward of the air transfer port.


The bolt locked in the forward position has an o-ring to seal just behind the port.


Disassembled as in parts 1 and 2.  The trigger housing was cut--probably to show sear engagement and trigger function.  Certainly gave me a better understanding of their relationship.


After looking at it for a few minutes, I decided there just wasn't enough metal left in the housing to support the sear pivot pin.  There were also some small dimensional differences at the front of the tube that would've made retrofitting more difficult.  Reluctantly, I went back to see Chuck with the bad news.


He sent me off with another Sterling--this one in .22 cal--and told me to bring back whatever spare parts were left.  There's probably not a single thing wrong with the Sterling in .22 cal, I just want a .20 for some reason.  Certainly has something to do with losing two .20 cal rifles a few years ago--a Beeman R10 Deluxe and HW-77k.  Replacing my youth.


Took this one apart a bit differently.  This is a better method for the Sterling.  After removing the rear sight, I pulled the cocking lever then unbolted the intact compression tube from the breech.


My spring compressor is cross drilled for 3/4" dowel rods so the bed can be shortened to any length necessary.


The was much easier than working around barreled action with that protruding globe front sight.


OK.... There was almost a second of consideration about using the piston from this gun to simply replace the smashed one from the first.


Except the crash bumper is already deformed.  This is from sitting for years with spring pre-load.  No, I didn't shoot the gun beforehand.


Lemme see if I can get the camera to cooperate.


Remnants of the bumper in the air transfer port groove at the front of the compression chamber.  Which is nice.


Dug it out with a wooden matchstick.

So, the tube itself is a go, but the piston head design is a problem--at least in respect to sourcing replacement ring seals and perhaps also the design itself is flawed.  Then again, the bumper material is twenty years old...  Was the bumper found to be necessary or was it a design error?  Certainly can't presume to know more than the engineers who designed the gun in the first place.

In considering how to remake the piston, I don't know if a parachute seal will fare any better against that groove in the front of the tube.  Seems reasonable to start with the damaged piston and make it work with a readily available commercial seal.  Maybe something with a sturdy looking edge, certainly the groove itself is the issue.   Sorry, I'm just talking to myself here...

As always, more soon.


Wednesday, January 18, 2012

Benjamin Sterling HR-81 Tear Down Part 2

With the piston looking like this after just a couple shots, I found myself...concerned.  I'm not sure that's the correct word.


There are--or were--two black flat rubber seals with an o-ring underneath each.  The pinkish center piece looks like simply a bumper to protect the face of the piston against contact with the front of the compression tube.


After digging the mess out, it looks like the bumper was glued in place. 


Let's see what's going on.


There's a huge blob of excess brass in the end of the tube. 


Huge amount of overfill from brazing the front of the compression tube cap to the body.  Tube is shot.  I kinda doubt Crosman has any of these compression tubes laying around.  It's been probably  twenty years since the gun was in production.  For most of us, this would be the end of the project.  I think I've got an ace in the hole this time around.  More on that later.


There's absolutely no good reason to remove the compression tube for normal maintenance.  So don't bother with the following step:  The compression tube is affixed to the breech block with two socket head cap screws.  A 3/16" allen wrench didn't have enough swing room.


The bolts were extremely tight.  I didn't think they were coming out without heat, but a longer handle and additional pressure did the trick.


An o-ring seals the compression tube to the breech.


Might as well finish this.  A small set screw retains the bolt handle.


Like everything else on this gun, it's SAE.  I didn't measure it, but I think it's a #8-32.


I expected the bolt handle to pull out after removing the set screw, but it was threaded into the bolt probe and has to be unscrewed.  The probe is pretty long, as is the spring behind it.

Next time around I'll see what I can do to source another compression tube.  I'd rather not return the gun as I haven't seen another in .20 cal.   I don't like the piston seal design so I may retrofit a parachute design seal.

We'll see what happens.

Saturday, January 14, 2012

Benjamin Sterling HR-81 Tear Down Part 1

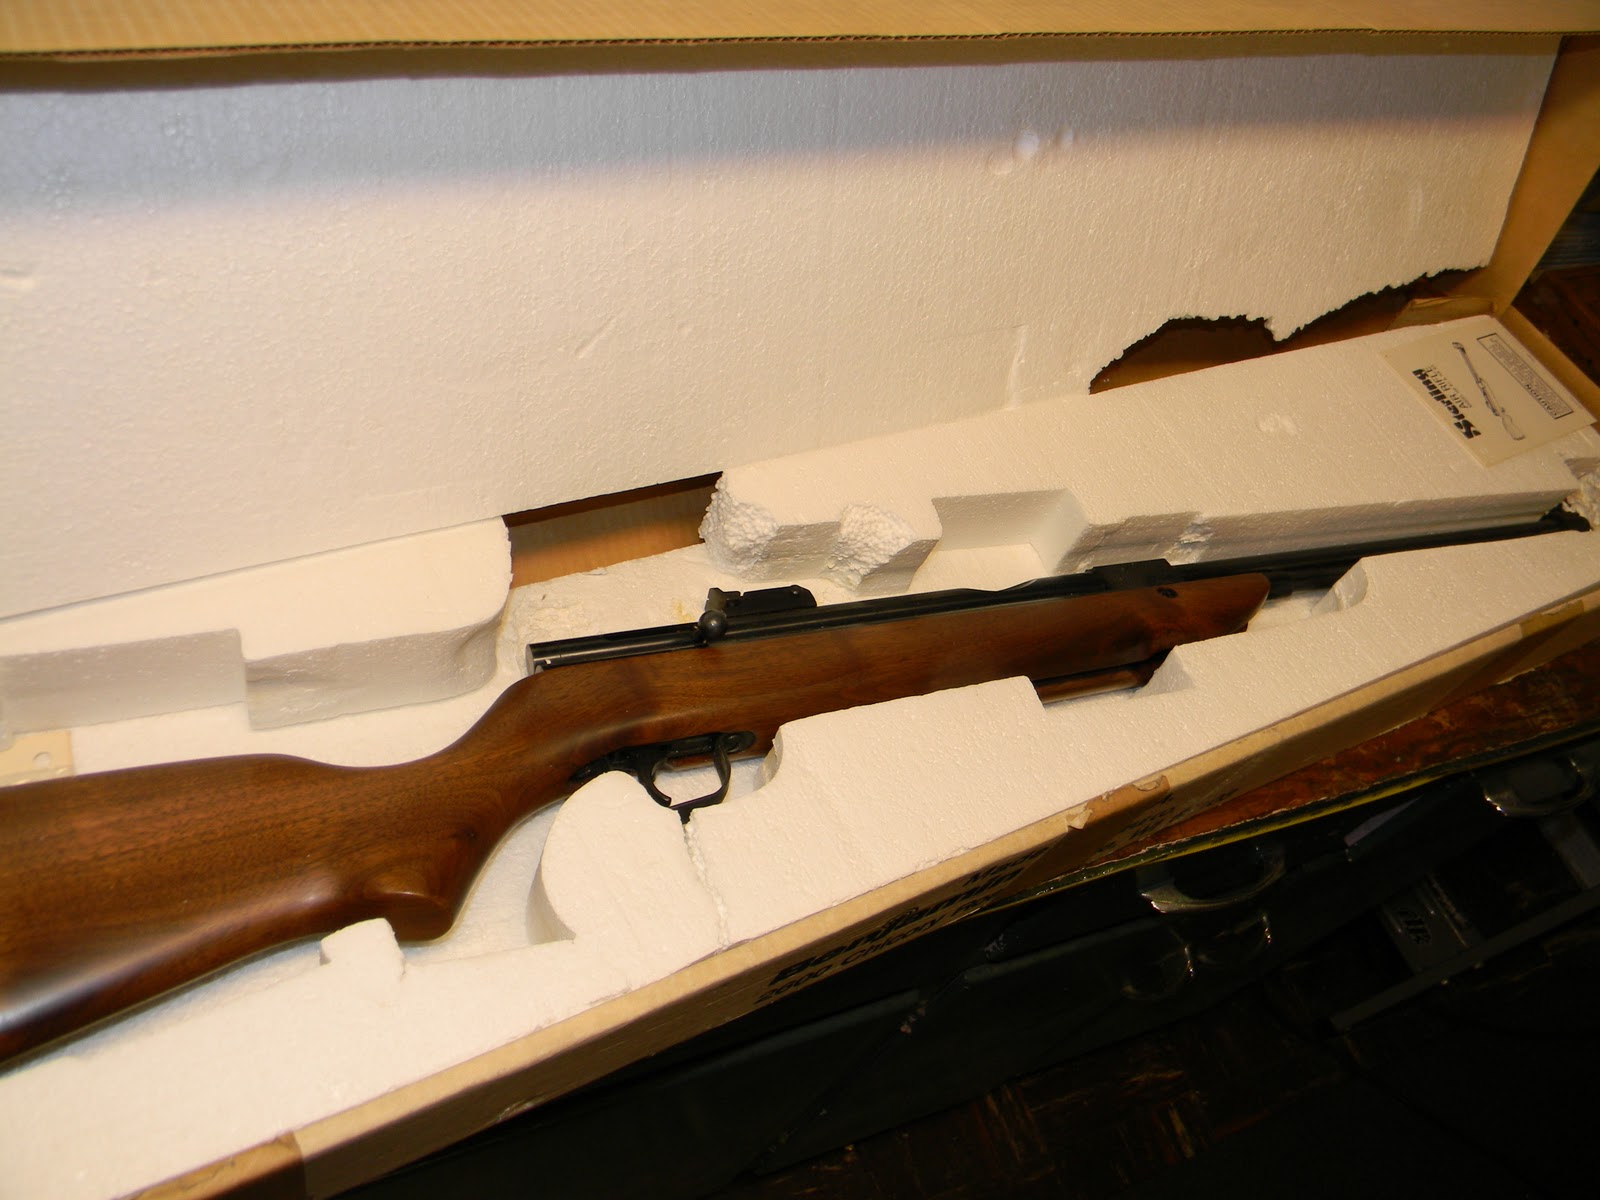
Started to tear down the Sterling the other night.  Technically, this is a Benjamin Sterling as it was made in Racine, WI.  This gun is a .20 cal.  And .20 cals are typically Sheridans, so shouldn't it be a Sheridan Sterling?   I probably ask too many stupid questions.


Started by removing the two forward stock screws.  Note, these are SAE fasteners--not metric as on the original British made Sterlings.


Removed the rearmost screw in the trigger guard and action lifted out of the stock.


Popped off the circlip on the rear sight elevation pivot.


Unscrewed the right side bolt and the sight and elevation spring came off from the base.


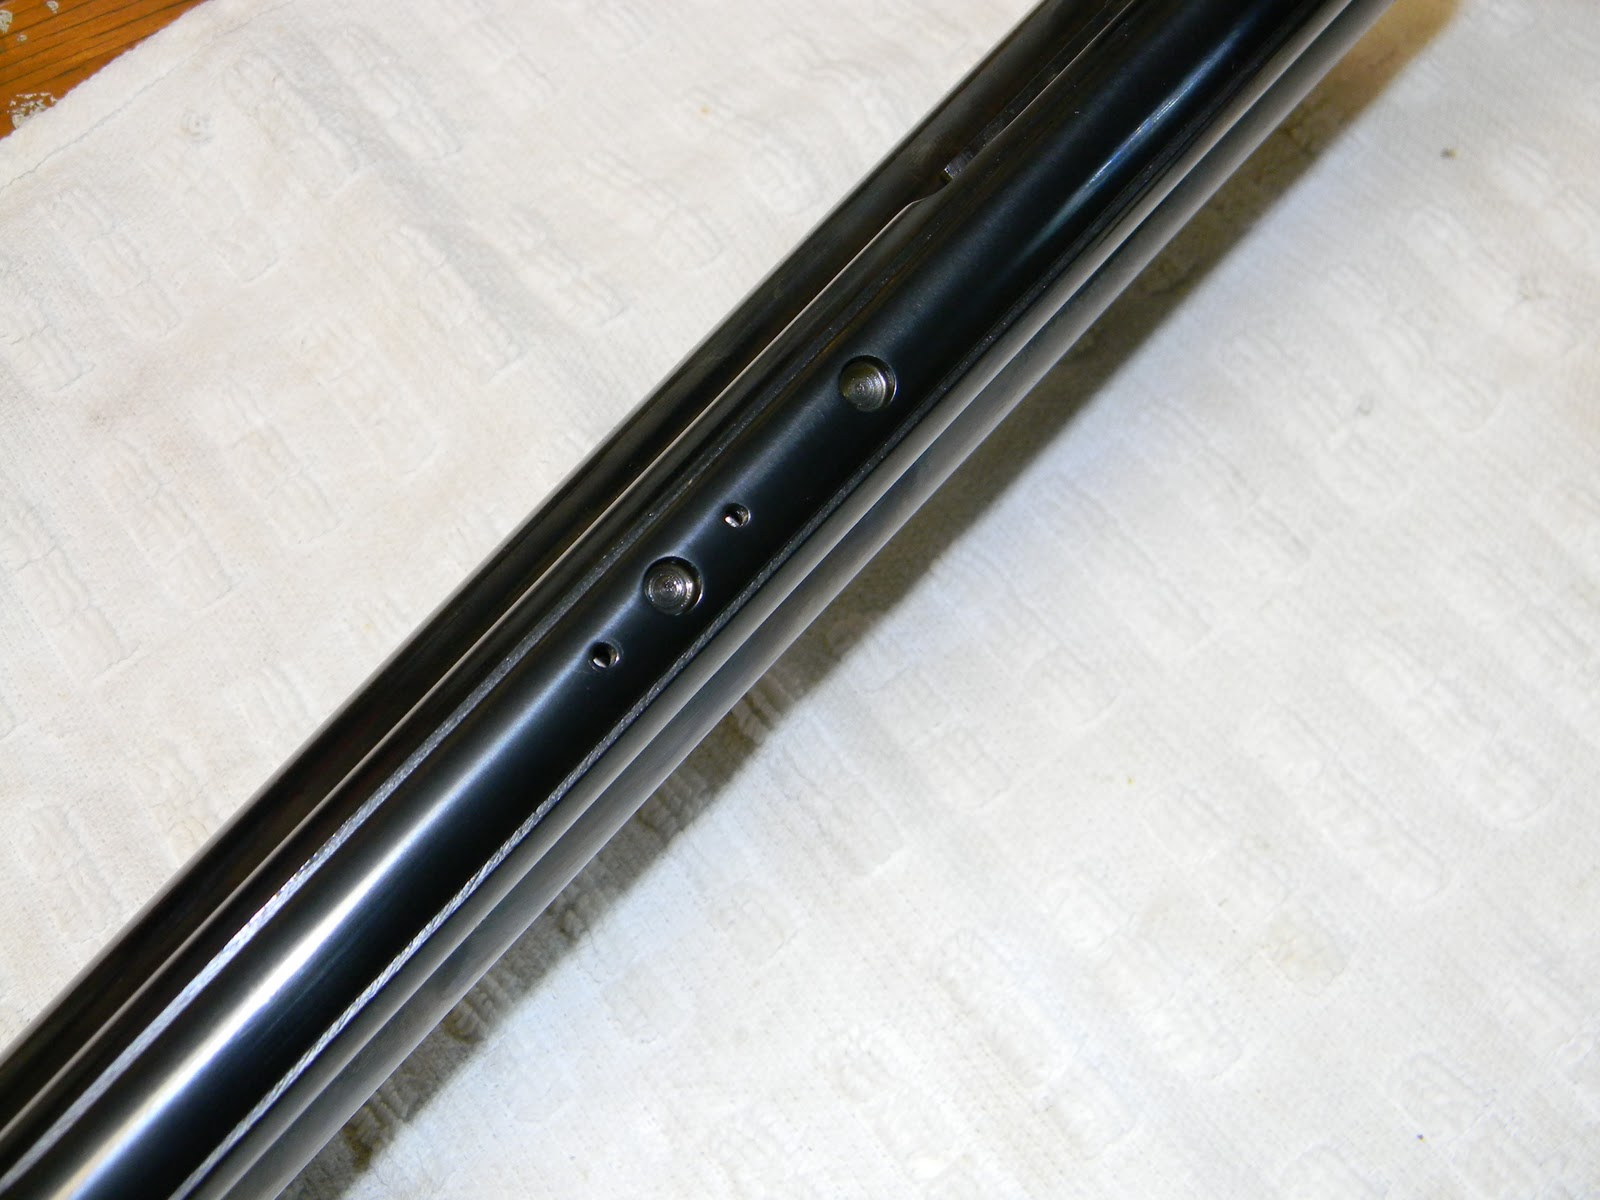
Two small screws and a recoil pin hold the sight base to the upper tube.


Just a pic of the holes in the tube.


As I had no idea how much preload was on the mainspring (--though I swear that several old sources reported that the preload was absolutely minimal) I threw it into the mainspring compressor.  The brass drift is in the through hole in the end cap to act as a handle.  


End cap was unscrewed and the spring pre-load backed off.


That's a good 3+ inches of pre-load on the spring.  I sure wouldn't call that "minimal".  I think we should add this gun to the list of "should use a spring compressor for disassembly/reassembly."


Thirteen and a half inches of spring.  Shades of the Feinwerkbau 124.


This is quite possibly the longest factory spring guide I've ever seen.  The steel guide is roll-pinned into the threaded end cap.  Does anyone know if the British version has a threaded end cap or was this a tongue-in-cheek warning shot at the old Beeman "Tap the Cap" ad campaign?


There's another end cap on the upper tube.  Double threaded end caps.  It's like they're hitting Beeman with both barrels.


Threaded the mounting bolt into the bottom of the cap...


and unscrewed it from the tube.


Like so.


Couldn't get the pivot's lock bolt to move with a regular screwdriver.  The small ratchet handle in the Chapman kit provided enough leverage.


After its removal, the main pivot bolt is unscrewed from the right side.


With the pivot bolt removed, the cocking lever can be pulled out enough to disengage from the piston.


Interesting.  The compression tube is bolted to the breech block.  


Pressed out the sear pivot with a brass drift.


The sear is now free to drop down enough to allow the piston to pass.


Piston didn't want to come out.  Really tight.


Awesome.  My brand new, old stock gun has a smashed piston.


Double ring seals with a center bumper. 


It's cracked, too, just for good measure.


I'll assume that's why it didn't want to come out of the tube.  I can probably salvage this a couple ways.  But the pertinent question is why? 

More soon.