Sunday, June 19, 2011

An Accesory Rail for the Haenel 303-Super Part 2

Almost done. The last test fit provided the mounting screw locations for the rail. Scrounged up a couple #8(?) stainless steel wood screws then center punched the rail.

A scrap piece of aluminum channel was used as a backer. This keeps the hole from burring on the bottom of the drilled piece when the bit punches through.

Like so.


No burs. Can see the radii filed into the ends of the rail.

My countersinks were too wide to fit into the top of the channel, so a drill bit was re-pointed to match the taper of the screw heads.


Need to drill the stock.

A transfer punch to mark pilot hole locations.

Just left the rail in place and drilled through.

Screwed down the rear of the rail then drilled the front pilot hole. Took absolutely no chance of the rail walking in the slot.

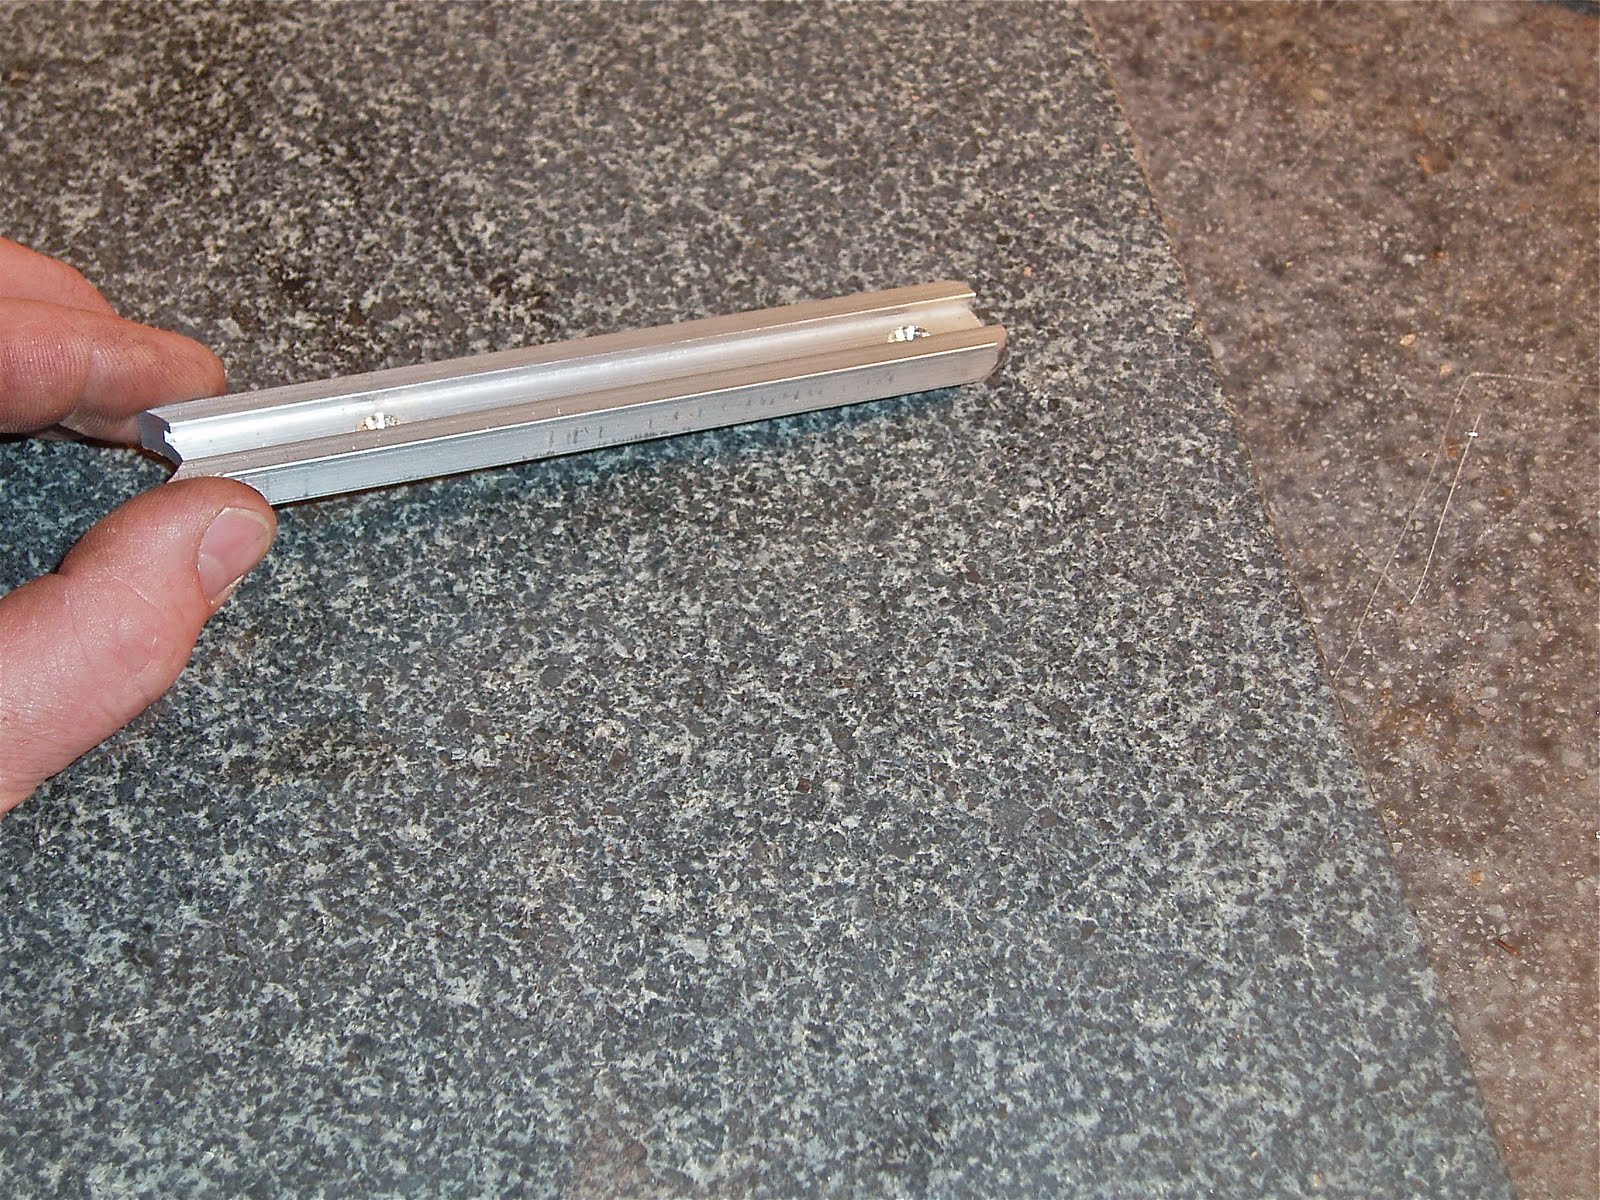

The visible face of the rail has a few stray scratch marks from the drill press table.

Some 500 grit emery paper wet with WD40 gave a nice satin finish. Cleaned up that half-round forward edge as well.

Before running the screws home a final time, I coated the threads with beeswax.


The wax reduces the torque needed to seat the screws, helps seal the wood and acts as a thread lock.


A few rail accessories. An Anschutz palm rest, an old Uncle Mike's (?) anatomic hand stop, and a basic hand stop/sling swivel.

Too much. Massive overkill for such an otherwise light rifle. Save this for the LG-380. Somebody should clean off his workbench... Wait--that IS clean.

The basic hand stop is about right for this gun. Gives a sling attachment point and a consistent and repeatable hand position.

The rail allows the hand stop to be positioned fore and aft to fit the shooter's preferred location for the offhand.

Probably stick with this one. It's at least a couple decades old. Think it's an Uncle Mike's.

Grab the forend and slide your hand forward until the web of your hand between the thumb and forefinger is against the rear of the hand stop. Doesn't feel quite right? Move the hand stop fore/aft and lock it back down until the balance point suits.

Gotta look around for the next project. Surely, there's something around here that needs some attention.

An Accessory Rail for the Haenel 303-Super Part 1

One of the final things I wanted to undertake with the Haenel 303-Super was inletting and adding an accessory rail under the forend. An accessory rail is basically a T-track and it's handy for attaching slings, hand stops, palm rests, bipods and what-not as shooting aides. Yep, should've considered this when refinishing the stock. But it's not like I have a plan here.

Anyway, I bought a piece of Euro-sized accessory rail from Champion Shooters Supply a while back but was reluctant to do the install. Figured I'd screw up a virtually irreplaceable vintage stock. The slot wouldn't be straight, the edge would tear out, the slot wouldn't be parallel... Or most likely, all of the aforementioned would occur simultaneously. Valid concerns that gave me great pause. Other considerations included what to use to actually cut the slot, as well as how to do the least amount of finish damage to the gun stock. The good news was the Haenel's blocky profile and deep forend provided generous wood depth to work with. The blocky shape proved to be key. Both the sides and top of the stock have zero taper--so those edges could be used as a cutting guide.

Opted to use the drill press instead of a router for some sick reason Made a simple fence to bolt to the drill press table. The cherry base and white oak for the fence were chosen because they were on hand and dead flat. I screwed them together taking care the edges met at 90-degree angles. Two counter bored holes for through bolts lined up with the drill press table slots for positioning.

OK, the plan: The stock will be pressed down against the bed and back against the fence slightly as it's fed into the cutter. Moving the fence on the table lines up the bit to cut a parallel slot. I'll make slightly overlapping parallel slots until I have one large slot of the correct length, width, and depth for the rail. Piece of cake. Hmmmm. Did I mention that the stock is vintage and probably irreplaceable?

Gave the fence a heavy coat of paste wax to hopefully protect the stock from scratches. Found some scrap black walnut and made multiple test slots. Then made some more. It'll take multiple passes to get the width correct. Called it a night and slept on it.

A couple days later, I screwed up my courage, pulled the action from the stock and dusted off the rail.

Traced the rail onto the stock as guidelines. Set the depth. Waxed the fence again.

Switched from a 1/2" router bit to a smaller 1/4" as it worked marginally better during the test cuts. Double checked everything. Pondered, then flipped the switch.

Ran the bit at the highest speed and took my sweet time. Slowly make a pass, stop, readjust the fence to widen the slot slightly, cut, readjust...

Took a while to get the width dead on--and centered.

Dust blown out.

Deep breath for the test fit. The rail went in nice and snug. Not a hint of a gap at any point along the sides. Happily, the stock finish also fared well with zero damage to the sides. A couple small marks on top to repair, but nothing difficult.

Filed the back edge of the rail to fit the rear of the slot.

Cut the front to length and fit with a file. Sort of a half round radius on the front. Want to stain the slot ebony to protect and match the surrounding wood and those two very small scrapes to fix on the top of the stock need some Tru-Oil.

Just need to attach the rail then find some cool accessories.

I'll finish this in a couple days.

Thursday, June 16, 2011

Manu-Arm Piston Hijinks

I decided to try making a replacement piston seal that uses an o-ring for the Manu-Arm pistol.


DSCF0003


The Seal seems to be almost exactly 25mm.


DSCF0007


The underside of the seal.


DSCF0008


The screw. It has a 90 degree head…


DSCF0010


The piston face.


DSCF0013


Drilling some delrin. I ended up using a #4 drill which was the closest I had to the 5.25mm shank of the screw. I turned the body .976”, later ones I turned to .984”. Greater diameter leads to more o-ring support.


DSCF0016


Countersinking. The only 90 deg countersink I had was too small…


DSCF0018


So I set a boring bar to 90 degrees and plunged in to make the countersink. After this I found a 90 degree spotting drill that was perfect, used it on the rest of the piston seals.


DSCF0025


Grooving for an o-ring. I was aiming for about .005” over 5mm with the o-ring installed. But I only had a 116 o-ring and it lost diameter when stretched. Later pistons seals used #118 o-rings.


It shot about 360fps, which was slower than the 426 I got with the original seal. So as I mention above I made some more seals using 118 o-rings, and played with diameters and groove depths. Current seal I have installed is getting between 428 and 436 fps, which is slightly better than the stock seal. So the design works fine.


DSCF0007


Seals…


DSCF0009


You can see the difference in groove width & diameter. The left one is the current successful design. Both have #118 o-rings. At some point I’ll actually follow the procedures Parker recommends and grind a proper tool, etc.

Saturday, June 11, 2011

Beeman R1/HW80 Caliber Change

I'll cut to the chase as I'm time crunched today. I have a .22 cal Beeman R1 (HW80) and I wanted to convert it to .25 cal. Long story involving having a .25 cal R1 years ago, the gun was stolen, couldn't replace it with another .25 cal at the time so I bought a .22 cal and...blah..blah..

So, after almost three years of looking, I was finally able to pin down a .25 cal barrel/breech block last week. The replacement Weihrauch barrel assemblies don't come with a cocking lever arm attached. The cocking arm is riveted to the bottom of the breech block. A spare rivet is not provided--but can often be ordered. I opted to not order the rivet.

No pics of rifle disassembly as we've covered it before here. I pounded out the rivet holding the cocking lever to the .22 cal breech block and set the .22 cal assembly aside--maybe for good.


Often, the rivet can be reused, but not this time. The pin has a 5mm shaft diameter.

Lacking a piece of metric drill rod, I turned down a piece of 0.250" W-1 steel to the required 5mm diameter. Actually, it needed to be 4.99mm.

Cut the new pin a few thousandths longer than the width of the breech block.

Used a file to bevel each end into a slight dome.

I've seen a couple one-off replacement cocking lever pins that have used e-clips on each end. That looked like it would require widening the slot in the forend of the stock. Too much work for a guy like me. Figured there was another way.

Center punched the breech block.

Didn't bother to fixture the breech. I lined up and drilled through with a #36. Not shown: Tapped the hole with a #6-32 plug tap.

Filed a small flat on the pin for the set screw to bear against. This will lock the pin in position yet make it easily removable.

Breech block, pin, set screw and cocking lever. What more could a guy ask for?


Blued the pin with Birchwood Casey Permablue paste.


Set screw snugged down. Lucked out on the length of the screw. It's flush with the block. I like this more than the factory's method of assembly.

Done! Reassembled the rifle and now I can work my way through those thousands of .25 cal pellets that have been mocking me on the shelf. Should I ever want to revert to .22 cal, it's now a ten minute swap with the replaceable pin.

Something else soon.