Guess I'm on a roll. I liked the way the trigger turned out on the CP1-M last time around. Since I had a second IZH 61 trigger blade, figured I'd make something similar for a long gun. Looking at the candidates, the .25 cal QB project gun was volunteered.
Pretty much same deal as the CP1-M. Need a carrier with a stem to attach the IZH blade.

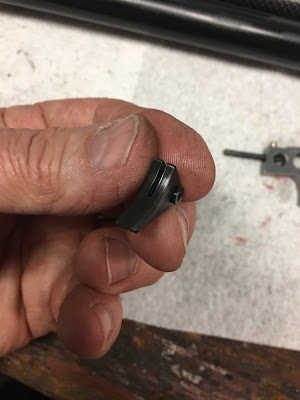
Pulled the trigger housing.

Removed the cover plate and took out the trigger blade.

A small piece of 1/4" thick 4130 steel. This is probably a bit easier than it looks. The only really important dimension is the pivot hole to the sear contact surface. And there's some grace in that dimension due to how the two arcs intersect.
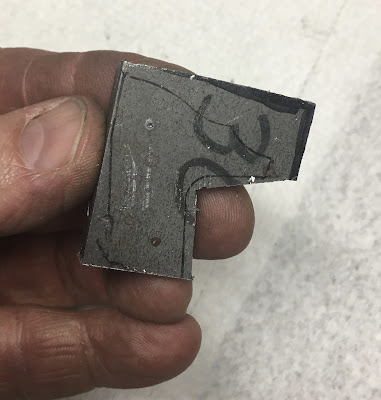
Traced the outline of the trigger and marked the pivot hole. Rough cut some of the excess away.

Milled two opposing sides for parallel...
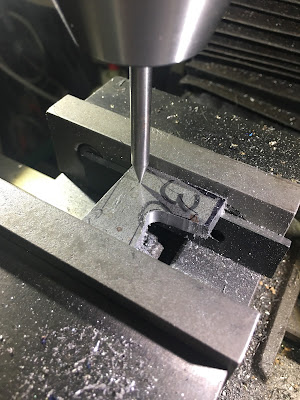
...so I could clamp it in the milling machine. A bit more shaping, then lined up for the pivot hole. Centered up with a point.

Spotted

Through drilled with a #31.

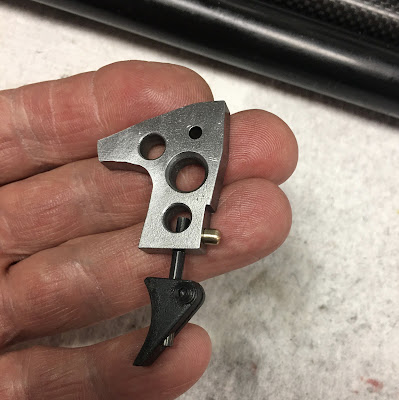
Copying the factory QB trigger, drilled some holes to remove excess weight.
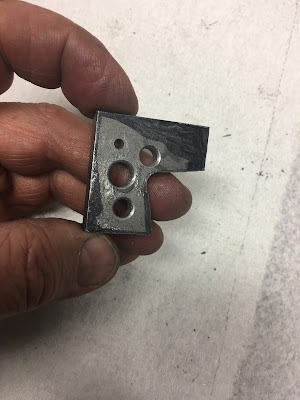
Getting there.

Some milling, some filing. Little of this, little of that.

The carrier needs a small boss for the trigger spring.

A brass rod was turned down to act as the base for the spring.


Cut off and the head rounded.

X marks the hole location.

I use this ground point all the time to pick up lines/locations.

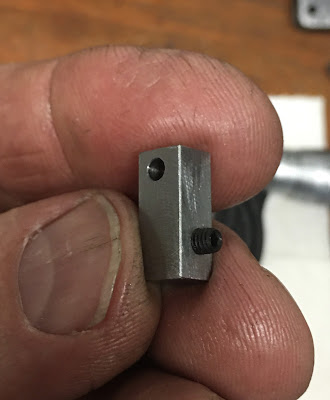
Spotted and drilled for the spring boss.

Finally, I figured out where I wanted the trigger blade and spotted then drilled for the stem.

Like so.

Just needs some spit and polish
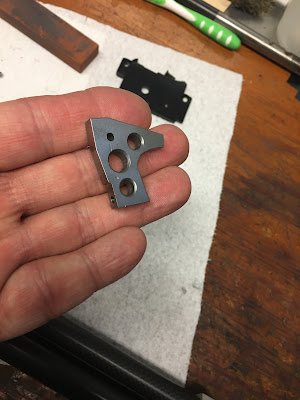
Knocked off the sharp edges then hit it on a brass wire wheel.


Test fit. Stoned the sear contact surface.

Pressed in the tiny brass base for the trigger spring.

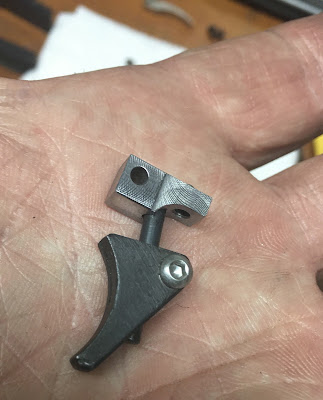
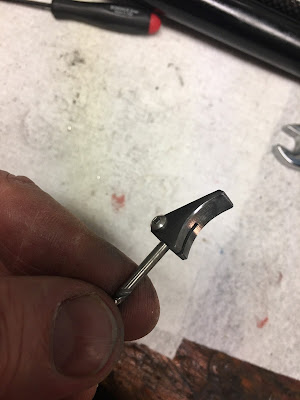
Cut a 3mm diameter rod for the trigger stem. Installed with a light press fit and some Loctite 680 retaining compound.

Test fit---gotta adjust the stem length before the Loctite sets up.

The IZH trigger blade isn't a precision finished part.
Clamped it to a spare 3mm drill shank and sanded out the face and radiused the edges.
Re-blued.

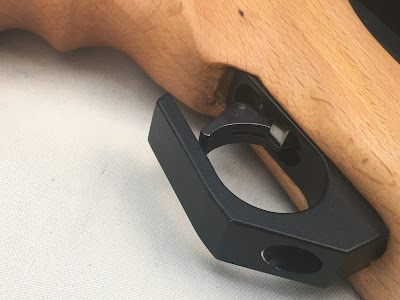
Assembled.

Mine's a bit chunkier. I'll leave it for now and see if there are any problems.

Here's that little trigger return spring boss.
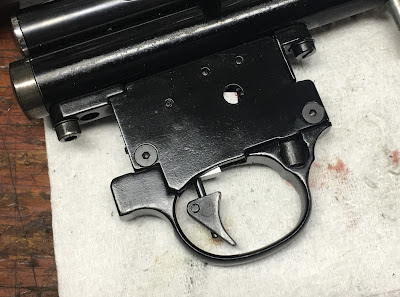
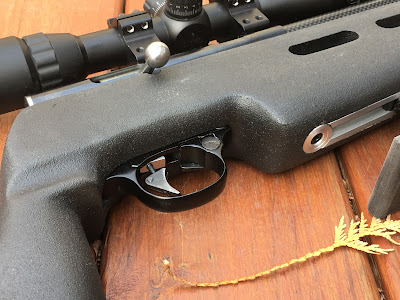
Buttoned up.
I'll recheck after getting some shots through, but I set the trigger at about 2 lbs of pull weight. Dialed in enough sear contact so the rifle will not accidentally fire even when banging the recoil pad against the floor.


Dunno what's on the menu next. Don't think it'll be another trigger, but that Belgian Hy-Score desperately needs a blade with more set-back--and that was the reason I snagged that plate of 4130 steel in the first place.
Merry Christmas and Happy New Year!
Thanks for checking in. I'll have another post soon.