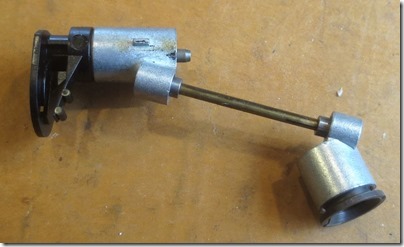
On I go…
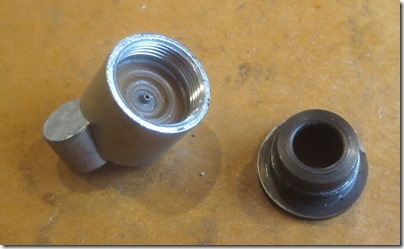
The cylinder plate pops off.
Nothing special about the valve tube.
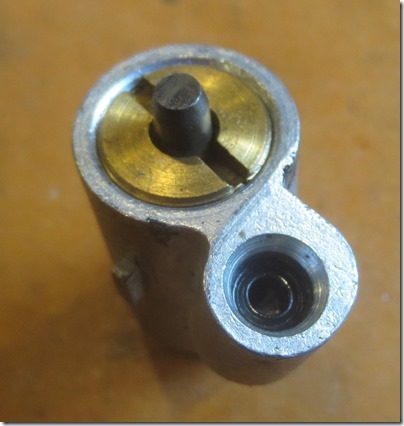
My valve tool may need some refurbishing…
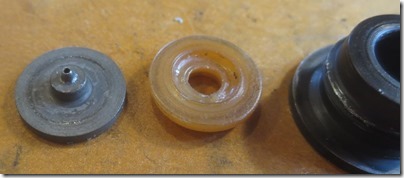
Crosman uses quad seals here. These seem pliable and will be reused.
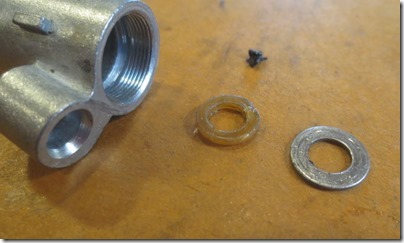
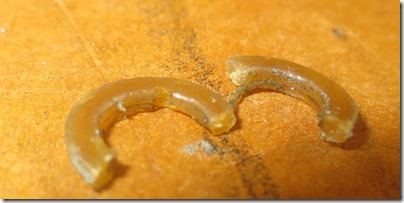
The #38-128 end seal is deformed and clearly not up to the task anymore. Luckily I had a few spares on hand.
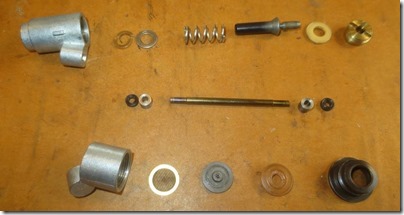
The guts.
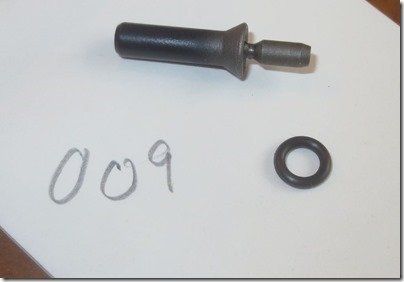
The #38-130 o-ring has given up the ghost. I replaced it with a 009 viton o-ring. Urethane would be better.
Not wanting to place an order for parts or spend more time making a seal than the gun is worth, I flipped the #357-041 valve seal over. It was still pliable. It had a scratch in the face that could have made the gun leak.
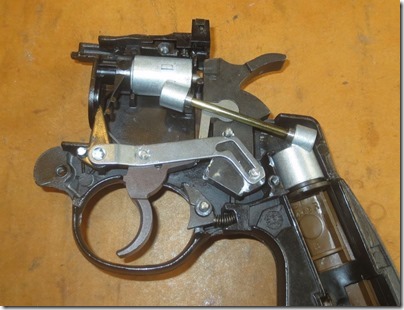
The gun went back together without a hitch, I suppose it’s possible that the latch support could shift, but it seems to lock up fine without play. It’s held gas for 5 days and shoots as accurately as one would hope. I didn’t chrony it because of general laziness.
Wednesday, March 1, 2017
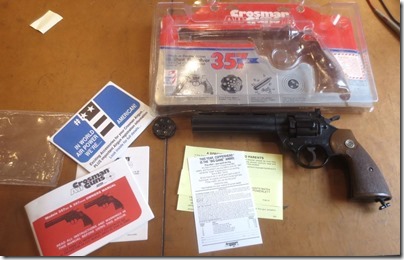
Crosman Model 357 (Phase 1) Disassembly, Part 1
A friend conned me into resealing a Crosman 357 revolver for him. I realized that we don’t have a full disassembly blog, so I’ll give it that treatment. The last one I disassembled using my patented explosive technique of forgetting that there was a full CO2 cartridge in the gun…
You can get the exploded diagram, etc. here.
1987 vintage.
Let’s begin.
.
Three screws.
The barrel pivot screw is longer.
The safety is best kept in the side plate so it doesn’t get forgotten.
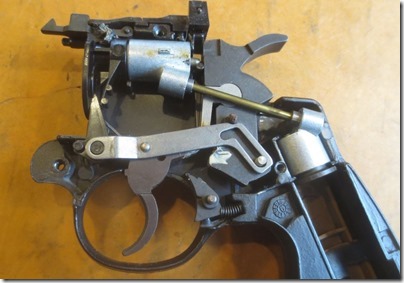
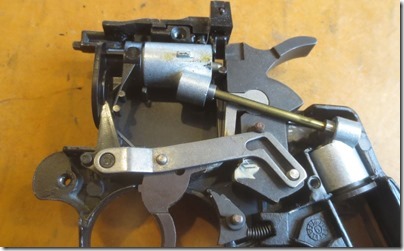
This is a handy picture as it shows the ideal state of things.
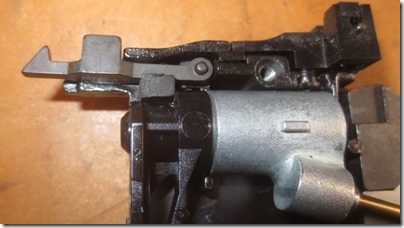
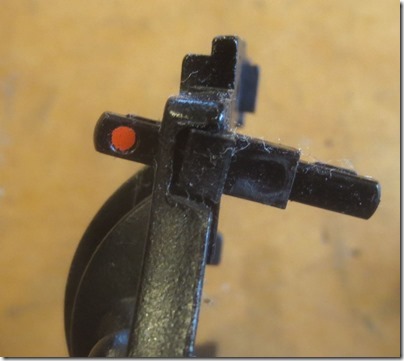
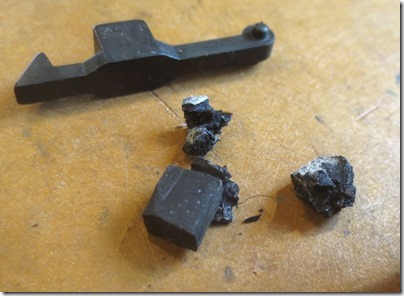
I’m not sure what all the odd hard rubber bits are as the main rubber spring for the latch seems fine.
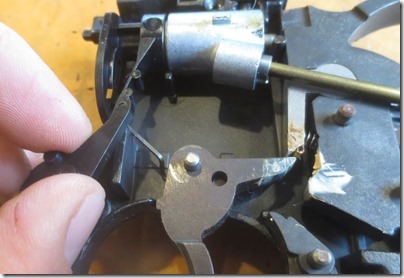
Removing the lever.
And the index finger.
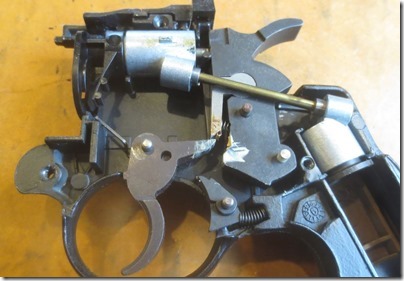
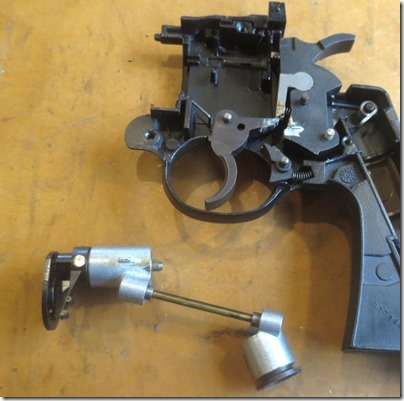
And the entire valve and piercing body assemblies.
The hammer spring also retains the Piercing body assembly.
Removed the hammer. Notice the solidified grease.
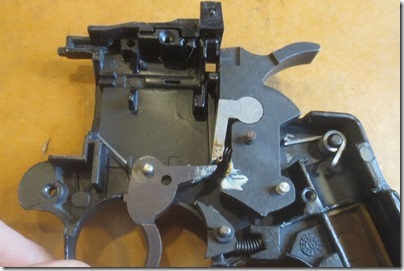
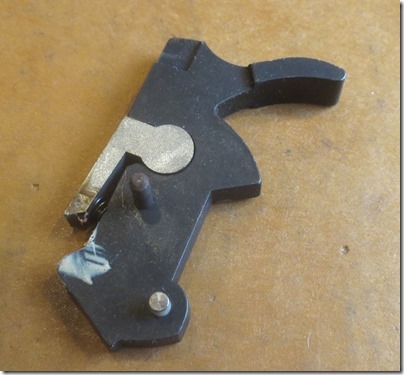
The safety link is behind the trigger.
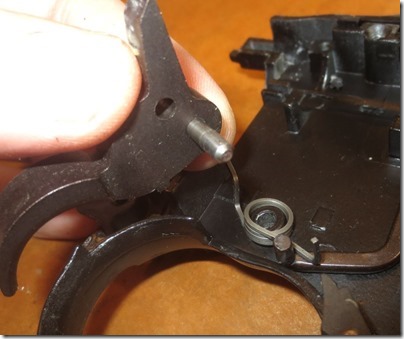
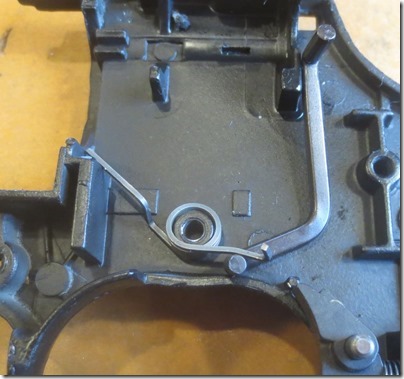
Trigger spring.
Just a couple of details. Part 2 to follow…