You can get the exploded diagram, etc. here.
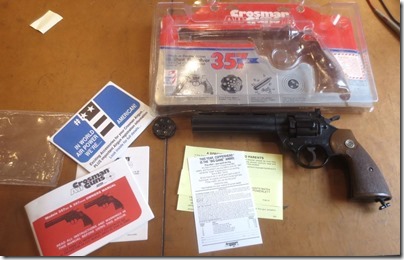


1987 vintage.

Let’s begin.
.


Three screws.

The barrel pivot screw is longer.

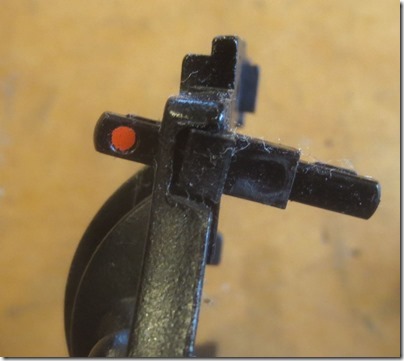
The safety is best kept in the side plate so it doesn’t get forgotten.
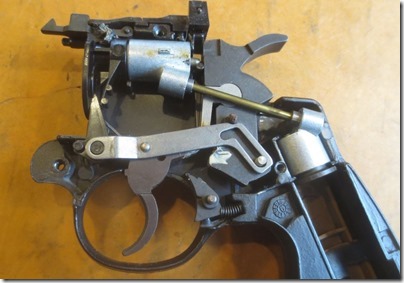
This is a handy picture as it shows the ideal state of things.

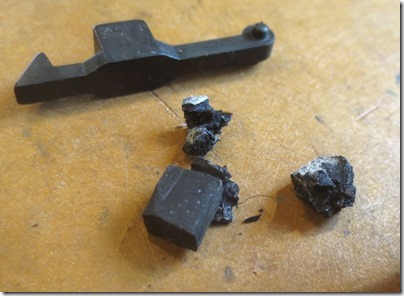
I’m not sure what all the odd hard rubber bits are as the main rubber spring for the latch seems fine.
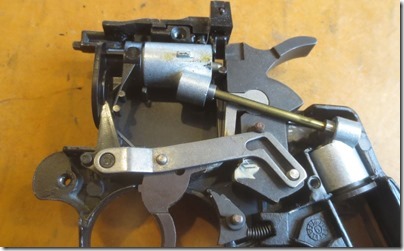

Removing the lever.
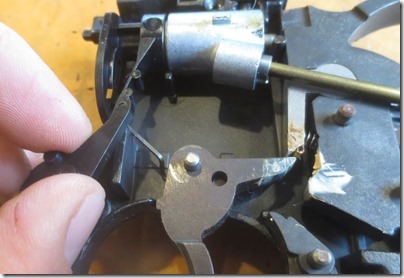
And the index finger.
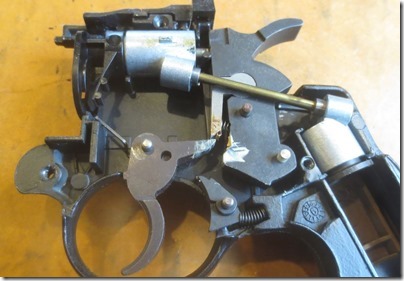
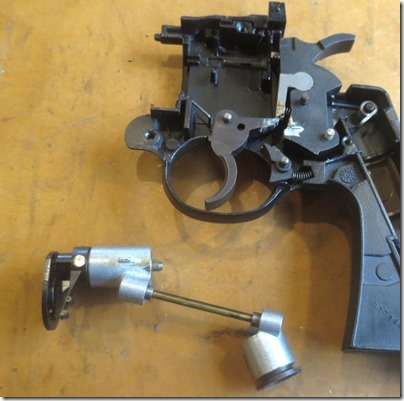
And the entire valve and piercing body assemblies.

The hammer spring also retains the Piercing body assembly.
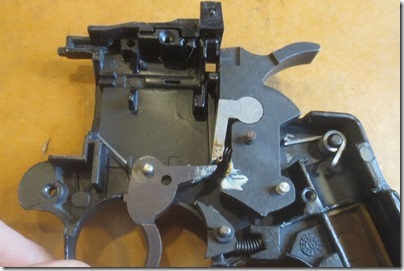
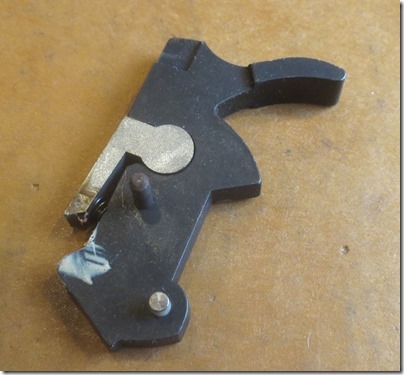
Removed the hammer. Notice the solidified grease.

The safety link is behind the trigger.
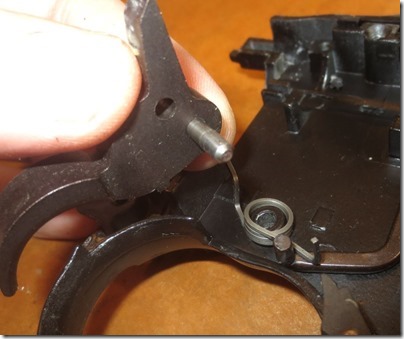
Trigger spring.
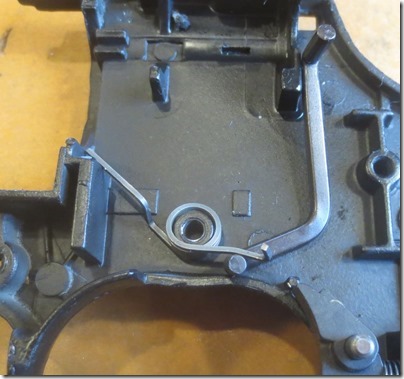

Just a couple of details. Part 2 to follow…
I'm not laughing at your first attempt to disassemble this. My 1st time ended up the same way, but parts flew all over the camp ground for me. Needless to say, I had to buy more. Nice article. Very detailed Nick
ReplyDeletePart 2?
ReplyDeletehttps://anotherairgunblog.blogspot.com/2017/03/crosman-model-357-phase-1-disassembly_1.html
ReplyDelete