The Christmas rush is over so I can get back to having “fun”with airguns. I say “fun” because the Rochester is definitely not a fun air rifle to disassemble, and I suspect reassemble.
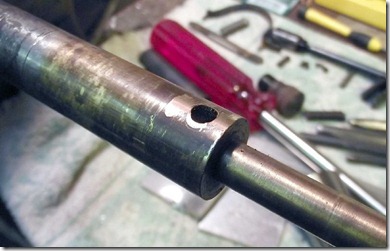
First thing, I filed any dings on the valve body down.
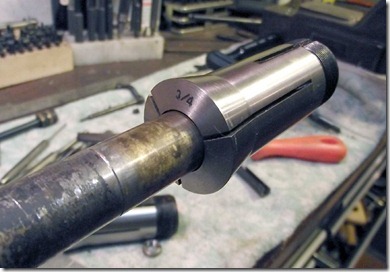
A 3/4” 5C collet fits.
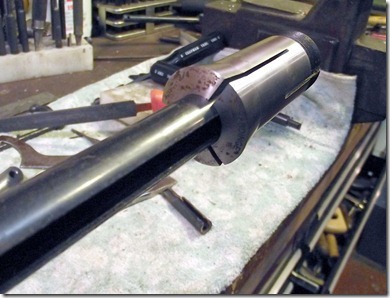
At both ends. This means I don’t have to make a special holder for the parts.
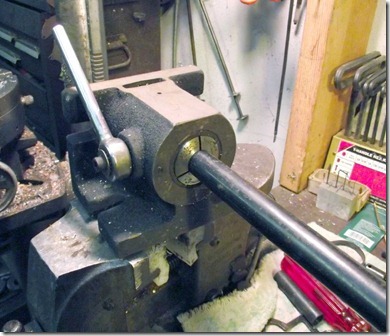
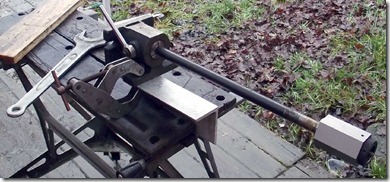
The tube mounted in a 5C collet fixture.
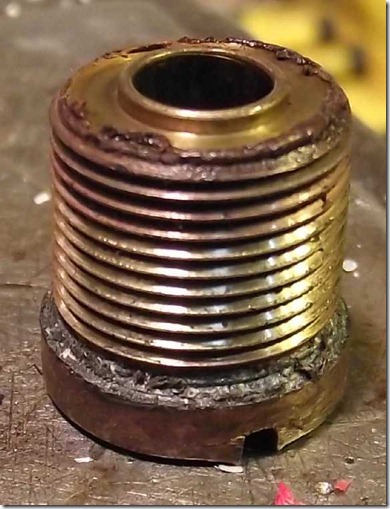
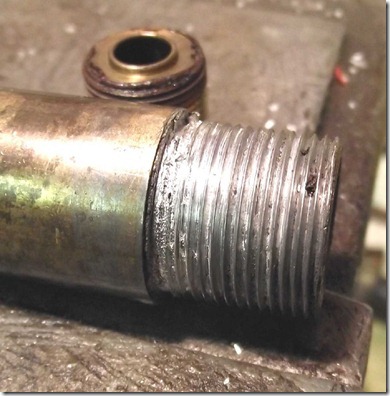
The valve in a 5C hexagonal collet block. I used the large wrench to the left to unscrew the halves…I did this outside as I used a propane torch to heat the join up until the solder started flowing. Once the solder was hot enough it actually unscrewed easily.
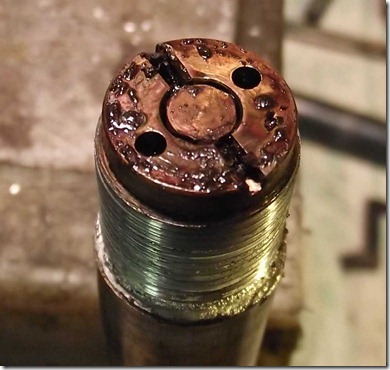
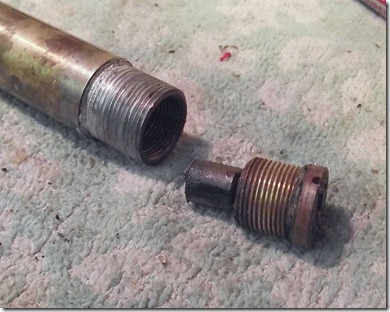
The valve. Note how much solder covers the threads.
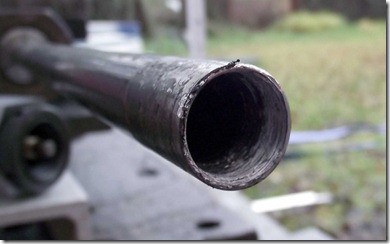
The tube.
Well you would think that the hard part was over…
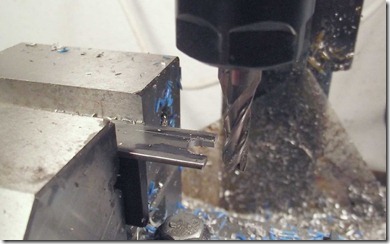
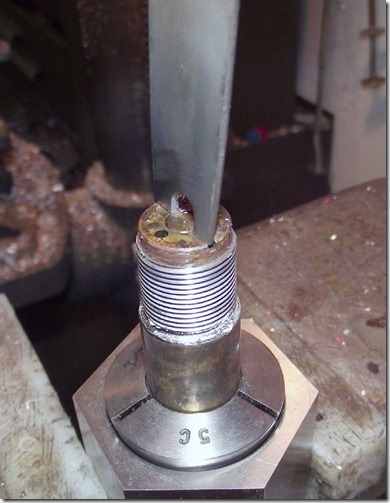
Milling a tool to fit the slot in the valve face.
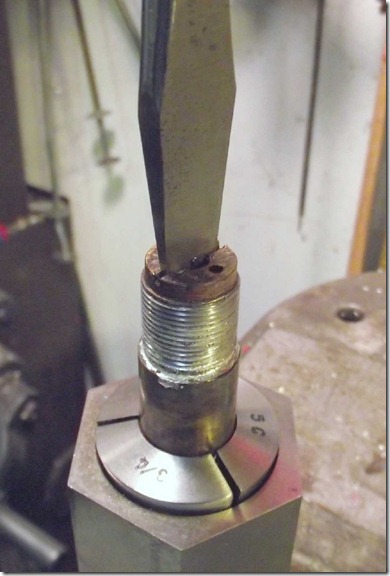
Stuck so tight the tool bends…
I realized that the check valve would move out of the way when pressed, so I tried a large screwdriver, and a few other things and it still wouldn’t budge.
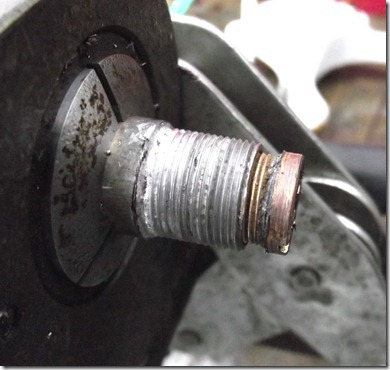
So back outside, I heated it up and whatever was holding it together let go. I took this picture and tried to continue unscrewing but it was stuck again…so more heat and it came all the way out.
Finally.
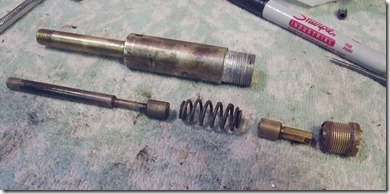
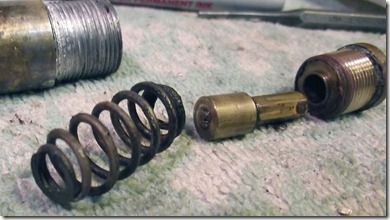
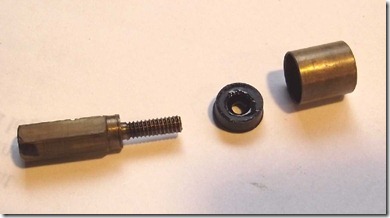
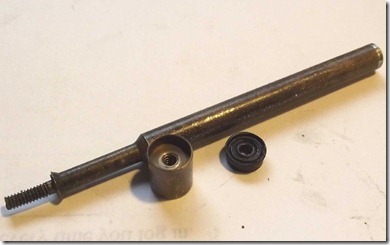
The valve parts.
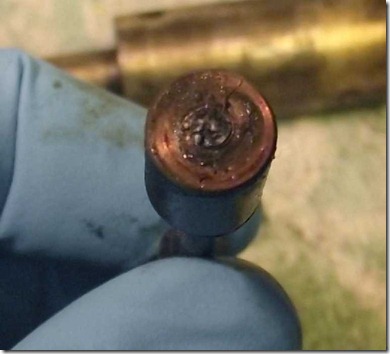
You can see the end of the check valve stem is peened over on the end…
As is the exhaust valve stem.
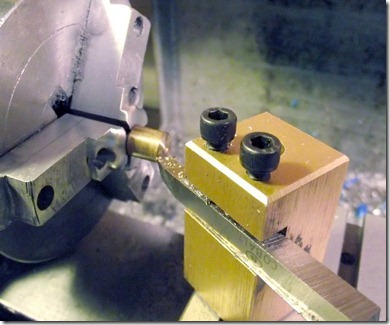
So I turned off the excess.
And the parts unscrewed.
Pretty simple valve, for all that work.
I think that I’ll cut an o-ring groove under the head, for easier service later.
Not sure about how best to deal with the reassembly to the tube as the slot on the tube and the transfer port have to be coplanar – I may cut an o-ring groove on the valve where it contacts the tube, and possibly pin the valve to the tube (with a tiny setscrew?) so that they stay aligned. This should seal well and make it easier to disassemble.
They really couldn’t have made this design harder to service if they had tried.

Looking at the earlier pictures of the gun for correct rear sight orientation the mounting/windage screw appeared to be facing forward.
ReplyDeleteThank you, thank you, I would never gotten that valve apart without your help.
ReplyDeleteJohn in Kansas