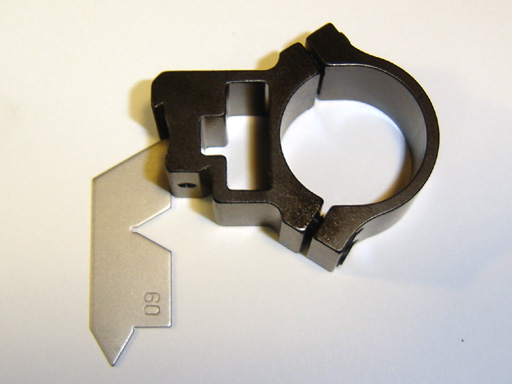
First I checked the dovetail angle of the scope mount.
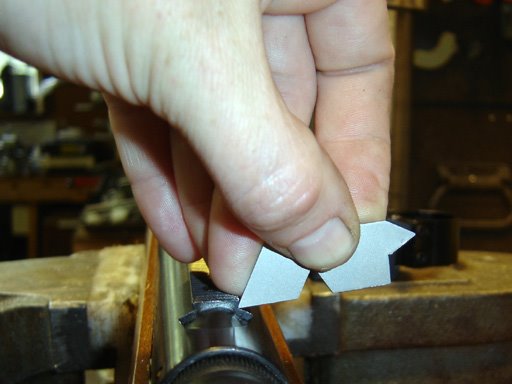
The scope mounting rail on the rifle seemed to be 60 degrees, or close enough...
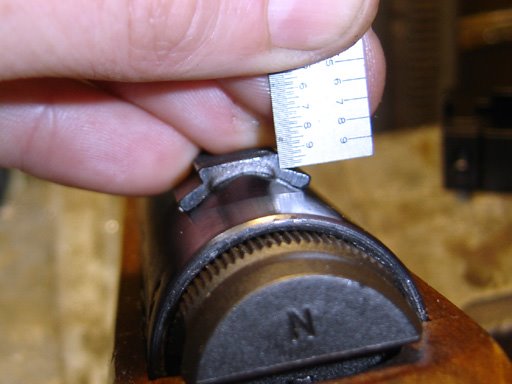
The height of the rail is just about .08"
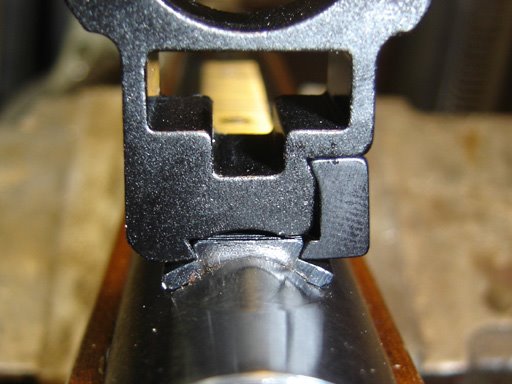
With the scope mount on, contact was only being made at the bottom corner of the dovetail.
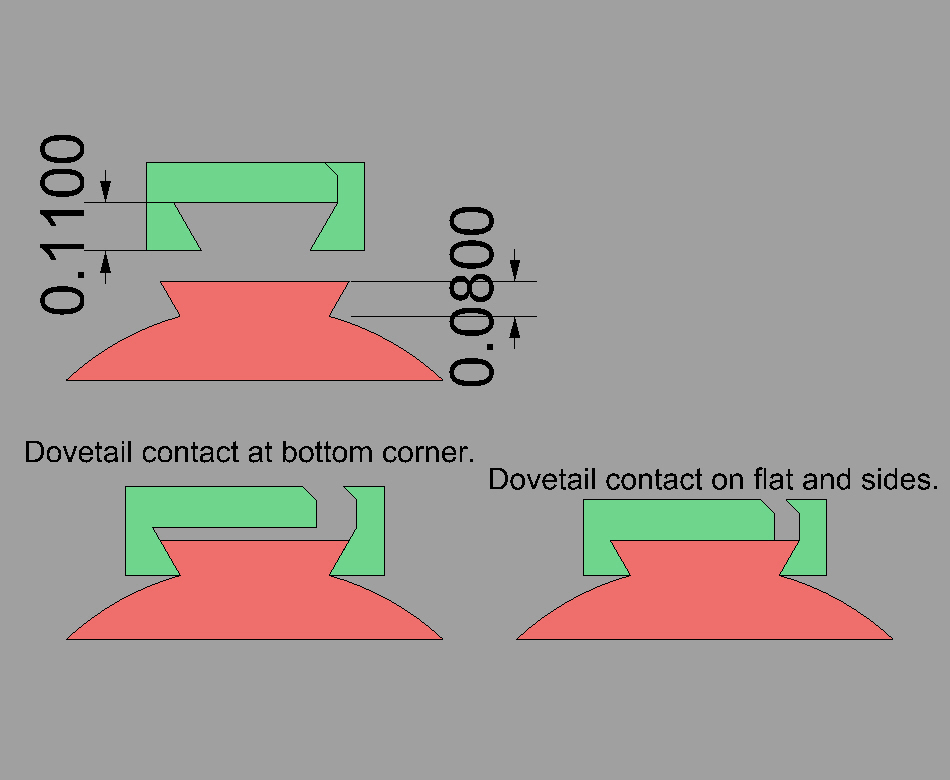
Generally, at least in the world of machine slides, you want better contact than just one plane. So I decided to cut about .03" from the bottom of the scope mount dovetail, which would allow the scope mount to contact the rail on the side and the top. This should both increase the forces on the rail, as well as keeping the scope mount perpendicular, rather than canting to the left or right.
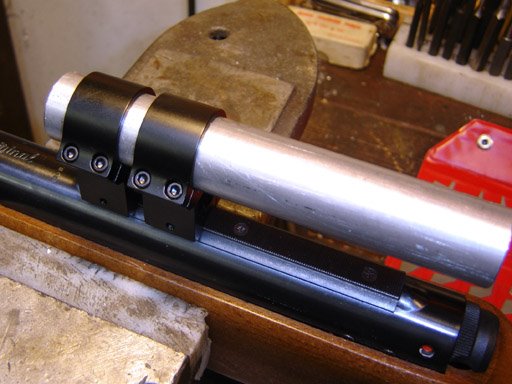
I had a 1" diameter bar of aluminum and clamped it in place of the scope. This allows keeping the two mounts in alignment.
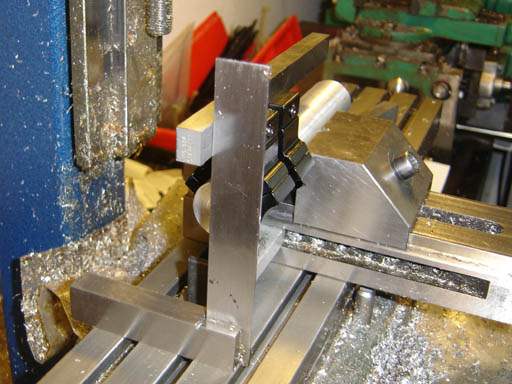
This was put in the vise and using a square and a parallel, I got it pretty close to perpendicular.
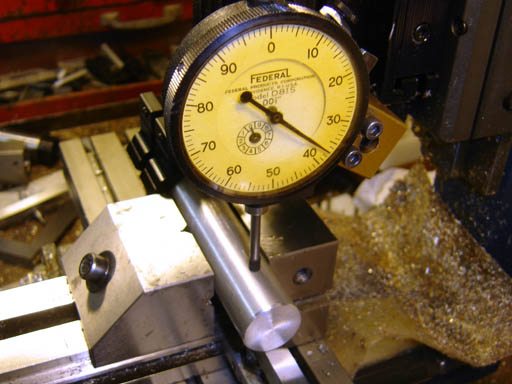
Then using a dial indicator I made sure it was level to the machine travel.
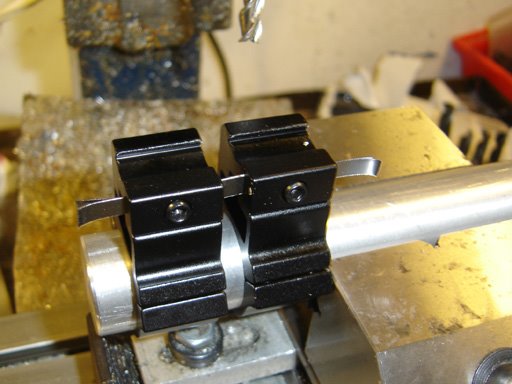
I inserted some shims (.01") to keep a load similar to that of the clamping forces on the dovetail clamps.
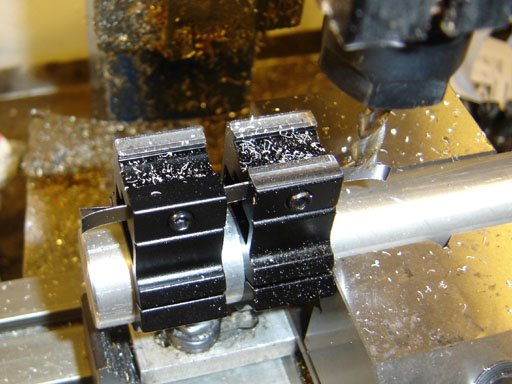
This was interesting. I took off .005" and one of the clamps didn't get touched.
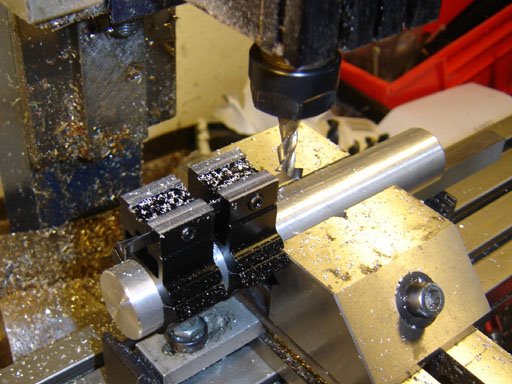
I continued machining down to .03" depth of cut.
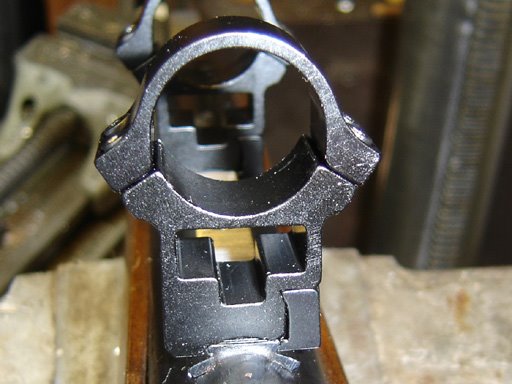
The mounts now are solid against the top of the scope rail.
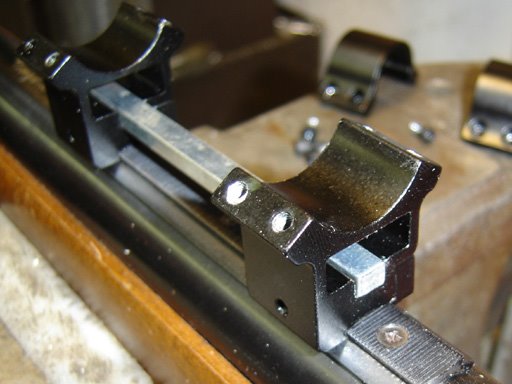
I had some key stock that was a nice fit in the "see through" groove in these mounts.
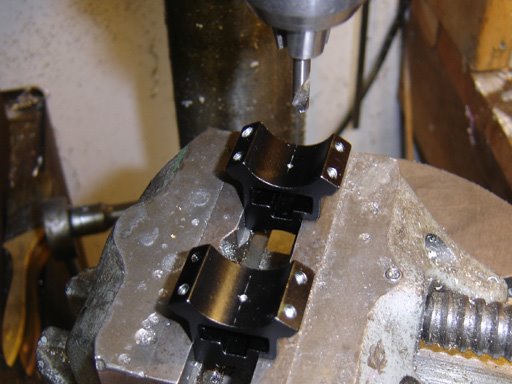
I spotted for holes on the center line. At this point you are likely yelling "Stop Nick!". Bonus points for figuring out where I'm about to go wrong.
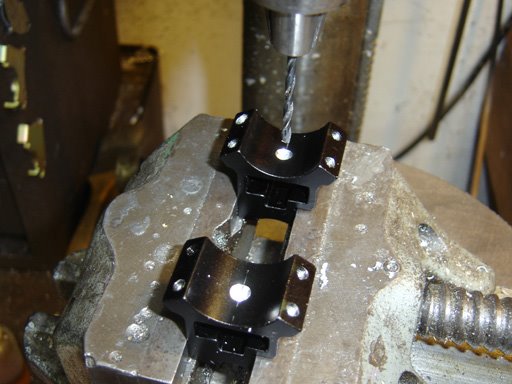
Drilling through for a #6 tapped hole.

Drilling a clearance hole through the mount.
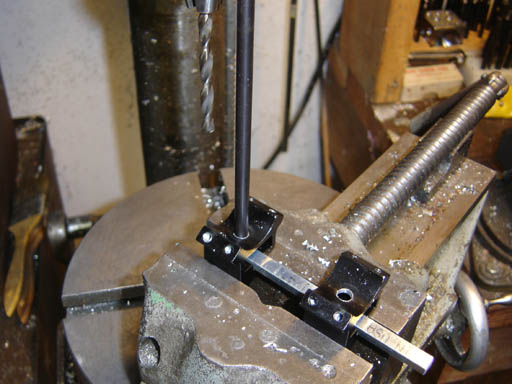
Using the transfer punch to locate where to drill on the key stock.
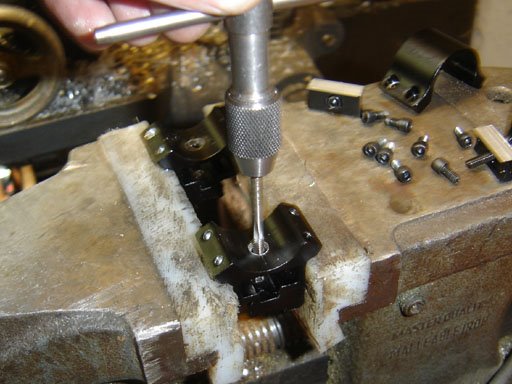
Tapping the mount.
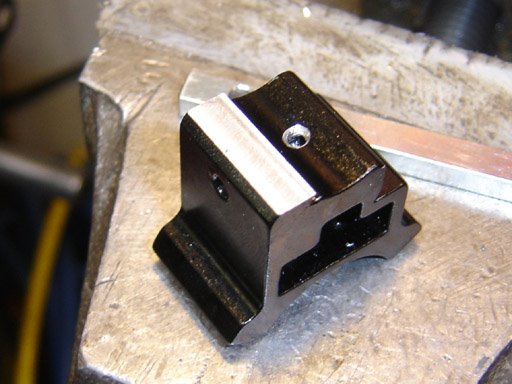
At this point I let loose with a stream of salty and impure language. Yes, I forgot about the clamp screw, which goes right through the middle...
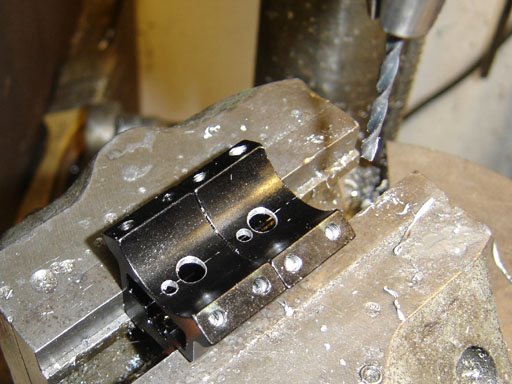
So I relocated the holes for clamping the key stock...and redrilled the holes offset in the key stock.
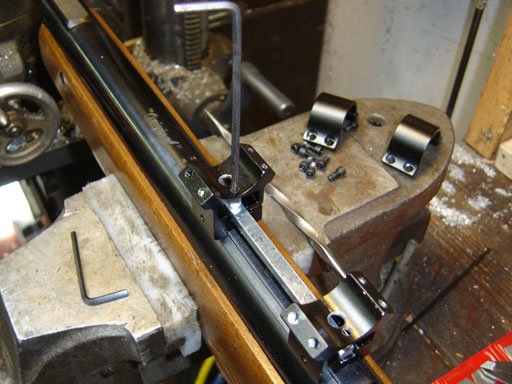
Screwing the key stock to the scope mounts.
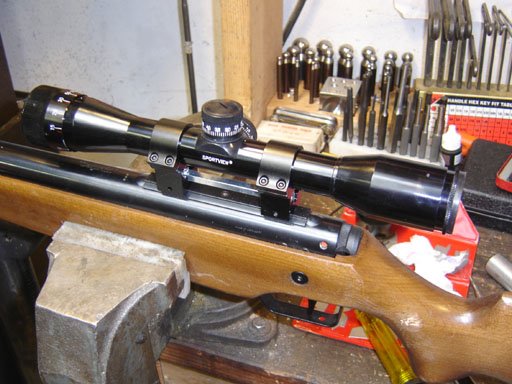
The mounted scope. I still need a "scope stop" as this springer has quite a bit of recoil. That will be the next project.
Note that I was not concerned with any windage offset on the mount due to the widths being different, nor was I concerned with "droop". As it turned out I had more than enough adjustment in the scope to get it shooting dead on. Windage could be corrected by taking a dovetail cutter and taking a bit off of the fixed side of the scope mount dovetail, and "droop" well, there are a number of ways to deal with that, such as reboring the rings, recutting the dovetail, or making a sub-scope rail that had the proper angle...but best to not think about such complexities...
Well ok, you made a mistake in drilling across the clamp screw-holes.Look at it this way, your scope clamp will be a little lighter!
ReplyDeleteThanks for sharing.
David