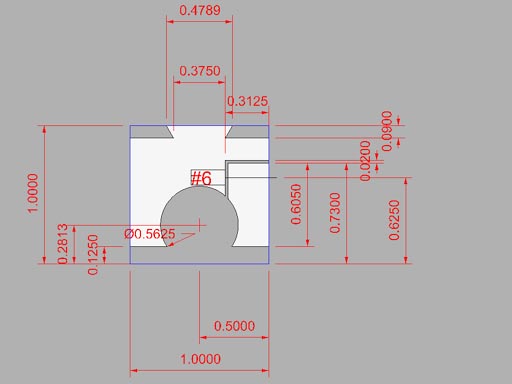
A rather confusing and poorly dimensioned sketch, but it conveys the general design. The #6 denotes where a #6 screw thread is tapped into the body.
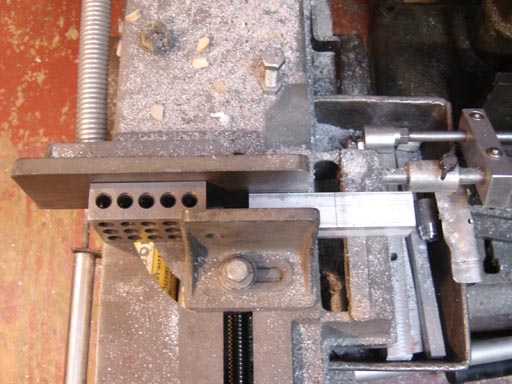
As most projects do, I sawed off a chunk of 1" square aluminum bar with the band saw. Note the use of a 1-2-3 Block to even the force of the vise jaws on the short piece of material.
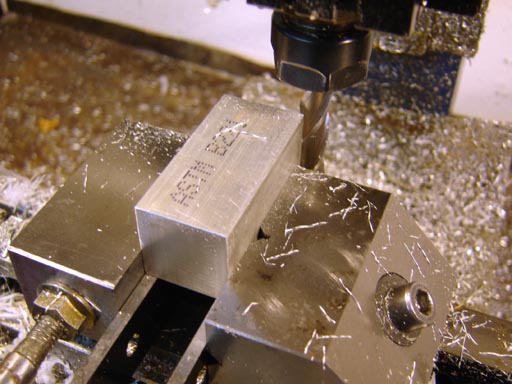
I milled the ends square.
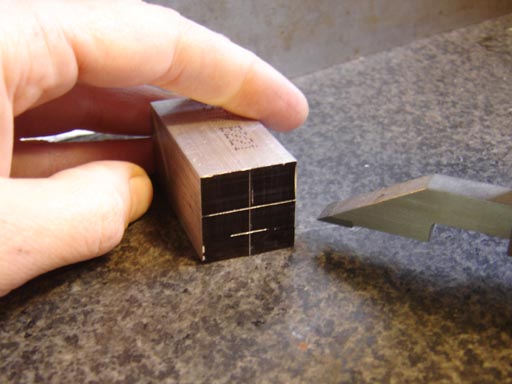
Then I did a little layout work, marking where the hole for the barrel will go.
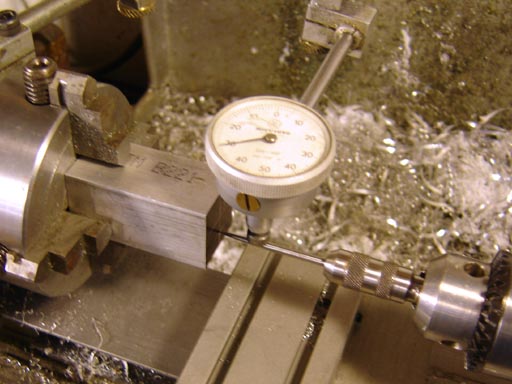
Mounted in a 4 jaw chuck and set true to the layout lines with a wiggler and dial indicator.
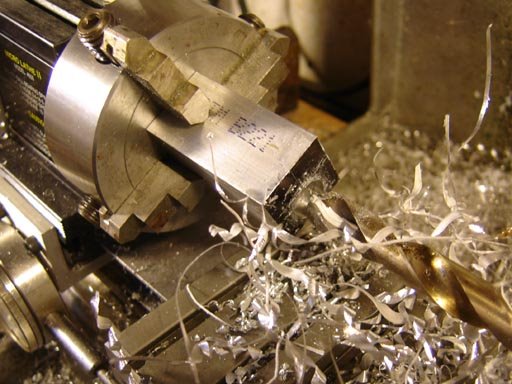
Drilling starts... I often bore longer work in the lathe, held eccentrically, rather than do it on the mill or drill press.
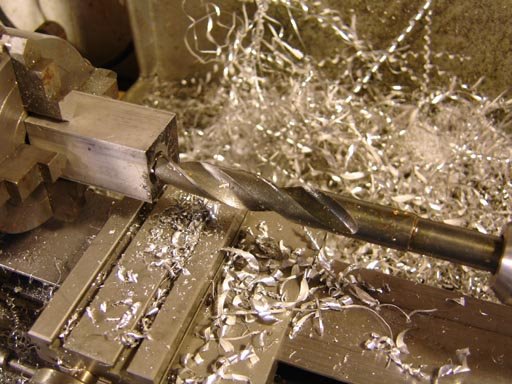
And finishes with a rather larger drill.
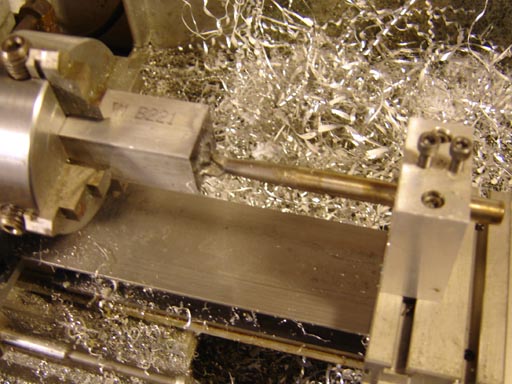
I then bored to the final dimension.
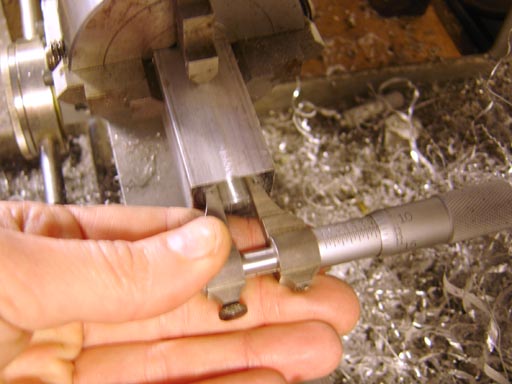
Checking as I went with an inside micrometer.
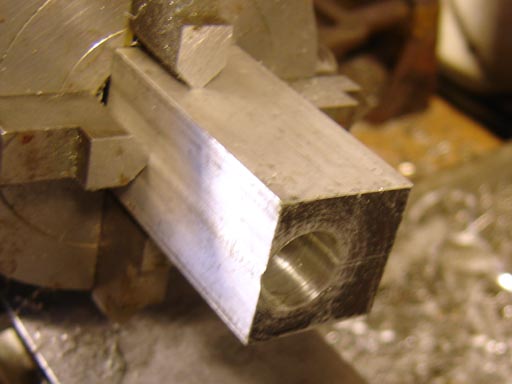
The finished hole.
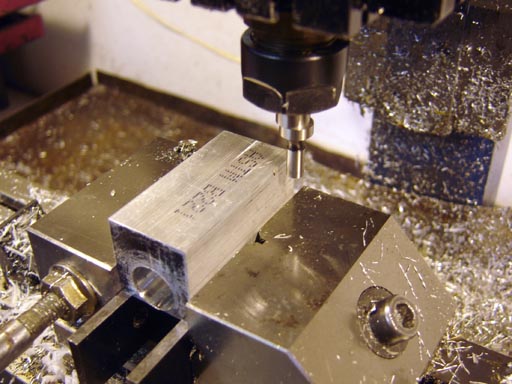
The edge was then found, It seems like I show the edge finder on most of my posts, and with good reason (besides the fact that I sell them). Edge finding is a basic and important skill in milling operations.

I milled away the majority of the dovetail mount.
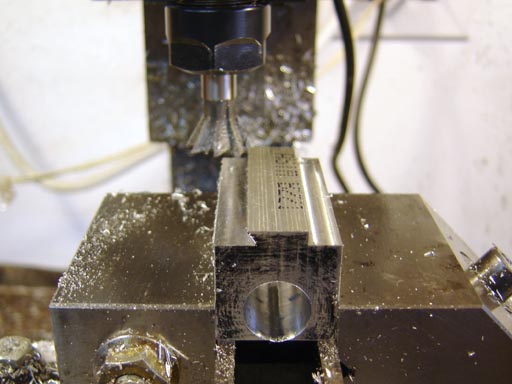
Then I milled the dovetail for the scope rings. Depending on what type of rings you use, the dovetail dimension should be made to match.
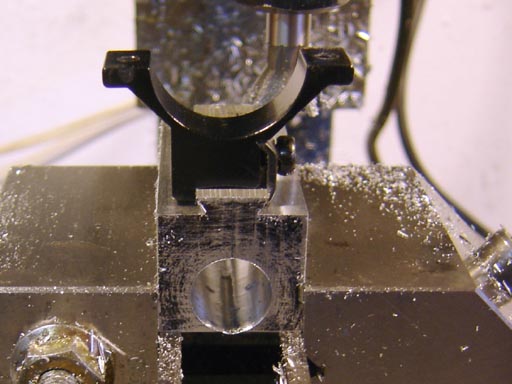
The scope mounts, umm..., mount!
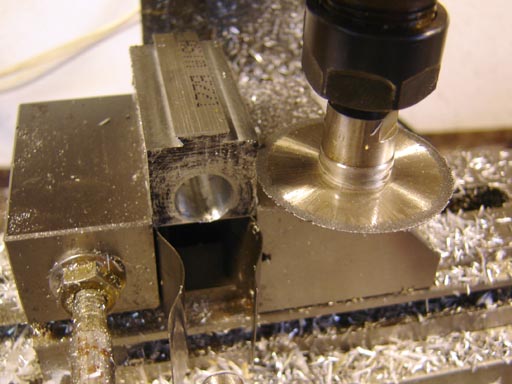
Using a .020" thick slitting saw for the first of two cuts to separate the pieces of the base.
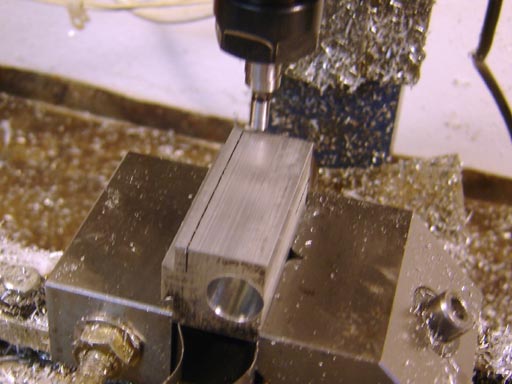
Finding the end, for drilling the mounting screw holes.
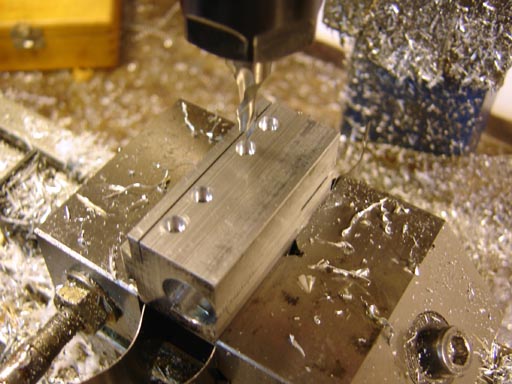
Drilled for a #6-32 form tap, and then counterbored.
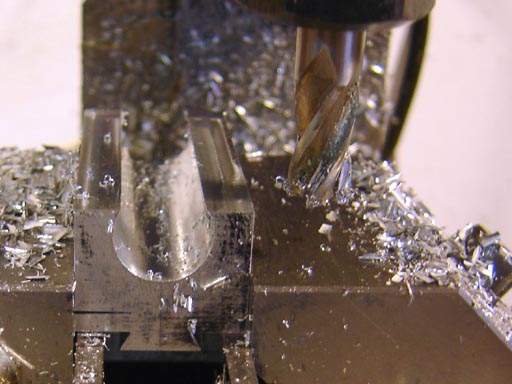
Finally the bottom was milled away.
On to Part 2...
No comments:
Post a Comment