On I go…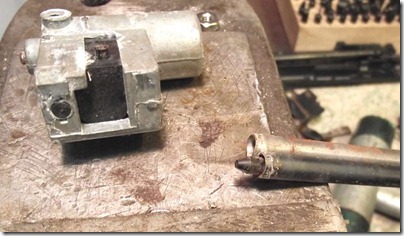
The barrel and magazine just popped out. I’m not sure whether that’s a good or a bad thing. The barrels seems to have been bulged to be a press fit in the valve assembly.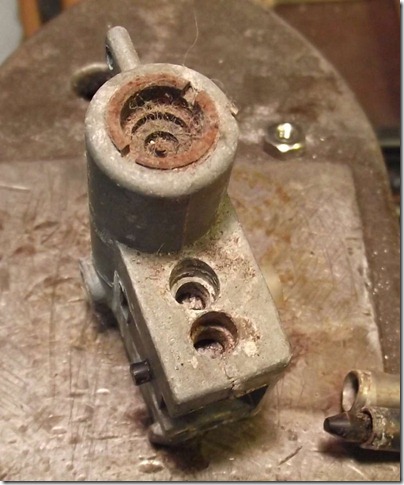
Did I mention it was rusty?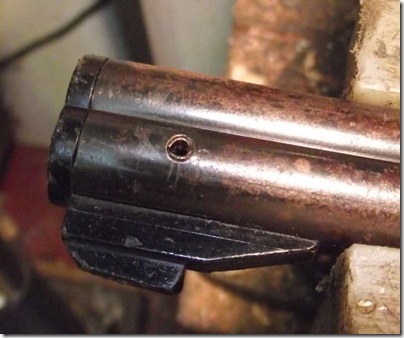
The roll pin that holds the front sight and barrel plug thingy in.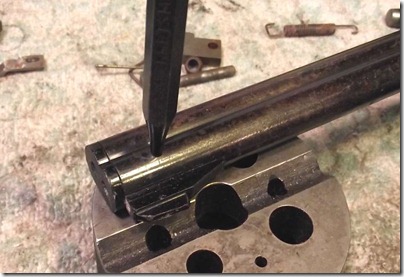
I punched out the pin.
And gently tapped the piece out using a chopstick as a drift. Bamboo chopsticks are wonderful tools.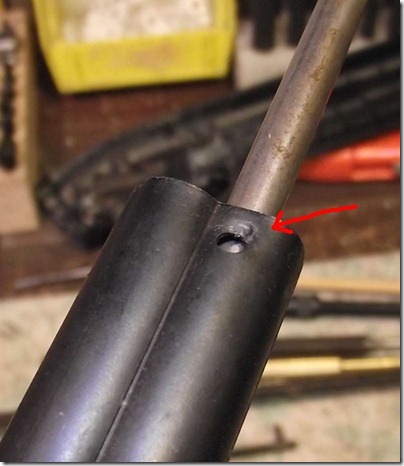 It was difficult to slide the barrel out – The shroud was dented so I had to massage it with some pliers.
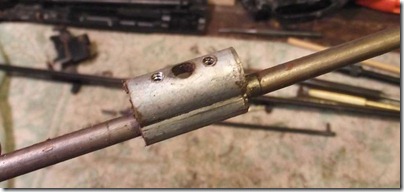
This die cast part is formed around the barrel. It allows the sight to be screwed in as well as helping align things.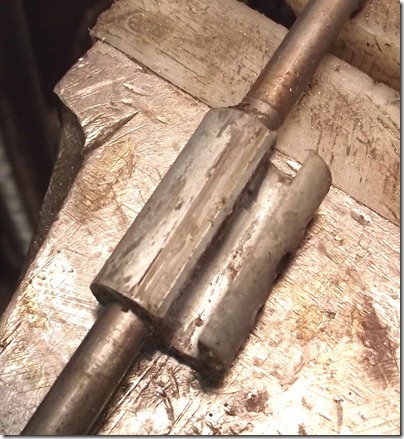
There’s a notch for the magazine to pass through.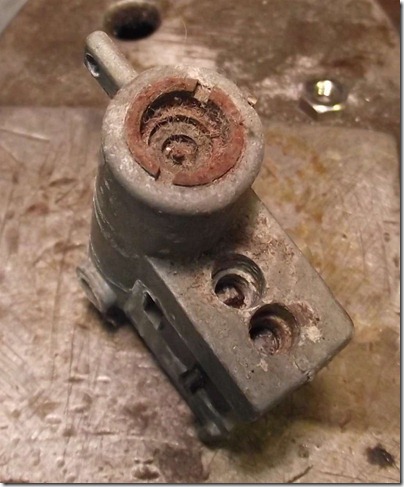
No seriously, it’s rusty.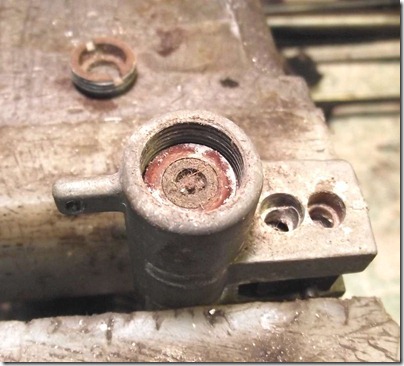
I removed the piercing pin retaining nut.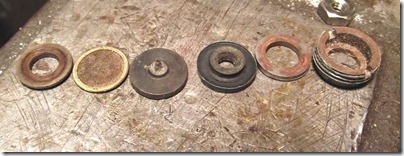
All the piercing parts. Looks like another Crosman 38 style assembly.
The leftmost washer was stepped on the underside.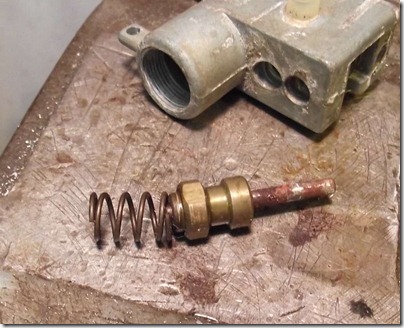
The valve stem is rusty…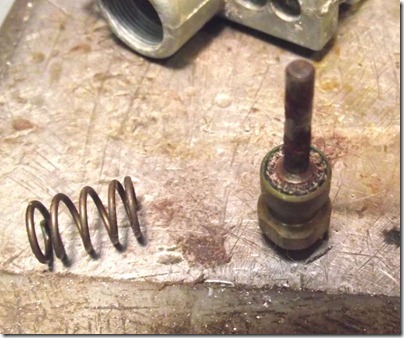
The seal is completely gone.
The BB shuttle?I’m guessing this is actuated by that flat piece in the left side of the action.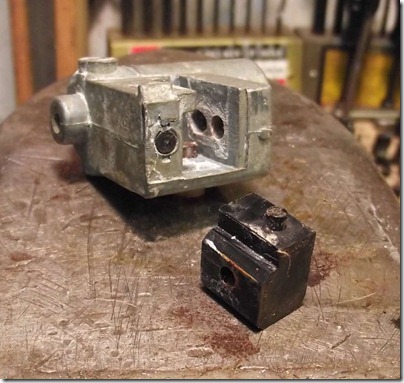
The shuttle.
That plastic piece covers the magnet (presumably for BB feeding).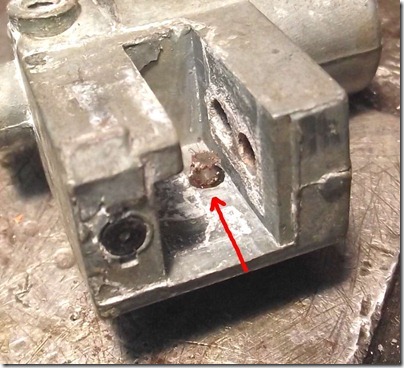
You can see bits of steel fuzz on it.
So now I have to clean the damn thing and see if I can even get it to cycle, much less work. Not particularly optimistic given my failures of late. But we’ll see.
You sure the guy that sold thid to you didn't pull it out of a creek?
ReplyDeleteI'm thinking a mausoleum with spiders and damp...
ReplyDeleteI have been struggling with the same model. The 357 seal for the CO2 capsule works great as a replacement for the stepped rubber seal and metal washer assembly.
ReplyDeleteThe main chamber seal is actually a short right cylinder about 3/32" long. I excavated it out using a very small dental tool in a Dremel. I then stacked two 1/16" dia. cross-section o-rings into the resultant cavity. It now seals against capsule pressure but won't fire. I think the original seal was very hard and didn't require much of a tap from the hammer to let go(unseal. The o-rings are softer rubber and apparently require more travel of the brass valve body to unseal.
I will try a stronger hammer spring/and or harder rubber o-rings. I noticed that the hammer spring in your picture was shorter then the one in my gun.
Anxious to get it shooting.
John,
ReplyDeleteYou should see if Bryan and Associates has a reseal kit - o-rings are (probably) not going to work for a valve seal.
Glad you're having fun with it, they are great little plinkers.
Your post of Sept 28 indicated that you made a seal for the main chamber. What are the particulars? Dimensions? Material? I see from the pictures that the central rod is a press fit into the brass valve body. Is that correct?
ReplyDeleteThe seal was 1/16" thick 80 durometer Urethane. I sized it to fit the recess and the pin. The pin presses out, but be very careful both disassembling and reassembling as it is easy to bend the pin. You need an arbor press or a fixture ofr a vise to take it apart.
ReplyDeleteI disassembled the valve body and found a quad-ring to fit. I forgot to measure the position of the central rod with respect to the brass valve body. I pressed the rod back in until it appeared right but I could use some help with the final position. Upon reassembly the valve would hold pressure but the gun would not fire reliably. My guess is that the valve rod is not protruding out of the valve chamber enough to open fully when struck by the hammer. Any thoughts? or dimesions re how far the valve rod should protrude from the valve chamber? Thanks.
ReplyDelete