I found this locked in a cabinet at Precision Airgun a couple months ago. It's a Gun Toys brand RO71 .177 cal "match pistol" from Italy. They're occasionally also known as Panthers. I'd never seen or heard of the brand or the model before. If these guns are rare today, it's probably because they're made from diecast potmetal and brittle plastic and haven't survived. The barrel, mainspring, and a couple screws are about the only steel used in the gun.

This box is really cool.

Normally, when you find a NOS airgun with paperwork from 1975 you should be reaching for your wallet. Spoiler alert--this gun is one of the exceptions. Typically, I'd never bother to write a post about a gun this awful. The thing is, in the box, it looks like a decent gun. Even the match-type sights looked credible. Did I mention that the box is great? I decided to write this one up because there's zero information about it today save whatever single sentence is in the blue book. I paid very, very little money for this gun and if I had to do it over again, I'd have paid even less. Remember that I'm looking at this gun as a shooter, not simply as an item to fill out a collection.

Extra front sight inserts? They're possibly the only thing of value inside the box. I say "possibly", because you'd need another, better gun out there that can use the same size sight insert. The rear sight has 4 different sized rotating notches. It's dressed to impress. Sadly, under inspection, the plastic front sight housing has 2 hairline cracks in the plastic. The rear sight has 3 cracks. Some superglue filled the cracks.

I shot the gun a couple times and found that the trigger has about a 15 pound pull. Maybe even higher. You can lazily watch the pellet arc to the target 30 feet away. I didn't bother to chronograph it. It's well under 200 fps.
I held out a moment of hope that the gun would improve with a tune up.

The upper grip screws are sheet metal screws, the lower is a machined nut and bolt.

The rear sight has to come off next. Remove the circlip and unscrew the windage adjustment knob.

The two screws retaining the rear sight can now be removed. Take care to not lose the detent spring and tiny ball bearing that nest inside the head of the windage screw.

All the frame screws are removed,

and the barrel pivot nut and bolt.

The left-side half is lifted off like a clamshell.

Everything inside is zinc or aluminum; trigger, sear, cocking linkage, piston, spring guide...


Sear. Has a 7/32" ball bearing staked in place to hold back the piston. The piston has a corresponding bearing as well. I'd expect that the bearing-to-bearing design was supposed to provide a better trigger pull. Maybe it was just to prevent wear on aluminum to aluminum.

Trigger. The springs are very light. Nothing gained by replacing them.

The trigger and sear pivot pins are fixed in the right side clamshell.

Here's the entire power plant. It lifts right out.

The compression tube is aluminum. Inside are the piston, piston seal, mainspring and spring guide. It's about 4" long. There's a hollow tube at the rear that retains the spring.

White nylon spacer at the rear of the compression tube.

Transfer port at the front with an o-ring to seal against the front of the clamshell.

Need to remove the hollow pin to get the spring out. I need a pusher block to fit into the ID of the compression tube and take the spring pressure off the mainspring.

Here's a better view of the end of the compression tube. I need to knock out the cross pin (the hollow tube).

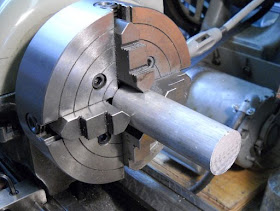
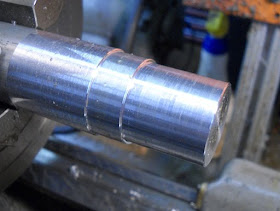
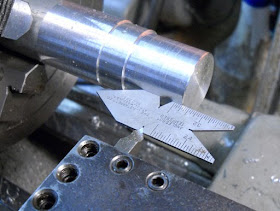
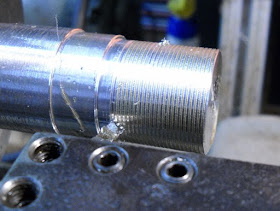
Faced a short section of 1" diameter acetal. Turned down one end to 0.835" to slip fit into the compression tube.

Set up the milling attachment on the Taig and cut a slot to clear the hollow tube.


Pusher block

Different views.

I think the plastic tool is cooler than the gun.


Snug fit, but it works. I cut the slot with an endmill that was about the same diameter as the pin.


Could've used the mighty spring compressor, but the low velocity tells me there's minimal preload. A cheap clamp gave the spring compression needed.

Used a transfer punch to push out the cross pin.

Really minimal preload.

Piston seal is synthetic. It's really soft. Almost rubbery. Not a trace of lube in the entire gun. Considered a stiffer spring or spacing it out, but the cocking linkage is a fragile casting and would likely fail. This gun seems designed from the ground up to be low powered and disposable.

Polished everything. Never seen an aluminum spring guide before.

I removed the casting lines on the face of the trigger.

And buffed the blade.

My favorite low velocity gun lube: Buzzy's Slick Honey. Gave all the parts a razor thin wipe. Added a thin nylon washer between the spring and the base of the guide.

Pressed it all back together and reseated the cross pin.

Checked the o-ring and gave it a wipe of Slick Honey.

Used a synthetic bearing grease from Castrol to lube the trigger, sear, cocking lever, cocking lever slot...
Reassembled in reverse. There's little improvement. The trigger is still lousy--the length of pull just never ends. To sum it up, the RO71 has no power, no accuracy, a horrible trigger, cracked plastic and way too much brittle potmetal--but the box is sweet.
Mainspring specs: 4-3/4" OAL. 0.610" OD. 0.097" diameter wire.
Spring guide: Tapered 0.379" base to 0.331" front end. Tapered section is 2.092" long. Guide is 2.398" OAL. Flange at base is 0.833"


