As you can probably tell, I’m in the midst of Holiday craft selling insanity and haven’t had time to play with the Rochesters or any other airguns lately.
A while ago I received the following pictures from Jeffrey Corton showing his extremely simple (as in, "why didn't I think of that?"), no machining required version of the seal tool I made for the Diana pistol piston seals. Also scroll down to the bottom for a nice solution to the Crosman model 38 valve tool as well…
All pictures and text by Jeffrey Corton, thanks a bunch Jeff!
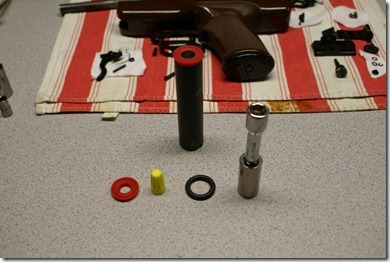
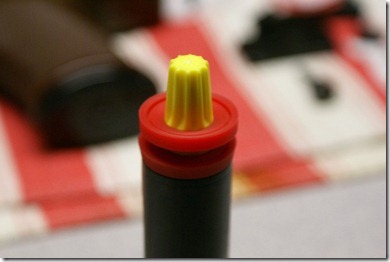
1. Parts: seal, electrical end cap (large end diameter slightly larger than piston crown), O-ring, 2" socket extension and socket (slightly wider than the electrical end cap).
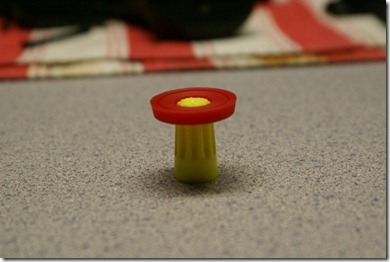
2. Work seal over small end of cap.
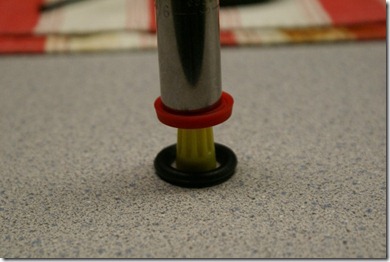
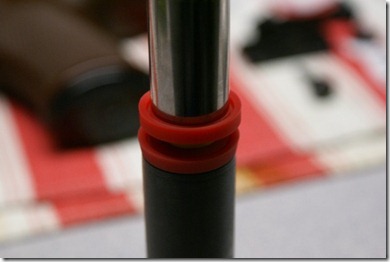
3. Set end cap inside O-Ring. Press seal using extension/socket down to O-Ring. O-ring is simply present to prevent seal from sliding off the end cap.
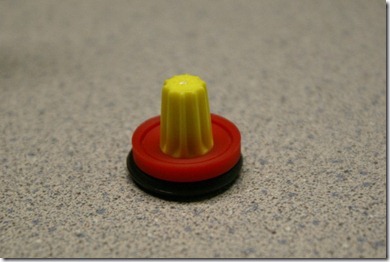
4. Final position of seal and end cap.
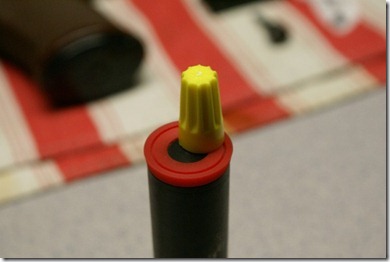
5. Place end cap over piston crown.
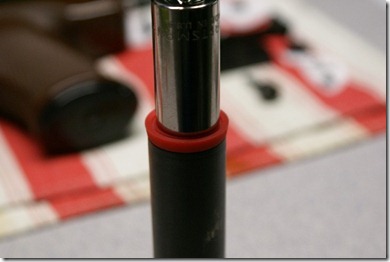
6. Using extension and socket, press seal over end cap and onto piston. Picture has seal already installed and one set to go.
7. Seal pressed in place.
8. Remove extension/socket and end cap should be free.
9. Tada, mission complete.
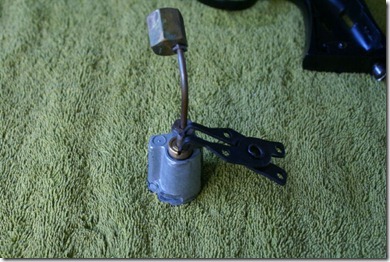
As promised, a bonus for the Crosman Model 38 valve:
"Don't have a cool lathe like you, so I had to figure out another way to unscrew the Crosman 38T Valve. So: snap ring pliers. See attached pic. I just used the 90-degree attachment, didn't even attach the ends to the plier handles. Just set them in place and twisto-presto. Easy peasy lemon squeezy."
Thanks again Jeff!

Nice work Jeff!
ReplyDeleteOK Jeff, your post was excellent and helped me get my piston seal into its proper position. But, I'm having trouble getting the piston with the new seal to insert into the cylinder. Please tell me how you got the newly sealed piston into the cylinder without seal damage. Thanks.
ReplyDelete