My first comment to Nick about modifying Benjamin Marauder was making the comb of the stock adjustable in height. I was kidding at the time(sort of), but that turns out to be a pretty good idea if your scope of choice has an objective lens larger than about 50 mm. I'm not quite ready to grab the saw just yet, but this might help somebody out.
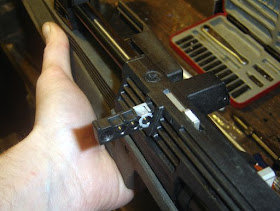
Scope is a 4-16X 50mm Leapers. First installed the scope with medium Leapers Accushot rings. The knurling on the objective housing just barely touched the barrel. I mean "barely" by a couple thousandths.
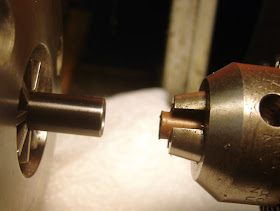
A quick swap to high Accushot rings gives the clearance you see above. Shouldering the gun and sighting revealed that I had to break my cheek contact and lift my head slightly to obtain a sight picture. It's workable, but the head position sure isn't repeatable. Unless maybe you've got a head like Herman Munster.
Swapped back to the medium rings--but added 2 layers of friction tape in the bottom half of each ring. The friction tape gave exactly this much room. No problem at all. Snugged the scope down and took a peek. Head position and eye relief looked good.
Thoughts? Unless you modify the stock comb higher, it's probably best to use a set of medium scope rings. This will limit the objective lens to no greater than 50 mm. My personal scope of choice for this gun remains the Centerpoint 4-16 X 40mm Adventure Class model. Would've used it, but I got the Leapers at the Pyramyd Moving Sale at a great price and you know how good deals go. If you're going to shoot field target or something similar, you'll need a scope with more magnification and bells and whistles. Just keep in mind the objective lens clearance issue and head position.
Friday, June 12, 2009
Wednesday, June 10, 2009
Short Note on the IZH61
Derrick already covered the IZH61 in detail (Part 1, Part 2) but having just bought one used at a good price I thought I'd make a few notes as well.
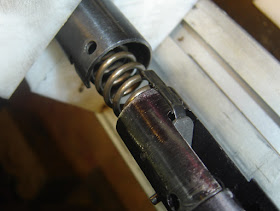
The gun needed a new piston seal put in. Unlike Derrick I decided to use my spring compressor. It worked well but it is difficult to hold due to the odd angles of the receiver and stock.
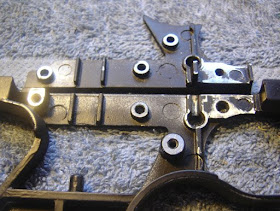
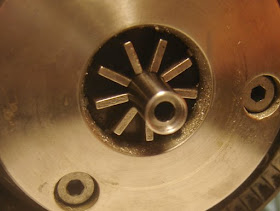
There's the beartrap piece, can't hurt to have another picture showing where it goes. The gun needs deburring & polishing inside and out.
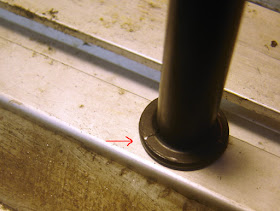
The spring guide. I used the stock one but smoothed the flash left from the forging .(see red arrow).
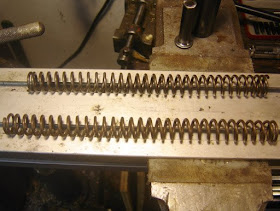
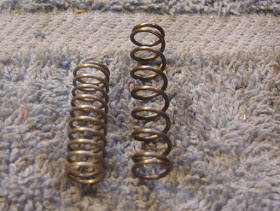
The old spring up top, with the new one below. The rifle ships with an extra spring and seals. My used one came with them as well which was nice.
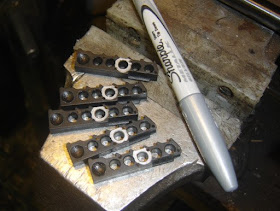
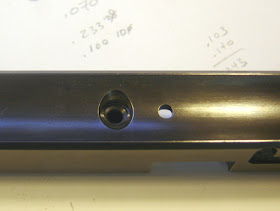
If you mark the third hole with a sharpie (I used silver, but bright metallic red would be good too) then you'll always know when you're on the last shot.
You see the markings when the magazine is at shot 5.
Tuesday, June 9, 2009
Muzzle Weight and Trigger Job for the 2240
So now for a muzzle weight...
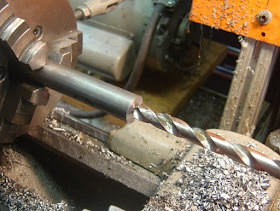
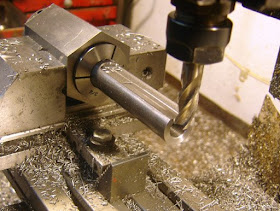
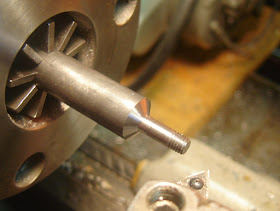
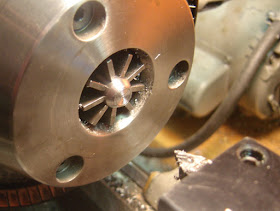
Drilling some steel...
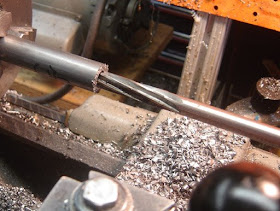
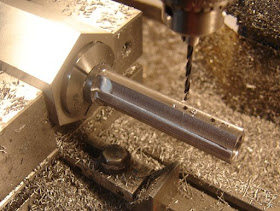
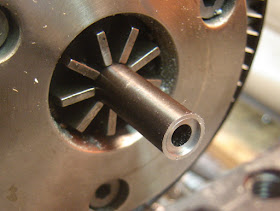
Reaming 7/16" to be a slip fit over the barrel.
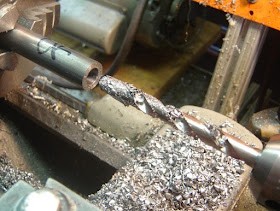
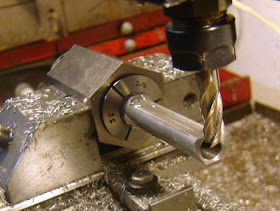
Drilling the other end slightly smaller so that it stops about 1/4" from the muzzle end.
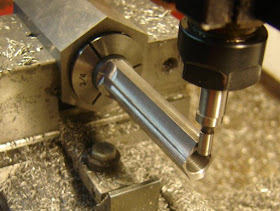
Milling some flats.
I went for an irregular hexagon. This gives me meat for screws to attach it to the barrel while still being light weight.
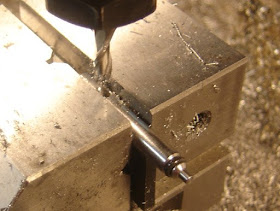
Finding the end.
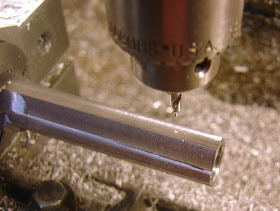
Spotting for one of the setscrews.
Two setscrew holes drilled.
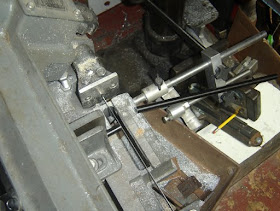
Easiest way to cut it off was in the lathe. I put a rod in the tailstock to catch the part once parted...
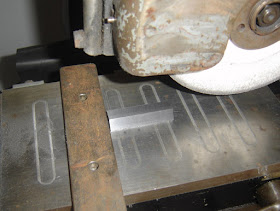
I gave it a ground finish like the breech.
Looks ok.
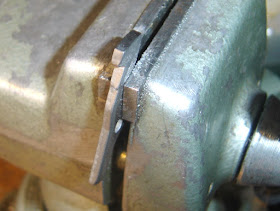
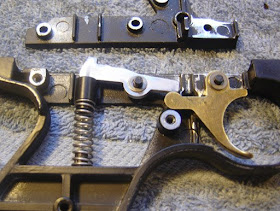
Then I stoned the sear.
And made the bosses flat.
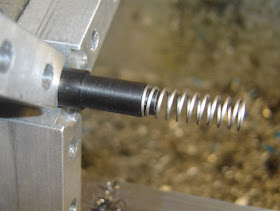
A smaller, lighter spring for the trigger.
And a delrin spring end.
Just a quick n' dirty trigger job. Shimmed the trigger and sear.
I hit everything with some cold blue.
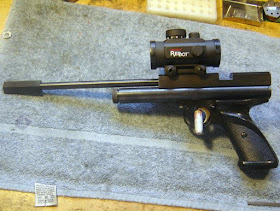
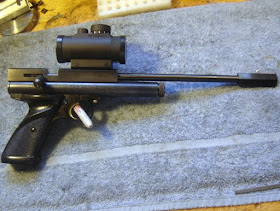
Of course I had to go get new batteries for the red dot before getting a chance to shoot it...Nothing fancy but a fun little project.
Drilling some steel...
Reaming 7/16" to be a slip fit over the barrel.
Drilling the other end slightly smaller so that it stops about 1/4" from the muzzle end.
Milling some flats.
I went for an irregular hexagon. This gives me meat for screws to attach it to the barrel while still being light weight.
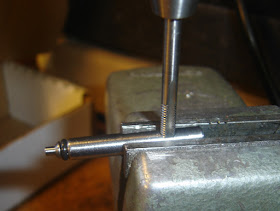
Finding the end.
Spotting for one of the setscrews.
Two setscrew holes drilled.
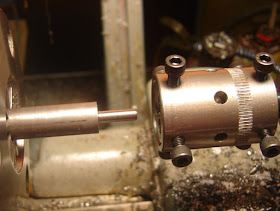
Easiest way to cut it off was in the lathe. I put a rod in the tailstock to catch the part once parted...
I gave it a ground finish like the breech.
Looks ok.
Then I stoned the sear.
And made the bosses flat.
A smaller, lighter spring for the trigger.
And a delrin spring end.
Just a quick n' dirty trigger job. Shimmed the trigger and sear.
I hit everything with some cold blue.
Of course I had to go get new batteries for the red dot before getting a chance to shoot it...Nothing fancy but a fun little project.
Monday, June 8, 2009
Bolt & Barrel for the 2240 Steel Breech
Having finished the breech for my 2240 (parts 1,2,3), I needed a barrel and bolt.
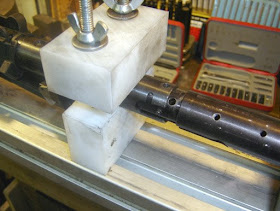
I sawed a 2260 barrel in half.
Chucked in the lathe and crowned.
I decided to see if Cratex would remove the burrs.
Not bad.
The existing transfer port in the 2260 barrel lines right up with the breech.
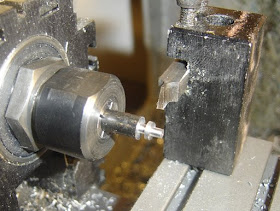
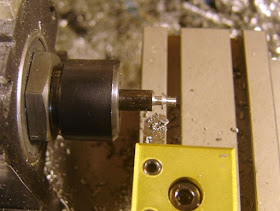
Cutting the o-ring groove in the bolt.
Chamfering.
Turned to remove scale.
Looks like a bolt.
Finding the centerline and end.
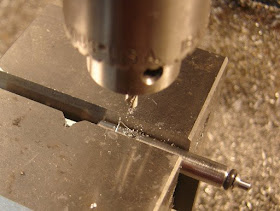
Spotting the bolt handle hole.
So when you remove a drill bit from the drawer labeled "#29", it pays to measure the drill bit before using it...because it turns out that this is a #21 drill.
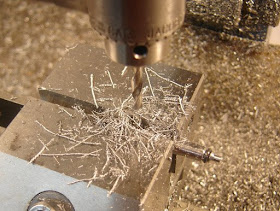
Counterboring the hole.
Tapping #10-32 for the previously mentioned reason
Ready to thread the bolt handle.
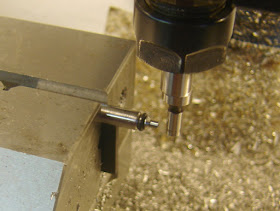
The handle end chamfered.
Turning a decorative bullseye in the end.
Yes, it's a bit chunky and I'm not entirely sold on it. But it is comfortable.
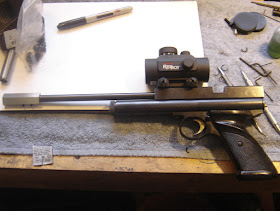
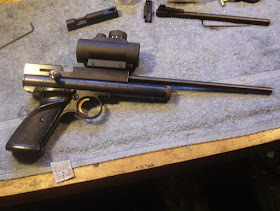
The pistol so far.