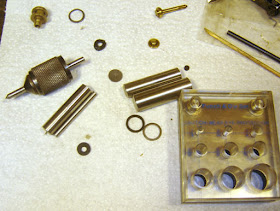
I used the shim punch to cut concentric seals from lead and rubber.
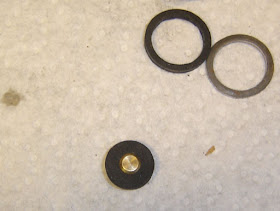
The inlet valve seal is wrong. I know that now. I cut it way too large in diameter.
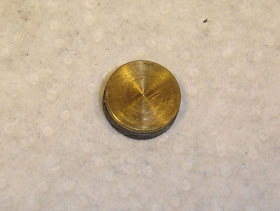
You would think I would have caught on...
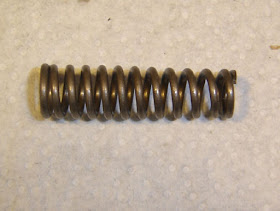
The exhaust valve spring is tapered, small end towards the rear.
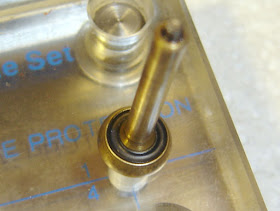
The exhaust valve seal looked clean so I decided to reuse it.

The large rubber washer is also twice as thick as it should be...I thought I had removed the old one but couldn't find it...

At least I got the lead seal right.
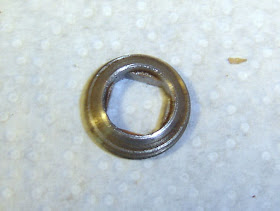
The nut is conical to seal against the lead seal.
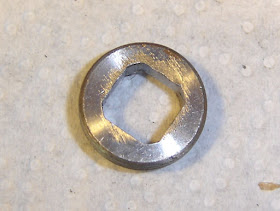
The face you see when you look down the tube.
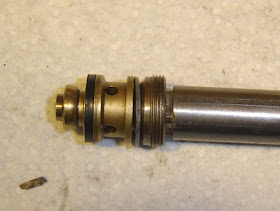
Ready to reassemble. I found I had to trim the length of the square section on the wrench to the length of the nut.
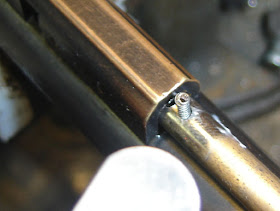
That bolt spring...
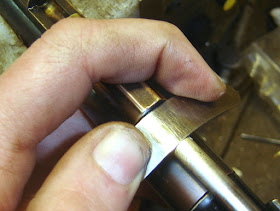
I placed a feeler gage against it to compress and slid the bolt back in.
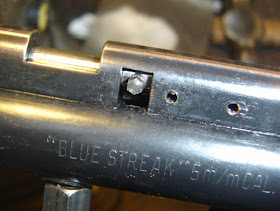
Then screwed the locking lug back in. I think it's best if the flats are vertically oriented on the sides so that it smoothly contacts the cam.
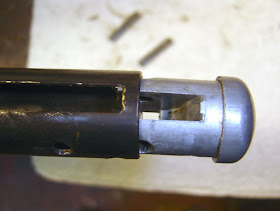
The plug goes back in oriented as shown. Then I couldn't screw the valve in...I discovered that the old rubber seal was still in the gun and half as thick as the replacement...preventing me from screwing in the nut (because i now had 3x the thickness)...so I reused the old one and got it all back together.
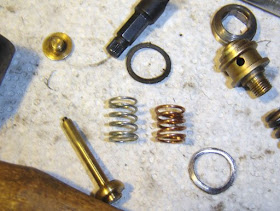
Well after getting it back together (in reverse of disassembly) it wouldn't work...still not holding air. So I replaced the inlet valve spring with the one on the left. You can see the old rubber seal above the springs
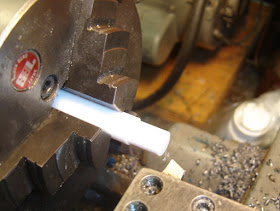
Still no good...so I turned up a new inlet valve seal from teflon. Look familiar? It worked so well in the Benjamin 317 that I figured why not?
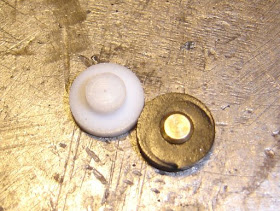
You can see how I didn't make good contact with my replacement rubber seal. Well I'll figure it out next one I reseal...note that I put a stem on the teflon seal on the spring/valve end just as I did on the Benjamin 317. I don't know why I did it instead of just making a disc but it may be stronger this way and resist deforming in the center. I do lose a bit of valve volume this way.
Well the gun shoots about 645-650 fps at 8 pumps with Benji .20 cal cylindrical pellets. So it works! It also held air for several days, which is a good test.
Thank you for the last several posts about the Sheridan C9. My Sheridan also has the same faulty check valve problem, and your posting has given me the courage to attempt to fix it. Thanks for the step by step resealing and disassembly guide!
ReplyDeleteGlad to hear it Kevin, just avoid making all the mistakes I made and you'll be fine!
ReplyDeleteThanks for the step by step resealing and disassembly guide. I will attemp to do mine following your steps. Great guide.
ReplyDeleteHello, do you by any chance know the diameter of the correct punch needed to punch out the pins attaching the wooden pump arm to the pump assembly?
ReplyDeleteI was thinking of refinishing the wood parts of the gun and I didn't want to stain the pump arm while it was attached to the body =P
It looks like a .180 (3/16" undersize) punch will work but YMMV...I haven't ever taken one off although I need to find a replacement forearm for one of my 3 Sheridans.
ReplyDeletehello do you know what size the valve body seal/ gasket is and what I can make it out of or buy?
ReplyDeleteMine needs one of those to keep the air in as it goes out the barrel. I bought a reseal kit but no valve body gasket is included. Good job glad i found this blog on the Sheridan.
For the seals you can try Bryan and Associates, Mac1, Precision Pellet or JG airguns.
ReplyDeletehttp://www.bryanandac.com/
http://www.mac1airgun.com/
http://www.airgunshop.net
http://www.jgairguns.biz/
Tell them I sent you.
Make sure you describe it fully to them and they should be able to get you one.
whats the purpose of the bolt spring?
ReplyDeleteTo keep the bolt from sliding back and forth too easily when the bold is open for loading.
ReplyDeleteNick
In 2011 I bought the 2 Benjamin & Sheridan Repair Kit from PyramidAir for when I needed it I am the happy owner of a Sheridan C9. Now the air rifle does not keep the compression and I have decided to use them.
ReplyDeleteThe problem is presented with the tool to remove the valve, necessary to remove the parts of the welded valve body, it does not fit perfectly and I deform the piece 29, could you please recommend how to extract piece 29 (diagram BAT-034), I think It is the valve body gasket
In case, I can send you only the body of the rifle (not wood) to repair it (I see that you have original factory tools) and how much would the repair cost?
Thank you
Very good job I am glad to have found this Sheridan blog