(Just scroll down past this preamble ramble for the details...)
Well Felice has a cold and stayed home today instead of going to work. So I went out with my youngest son Max to get some cold medicine. I had heard that Crosman airguns were on sale at the local discount store (Bi-Mart) where I was to buy the remedies, but only CO2 carts were on sale (20% off) so I didn't buy another 1377 pistol as I intended to. Once you get it into your head that the day is going the be an airgun acquisition day, it's hard to let go, so rather than returning directly home, we took a very long round trip and stopped in at the local non-pawn pawnshop. Anyway, I digress...At the pawn shop I bought a "Diana Pistol" and a Crosman Phantom (broken front sight) for $125.00 total, or $62.50 each, the Diana was priced at $89.99, the Phantom at $69.99.
EDIT: I found that my earlier recollection of the Diana at $69.99 was wrong, so I changed the price above to the $89.99 that was actually asked. This highlights the importance of always bargaining at pawn shops. I was able to buy the two guns for $35.00 less than the asking price.
The Phantom sight will get fixed/blogged later, I only bought it so I'd have a project, which is a bit perverse. I noticed a guy holding a bicycle pump as I was leaving, turned out to be a high pressure pump, as used on PCP airguns, but he saw it and bought it first, for $19 (you know, $200 less than it would cost new)! Oh well, you can't catch every fish in the sea.
The Details:
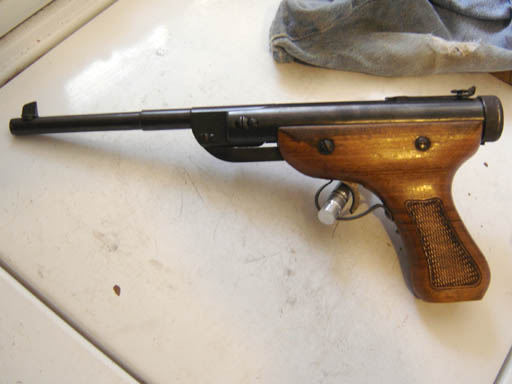
The Diana Modell 5. I say "V" in the title because that's what the Blue Book calls it. There is no "V" on the pistol though.
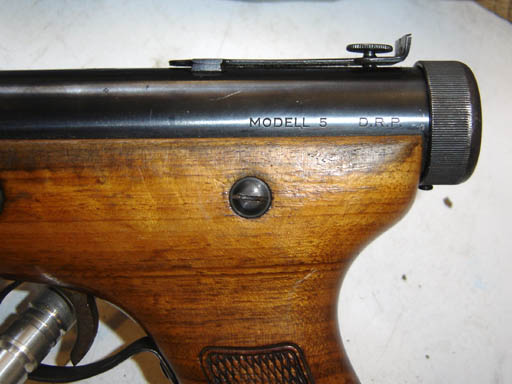
"Modell 5 D.R.P."
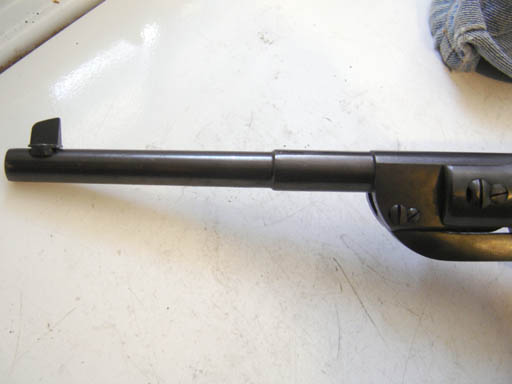
A nice stepped barrel
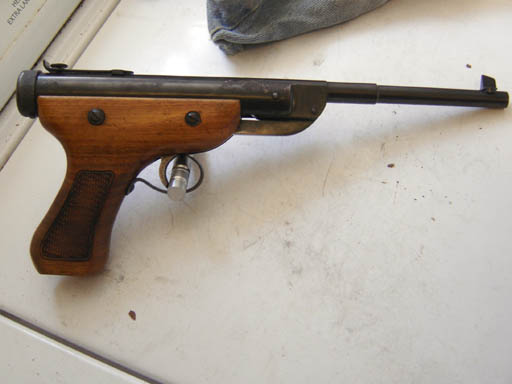
Two grip retaining screws with cup washers on each side hold the wood to the action.
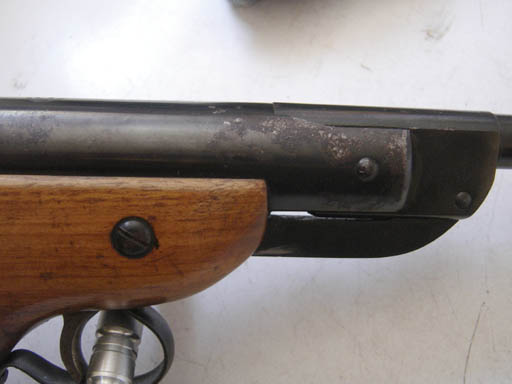
Well, if it were in perfect condition it would have been a steal, but there's a bunch of rust pitting on the right end of the action.
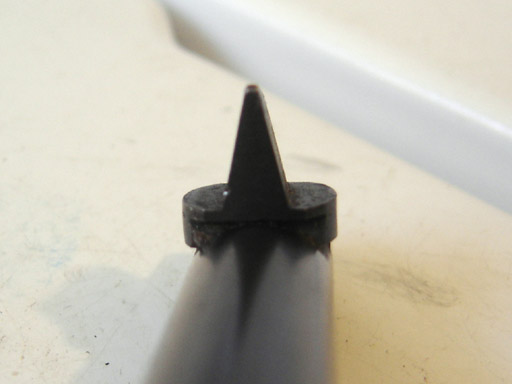
The triangular front sight.
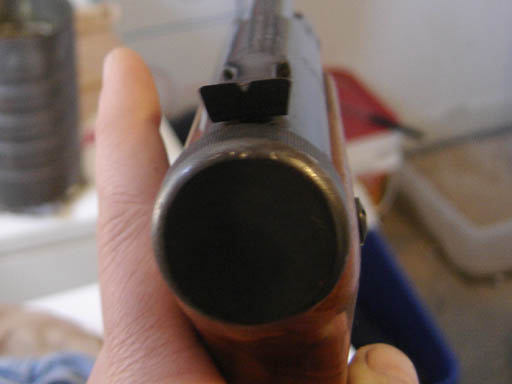
The vee rear sight.
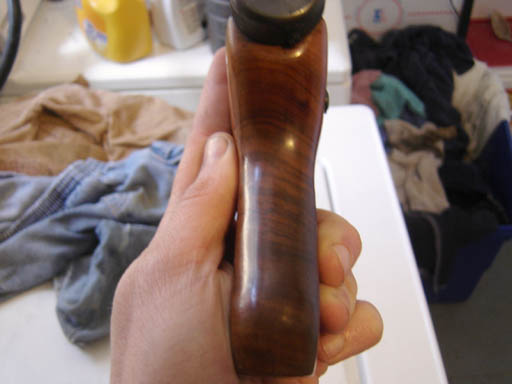
The wood grain is pleasing.
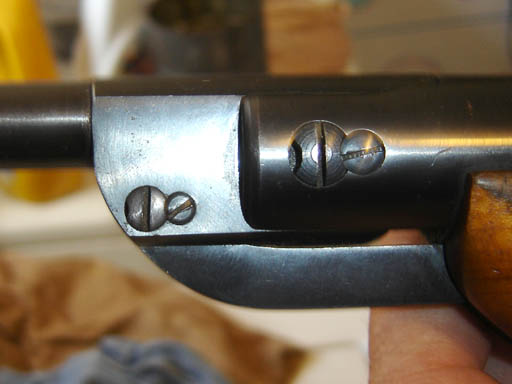
That's quality, not only is there a lock screw for the barrel pivot, but also for the link!
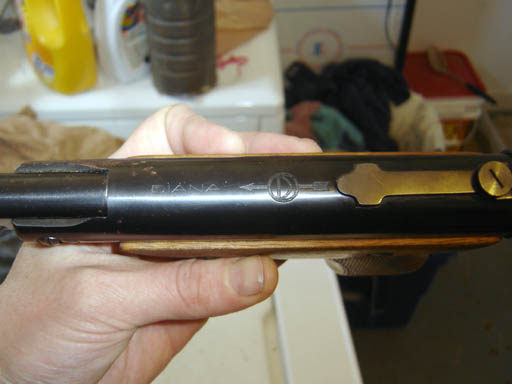
A slotted sight adjustment screw, and the logo across the top.
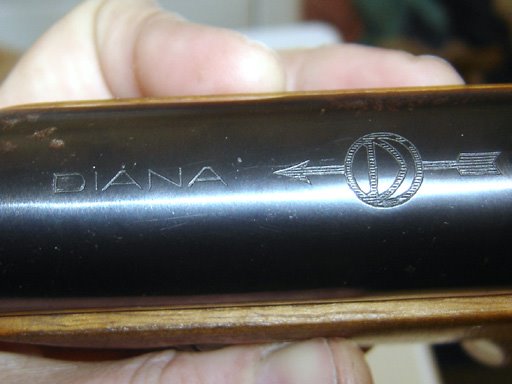
The D logo with an arrow running through it.
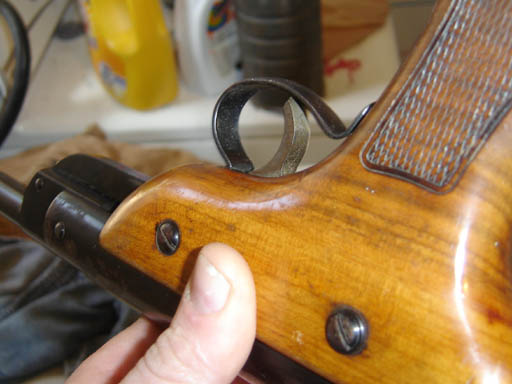
The trigger is solid, rather than a stamping.
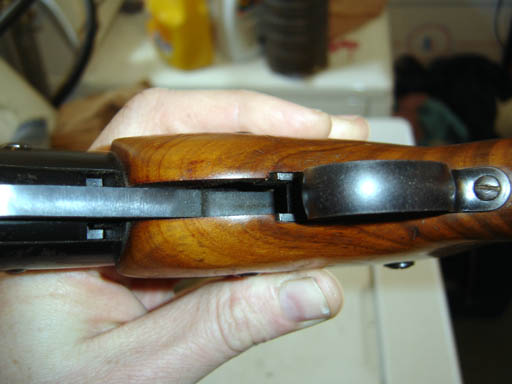
As is the linkage, solid steel.
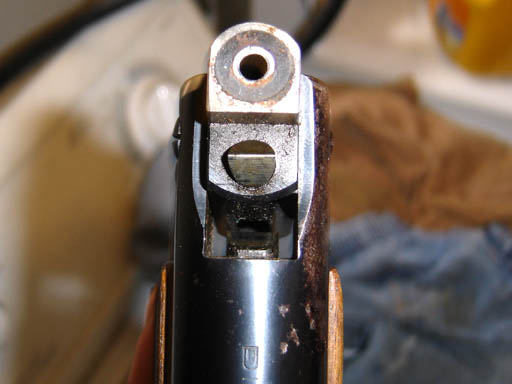
The breech washer is leather.
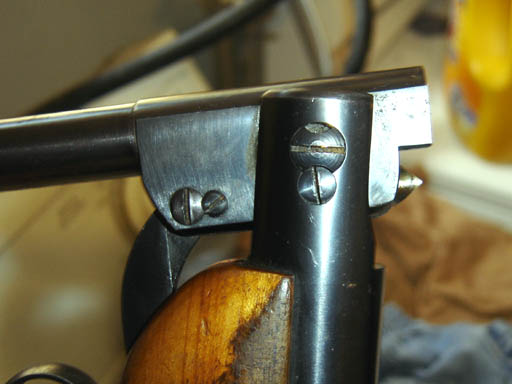
It has a vee detent. The pistol locks up solidly but is easy to break.
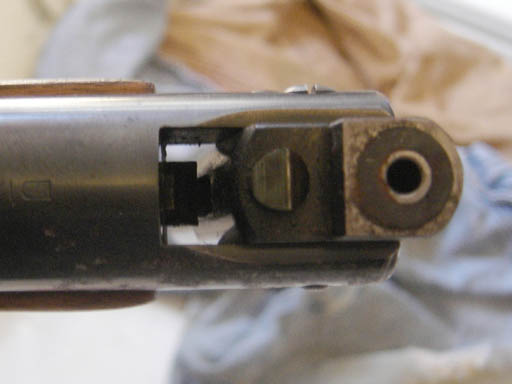
You can see the catch, rather than a machined pocket, down inside the slot.
Anyway, it seems to shoot well, at least as far as cans at 20 feet are concerned. I'll have to chrony it, oil the washer, and take some 10M shots to see how she (and I) group. I'm really delighted to have another beautiful vintage airgun, at a price I could afford, in my collection.
Saturday, April 12, 2008
Friday, April 11, 2008
The 1377 Project Continues: Pump Arm, Part 2
Now a little woodworking.
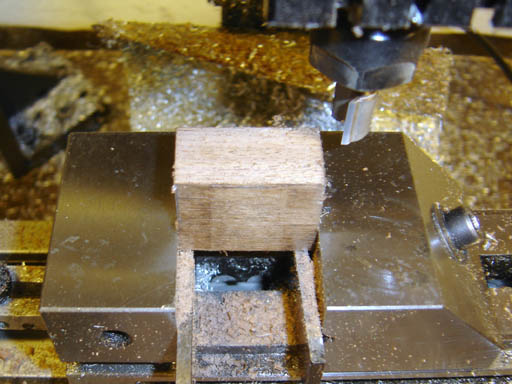
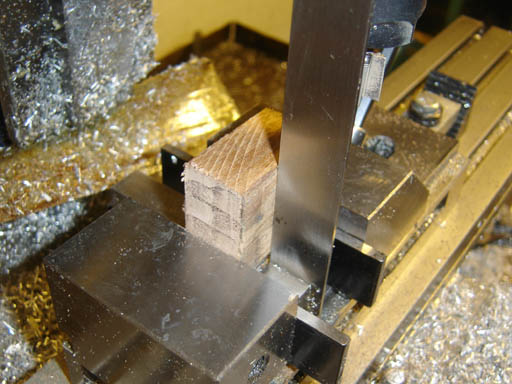
A small rectangular walnut block gets squared up on all sides.
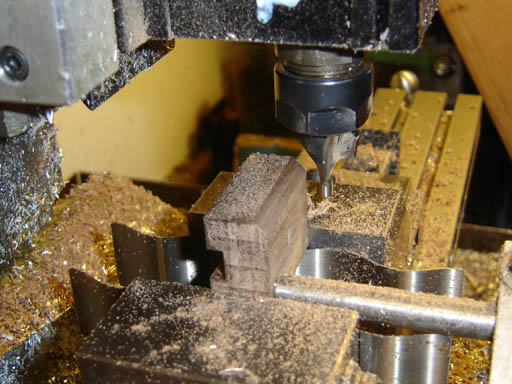
The top speed of 5000 rpm on the manual Taig mill works well with router bits.
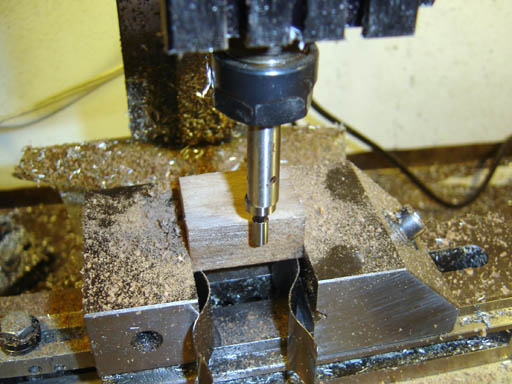
Finding the edge.
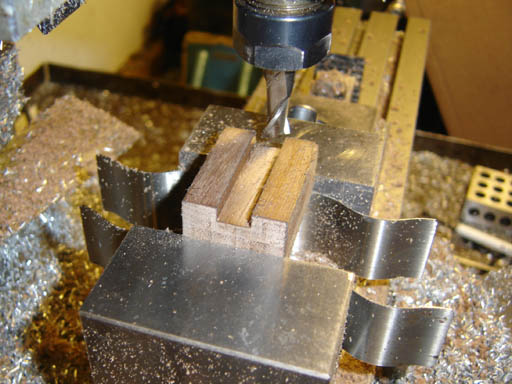
Milling a 3/8" wide channel with an endmill.
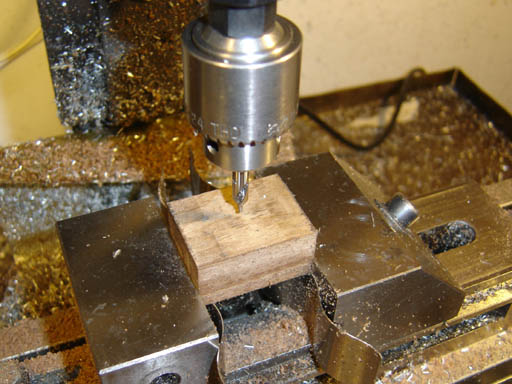
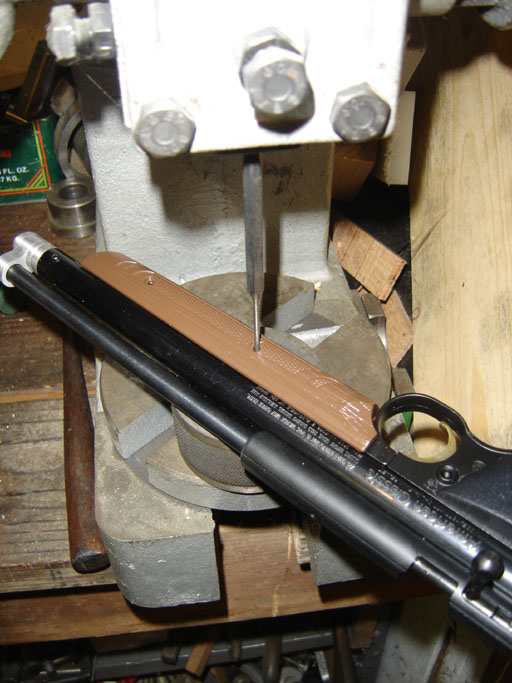
Spotting for the screw hole that attches it to the pump arm.
Rounding over the edges.
Fits like a glove!
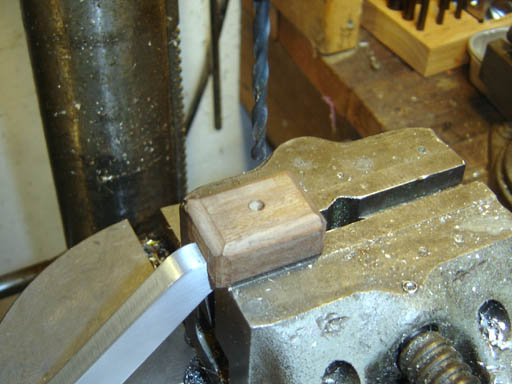
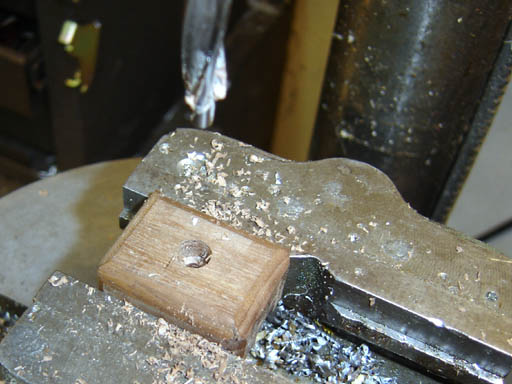
Drilling for the screw hole.
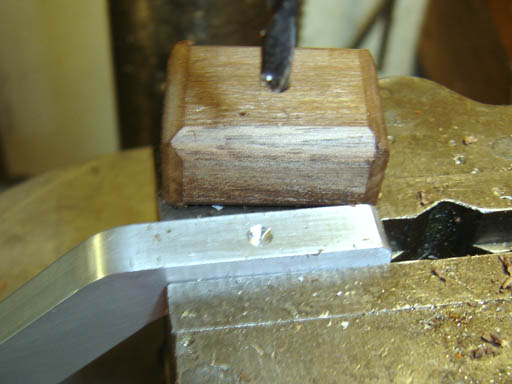
I drilled just deep enough to spot the pump arm for the screw threads.
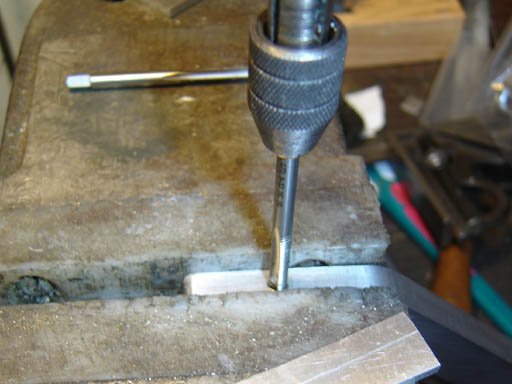
The pump arm was drilled and tapped for a #8-32 screw.
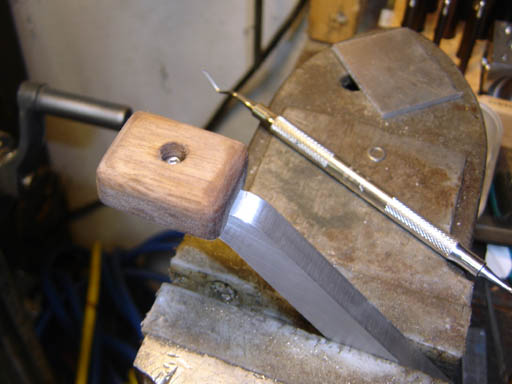
The walnut block was counterbored.
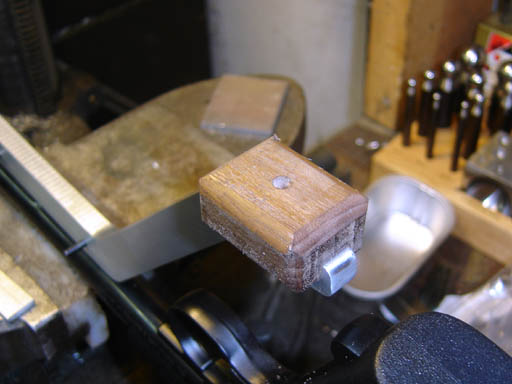
And the two were screwed together.
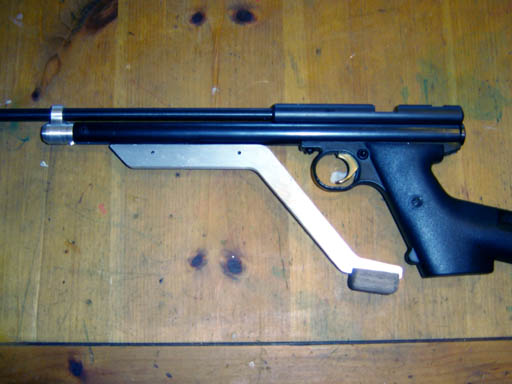
The walnut block makes it easier to pump, as the 3/8" wide aluminum really starts to dig into your hand after a while. The other benefit is that it functions like a palm rest, allowing you to hold the carbine comfortably and steady.
I didn't bother sanding and finishing the walnut or the pump arm as there are going to be many opportunities to ding, scratch and otherwise abuse them throughout the build. Better to only do the finish work once!
The 1377 Project Continues: Pump Arm, Part 1
Well, having done all I could from the barrel band to the brake, next item up was the pump arm.
First step was to press the pins out.
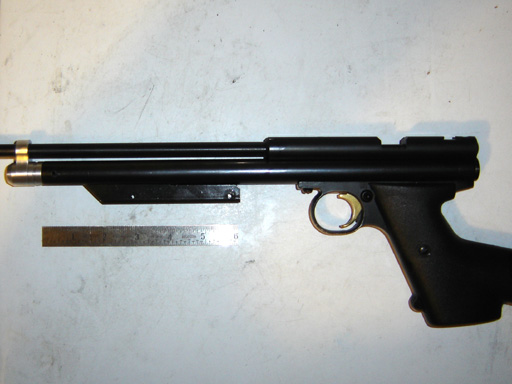
Then I took a picture.
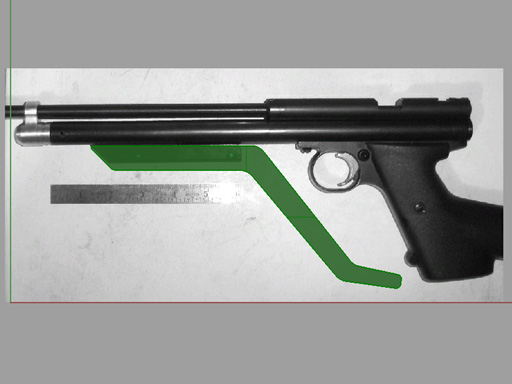
I loaded the picture as a background into Rhino, scaled things by the distance between the two roll pin holes in the pump arm and did some design work.
A 3/8" thick, 4" wide by 12" long give or take.
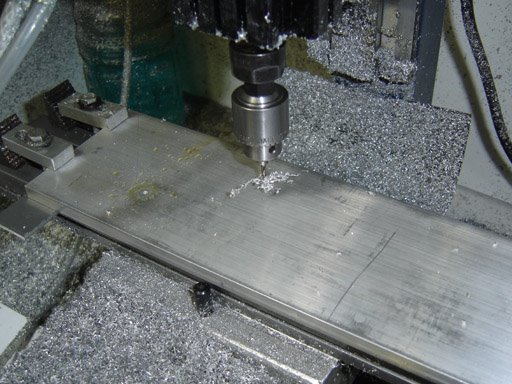
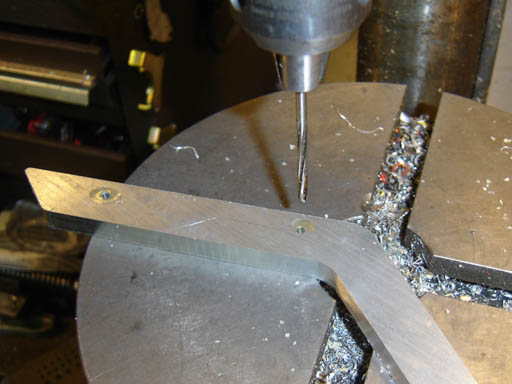
The two roll pin holes were spotted with an undersize drill bit.
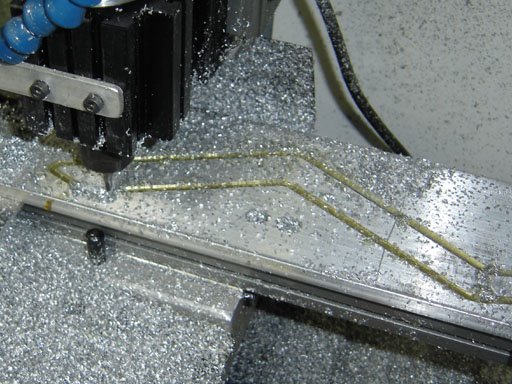
Then the mill did it's thing, helpful little robot that it is.
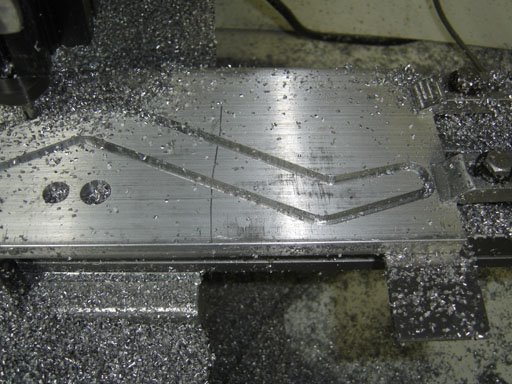
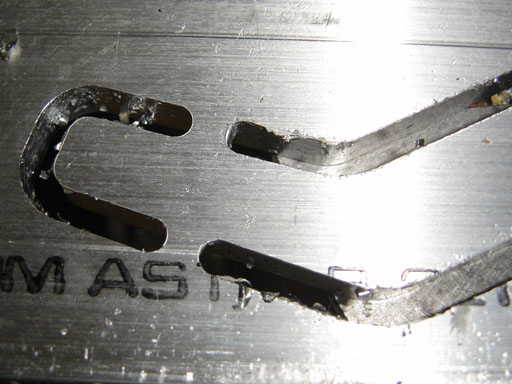
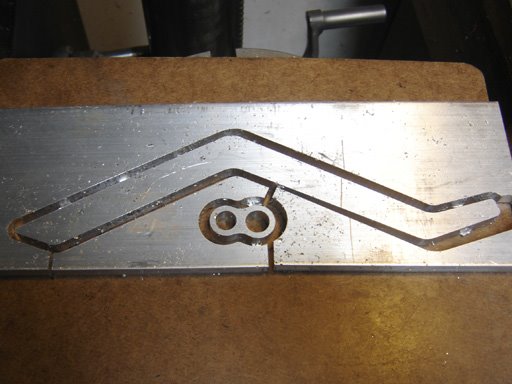
The cut progressed.
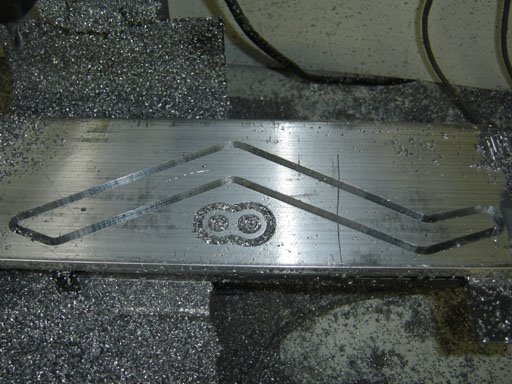
Hmmm, notice another barrel band there? Turns out the first one I did had the holes a bit too far apart, which I only noticed when I removed the pump arm.
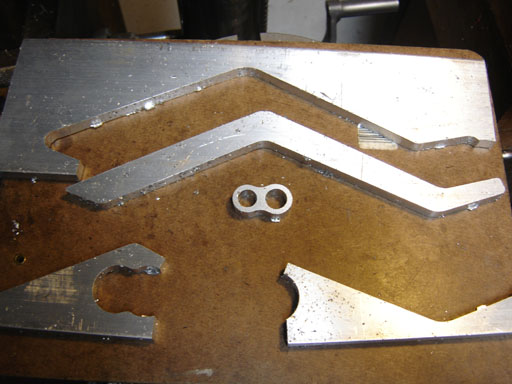
Rather than let things just drop out of the plate, I programmed it to leave .050" thick "sprues" on the parts connecting them to the plate.
This is a really great, and lazy way to fixture things.
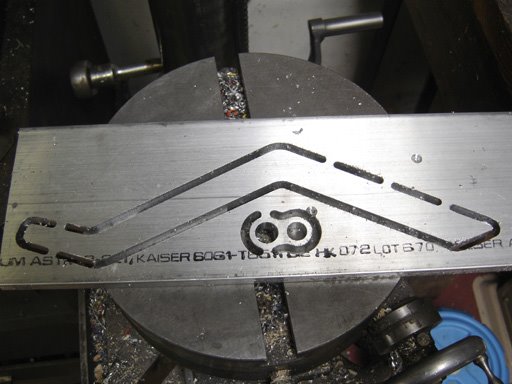
The pieces were separated from the plate with the band saw.
I probably should have nested some other parts in there, that scrap will be hard to use...
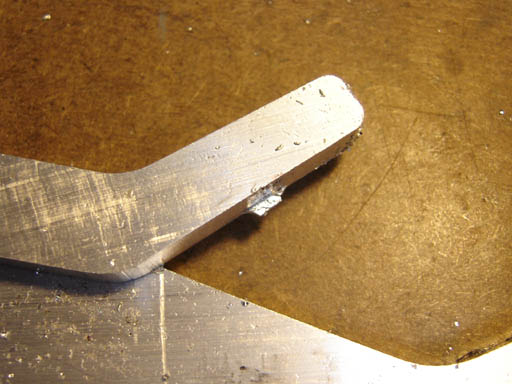
The little sprue ends will be sanded off.
Reaming the roll pin holes after drilling through.
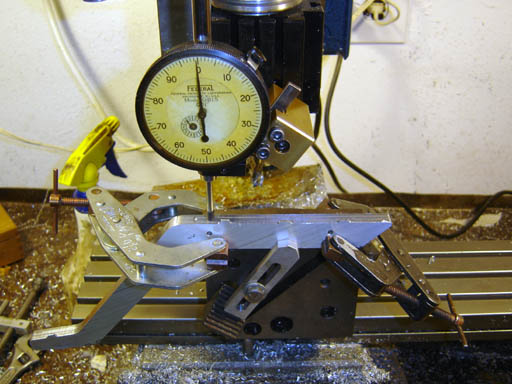
I spent about 30 minutes figuring out how to fixture the pump arm so it wouldn't hit anything as the table travelled. I then used the indicator to make sure the top was parallel to the table.
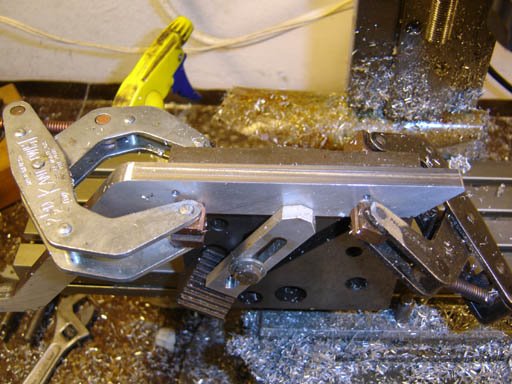
I milled the top flat, getting rid of 3 of the "sprues" Notice the Kant Twist clamps, you can never clamp a part too solidly in a setup like that.
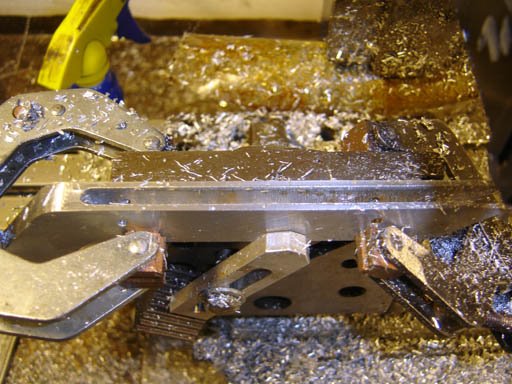
The channel was milled for the pump linkage.
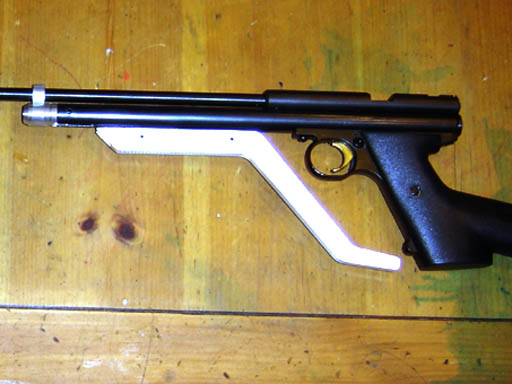
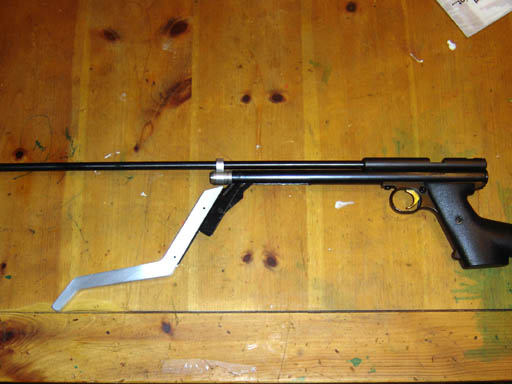
Pinned to the 1377. I'm not sure if I'll stick with the roll pins, or use screws, or what.
You get a heck of a lot more leverage with the longer arm.
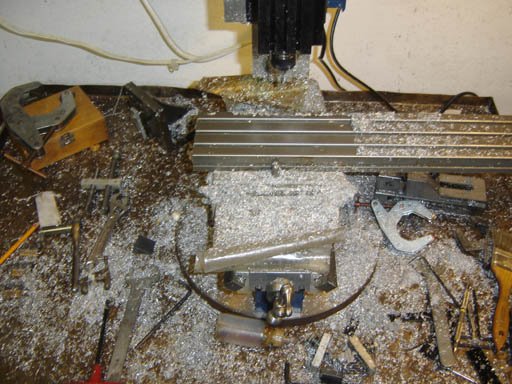
This is the mess I created. Several dustpans of chips were removed from the manual and CNC Taig mills.