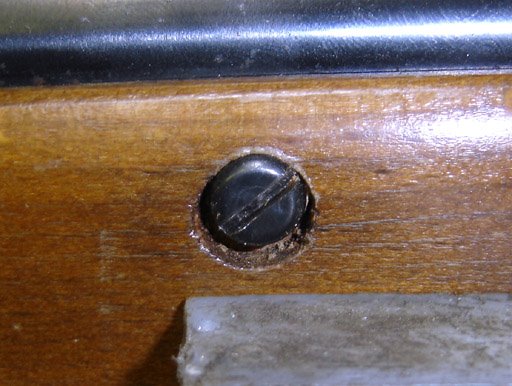
As you can see, the screw isn't centered in the hole.
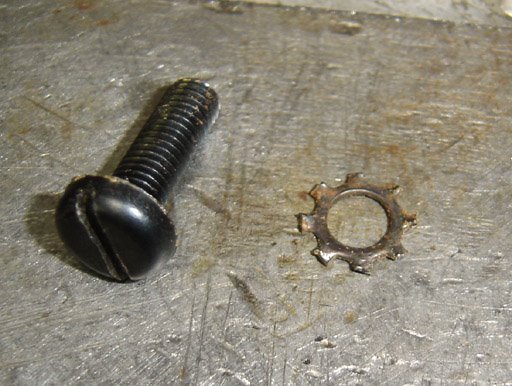
The screw had a nasty bur around the edge, and the only washer was a star washer. Thus when the screw is tightened, the star washer wallows the hole out a little more...not so good.
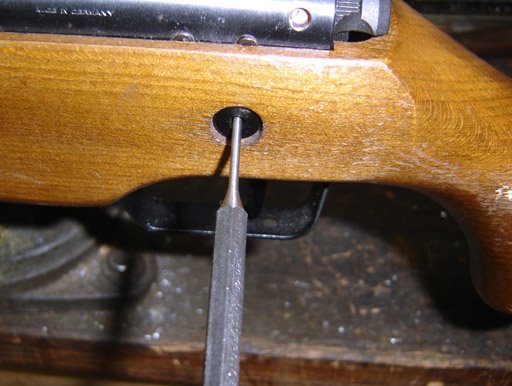
Pressing the rear pin out which retains the stock.
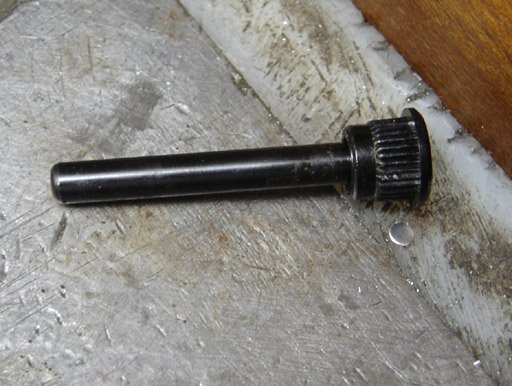
The pin and one of the bushings that retain it came out together.
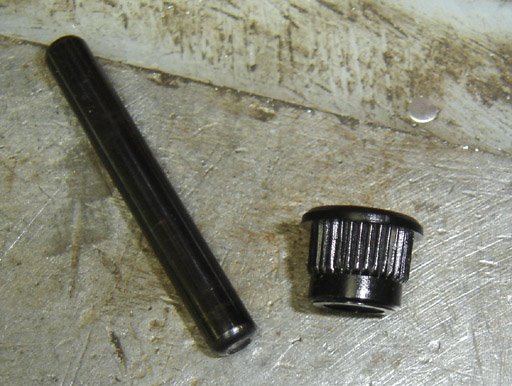
The bushing is plastic as far as I can tell. It's .359" long overall in three sections, .470" dia x .06" length for the major diameter, .387" dia. x .190" on the straight knurled section (major OD) and .352 dia. x .059" for the minor diameter. The hole is .197" diameter, .301" deep with a .140" dia x .048" deep section at the surface.
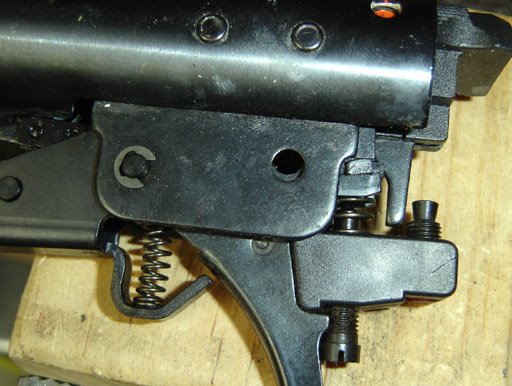
The trigger springs slightly back to interfere with the through hole.
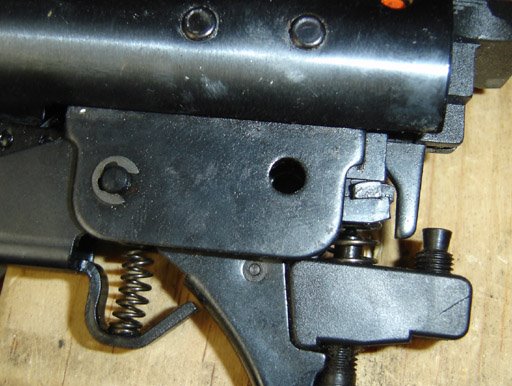
So you have to push it forward to allow the pin to pass through.
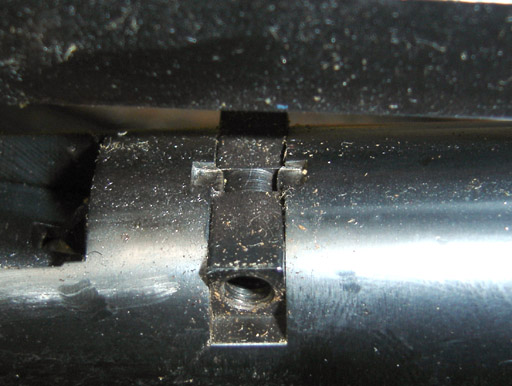
The front screws go into that block which is held in a slot with peened over tabs.
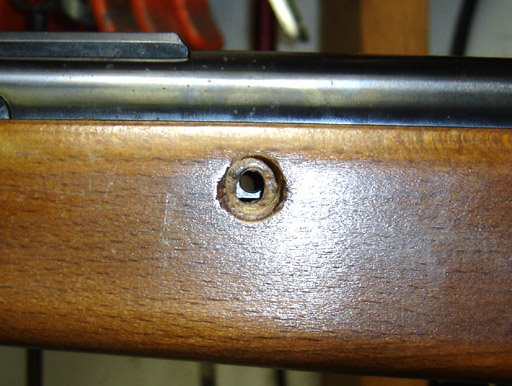
I realized that the stock was springing the action out of alignment with the hole. Pushing down on the action lines up the holes. So the action wasn't fully bedded against the stock before.
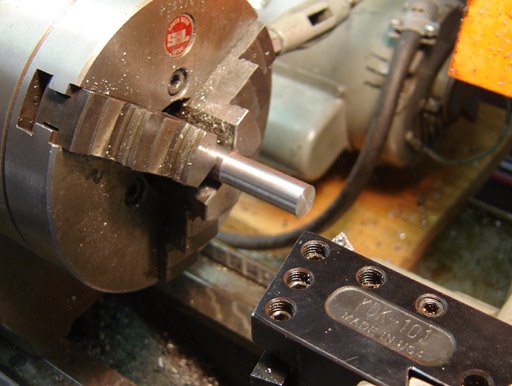
Turning down some steel to the smallest diameter (.464") of the oblong hole worn in the stock.
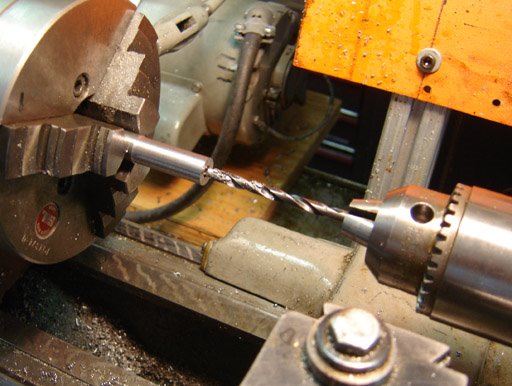
Drilling clearance for the screw (#9 drill).
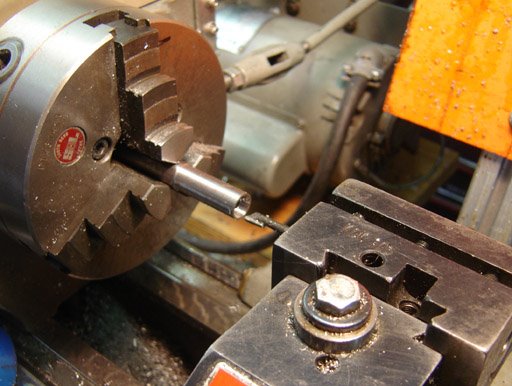
Boring the cup .397" dia x .125" deep.
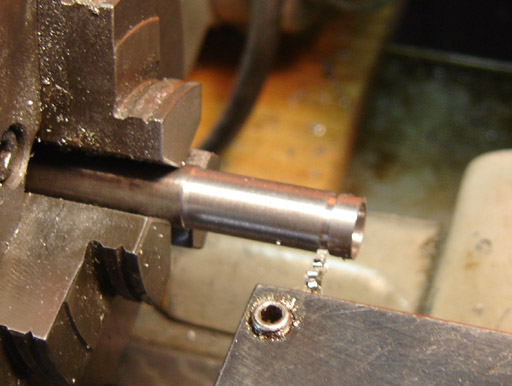
Parting off .179" long.
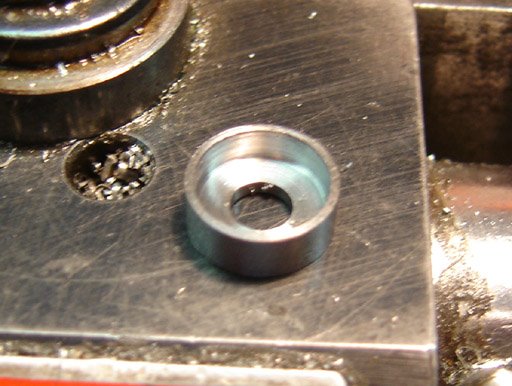
One of two cups I made.
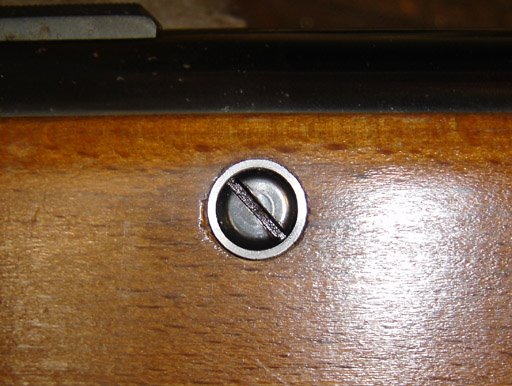
I pushed it into the stock. I was a little worried it would split the stock, but it doesn't seem to have put any more stress than the poorly aligned screws did. It should prevent the holes from wallowing out further and eventually causing the action to become loose (if it wasn't already...)
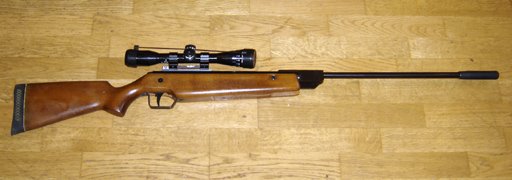
The rifle.
Nick, I thought it was a FWB 124 in the last pic. The rifle looks really good.
ReplyDeleteSo, the muzzle brake got finished in black? What did you end up using, finish-wise?
I always liked the old Beeman screw cups. It's a classic look.
Derrick
I used Rustoleum semi-gloss black. Already put a ding in it, but it would have been dinged if it were anodized as well, and much harder to touch up...
ReplyDeleteI might get some clear coat for it if I take it off in the future, just to add a little more protection.