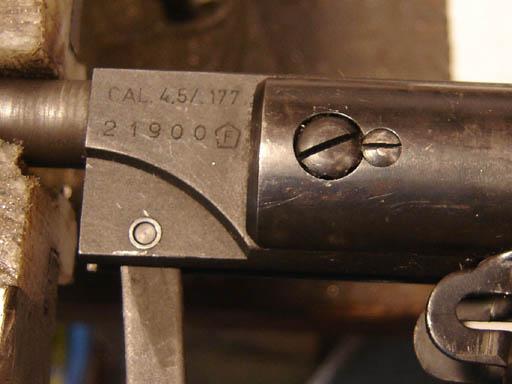
The pivot and pivot lockscrews.
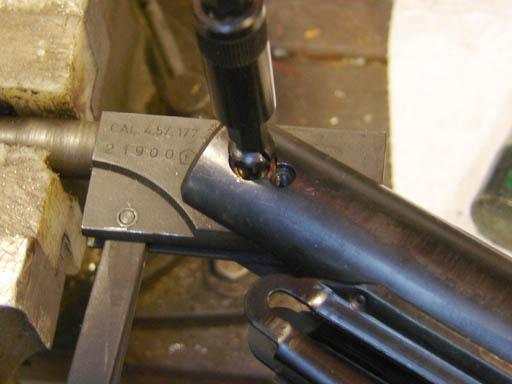
It's a good idea to break the action slightly to relieve stress on the pivot from the ball detent.
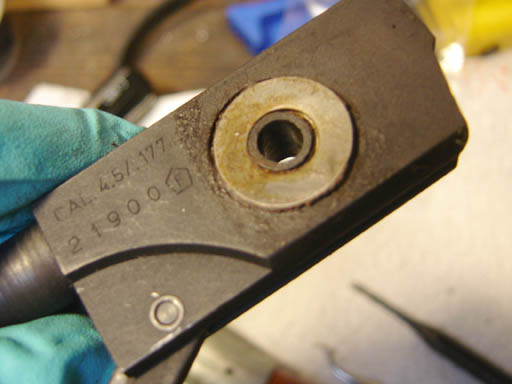
Hmmm, nice pivot washers.
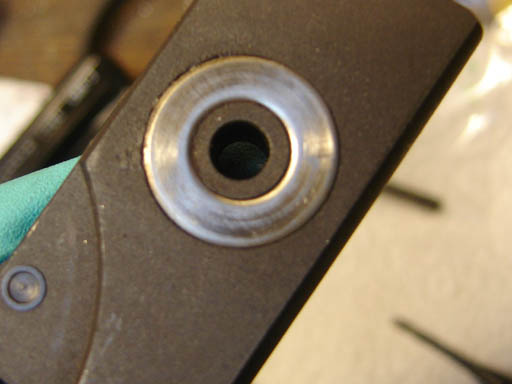
Shiny!
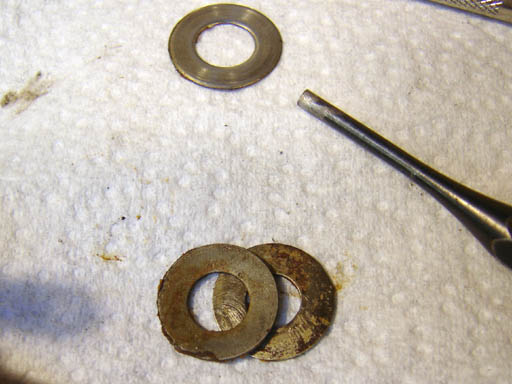
One pair of washers (one of which is a spring washer?) and one washer for the other side.
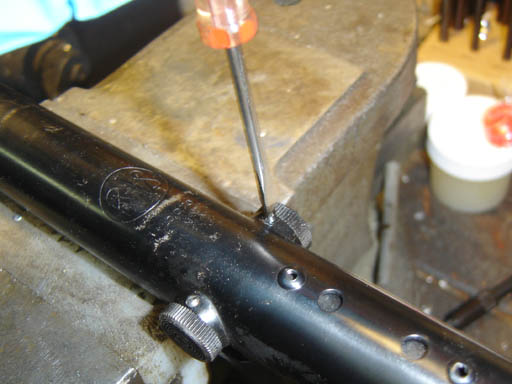
Removing the pinion cap screws.
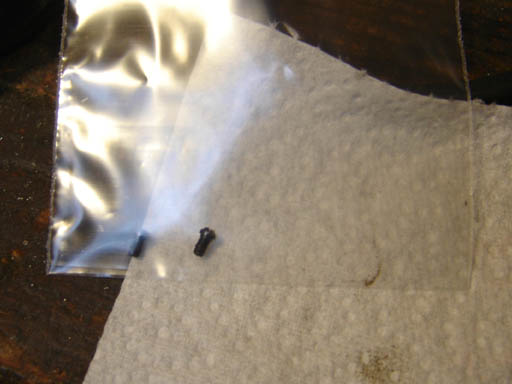
I should note at this point that every single assembly of parts I removed got its own ziplock baggie. This was a great help in remembering what goes where, and those screws are tiny!
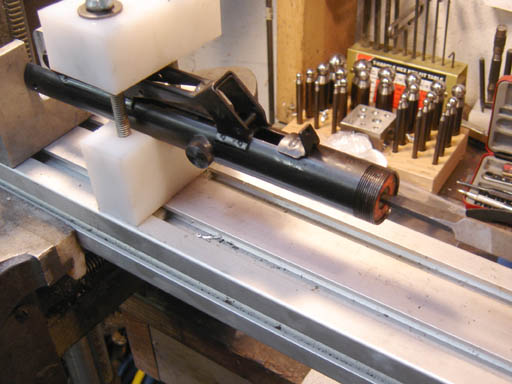
Normally this is where I make a special tool, but the instructions said the tang of a file could be used, so that's what I used...A slight amount of spring tension was taken up with the spring compressor.
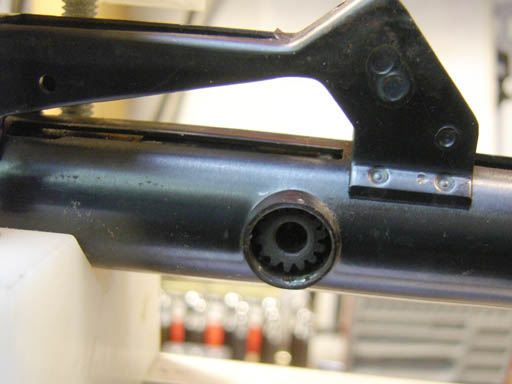
And the left hand (with the action upside down in the compressor) pinion cap was removed, revealing the pinion gear. I fished it out with a dental pick.
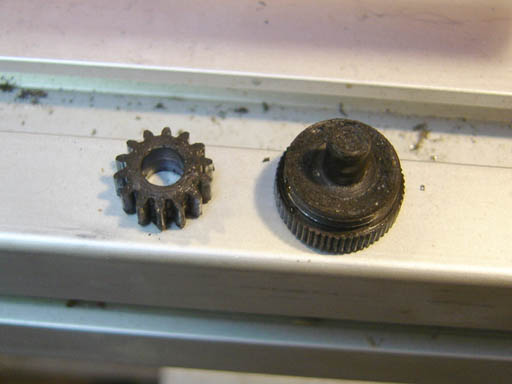
I can't tell you how happy I was to not see any broken gear teeth.
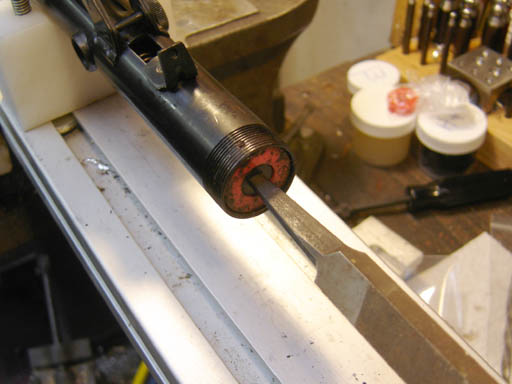
At this point the file is pressing slightly forward.
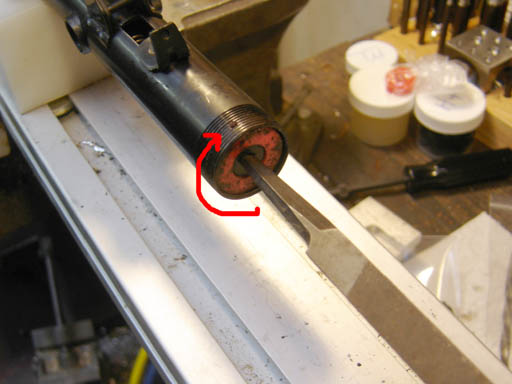
And then turned to rotate the rear piston away from the right hand pinion.
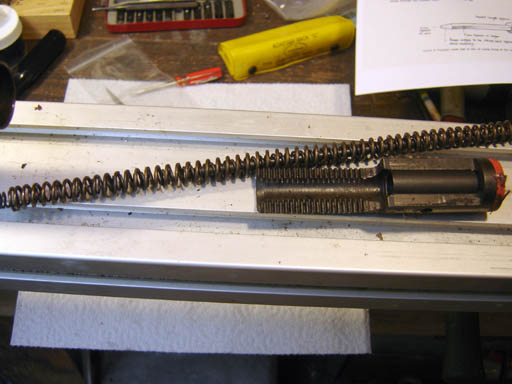
And then the rear piston is removed along with the springs.
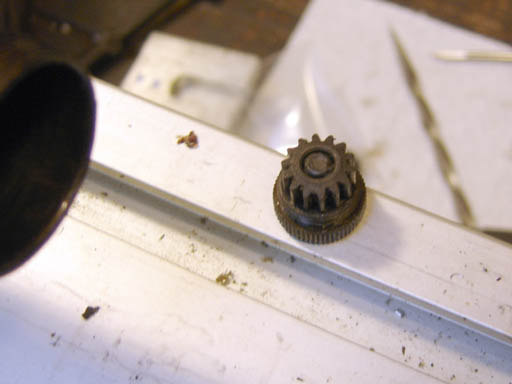
The other pinion, similarly intact!
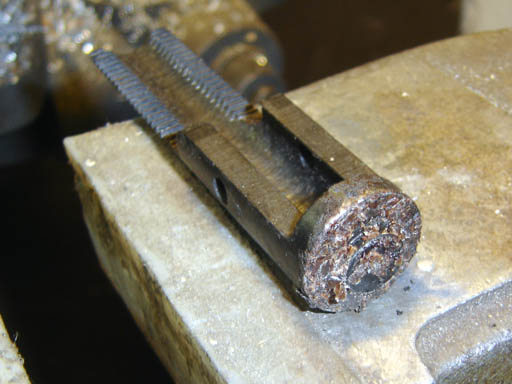
The front piston is removed. But I think I need a new front seal...
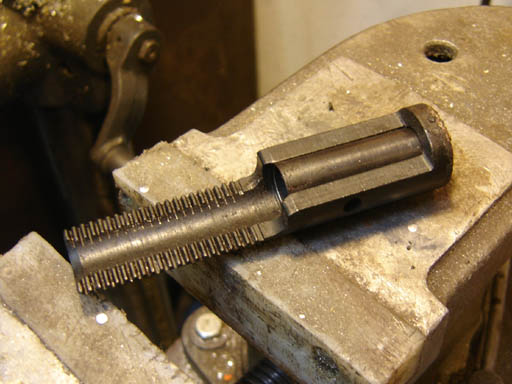
Notice the spring guide, shown assembled into the piston.
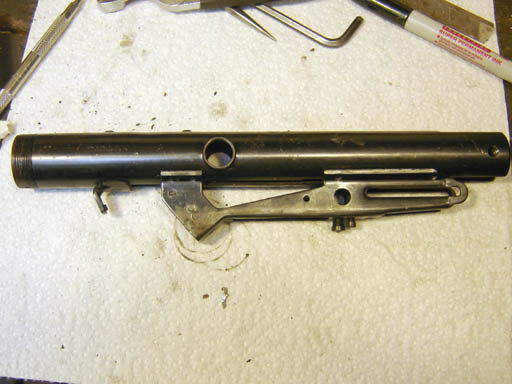
An empty action...
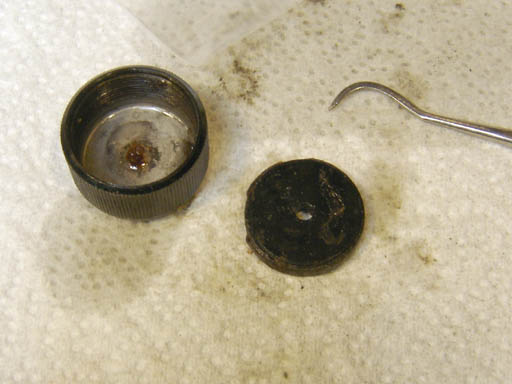
I fished the rear piston washer/spacer out of the cap.
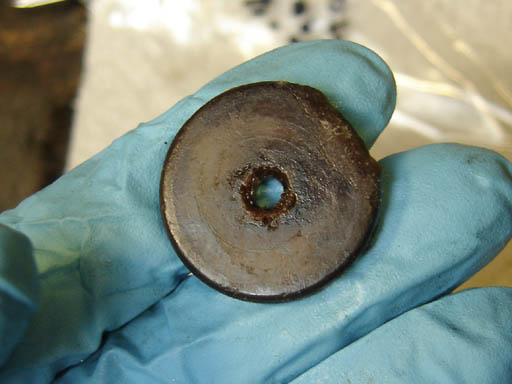
It has a hole through it.
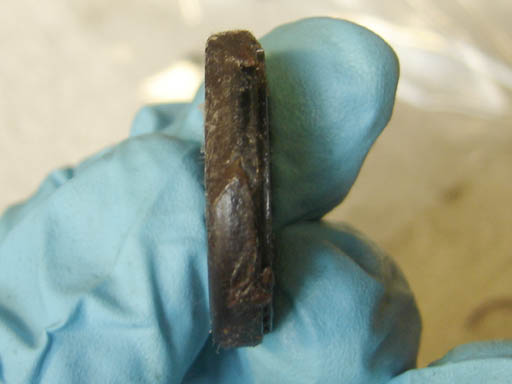
The two parts cemented together from age and pressure. Notice the small step on the right. This is important later. The washer was stamped ".8" which is the thickness of that stepped section.
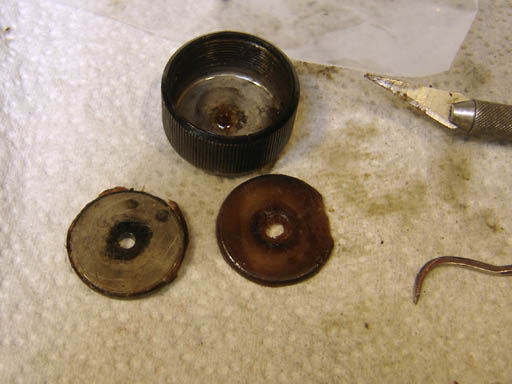
An Xacto knife removed the seal/washer/thingy from the metal spacer washer.
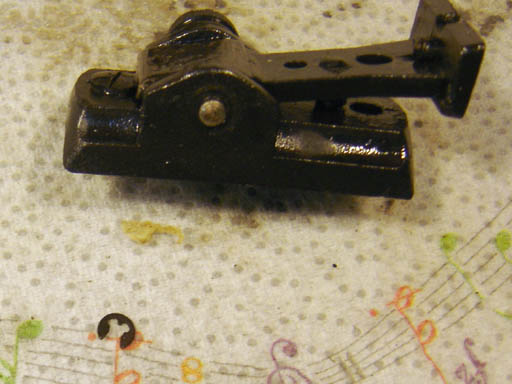
Finally the sight was dismantled. First the c clip is removed.
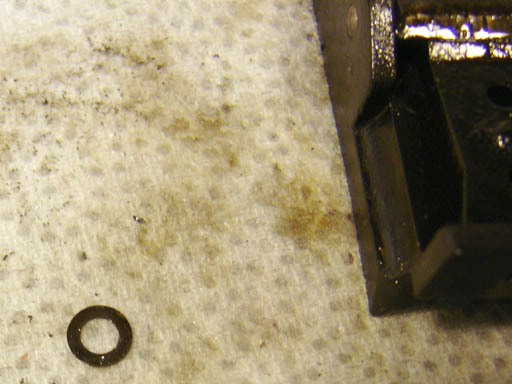
Then the washer.
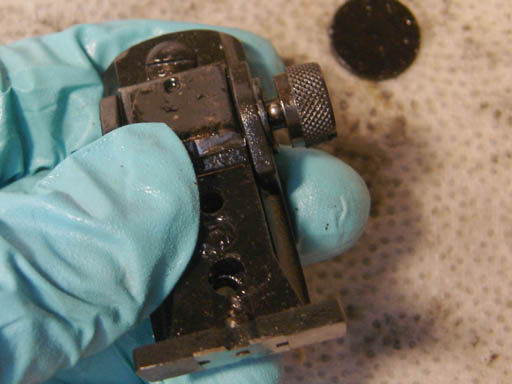
And the windage screw, um, unscrewed.
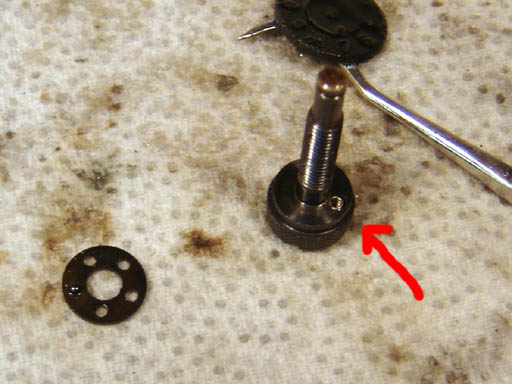
There is a tiny ball bearing that goes where the arrow is pointing. I did manage to preserve it, just forgot to take a picture...
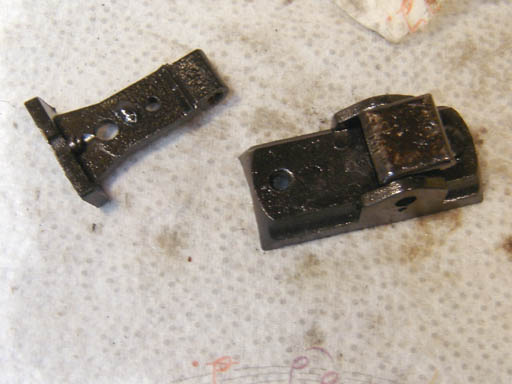
The rear sight unit was pulled out of the body.
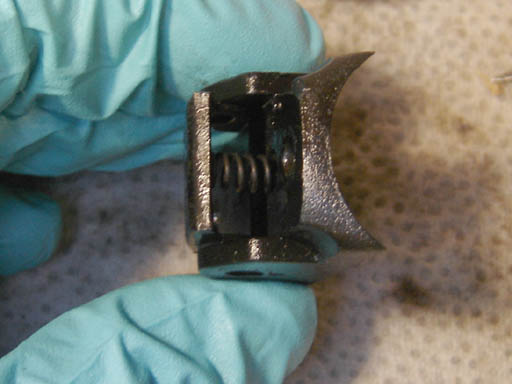
Then the metal housing with the windage scale and spring were pulled out.
After this I spent a day or two cleaning every part...it was a pain and a half. There was grit and grease and decomposed seals. I used 5 pipe cleaners, a roll of paper towels, copious WD-40, soap and water, steel wool and a toothbrush.
More to follow in a day or so...
Hello, thank you for the model 6 rebuild posts! If you can answer this question it would be very helpful. I am trying to just replace the piston seals. I removed the end cap, the pinions, the springs and rear piston. The front piston does not want to slide out. Do I need to disassemble the trigger mechanism in order for the front piston to come out? It seems to be caught on something.
ReplyDeleteThank you for any advice you can give.
Dave Idema
dave.idema@gmail.com
Yes, you will notice I had disassembled the trigger first.
ReplyDeleteNick
Thanks Nick. I guess I should have known it wouldn't be quite so easy.
ReplyDeleteTime to dive in :) I have a pretty good explode, a written description, and a blog bookmarked with some photos. I'll take photos as I go. If I can figure out the least amount of disassembly needed for seals I'll post what I hope to be a shortcut.
The ARH piston seals arrived and I managed to get them on the pistons using a trick where you slide the seals over a tapered felt marker cap to stretch them out, then place the marker end of the cap over the dovetail flange of the piston. Slide the seal in place and pull off the marker cap. Worked slick. Now I have another task - The leading end of the seal flares out so much, and the synthetic seal material is so hard, I can't feed the front piston back in the tube. I found a post where someone suggested cutting a funnel shape from a beer can. Tried that and also some aluminum flashing but it jammed up the seal and created a step right in the aluminum. Another post suggested sticking the piston and seal in a lathe and holding a file on it to turn the down the o.d., (but saying don't take off too much). I don't have a lathe. I wish I did. I can envision a tool for this problem. The front seal from ARH is black versus the red ones shown on the website so I have to wonder if I have the right seal. It fits the dovetail perfectly so I suspect it is okay. As it stands I have twisted it, tried starting one side and crimping the other with a screwdriver, The beer can funnel trick, and now I am thinking pop the seal back off the front piston, find a bolt that fits tight through the hole, add some washers and a nut, tighten, stick that in a drill press, hold a file on the seal to cut a tapered edge that lets it start into the cylinder/tube. Nick, if you have a better idea, or something else to try, much appreciated.
ReplyDeleteSorry about that last rant! Got it back together after putting a tiny bevel on the leading edge of the front seal. ARH did send the correct seals. Shoots good, not sure how hard/fast. Photo and story on my fishing blog: fichigan dot com. (like Michigan but with an f)
ReplyDelete