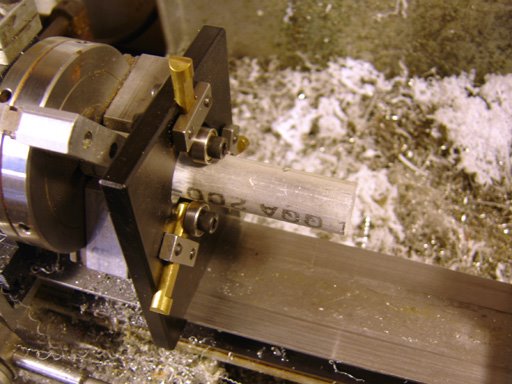
A long piece of aluminum rod stock was chucked up. I put the steady rest on to minimize vibration.
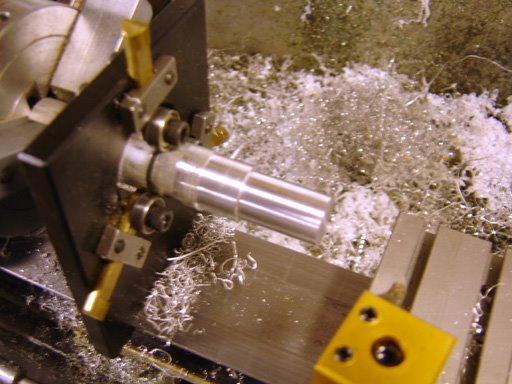
Turning the diameters at the muzzle end.
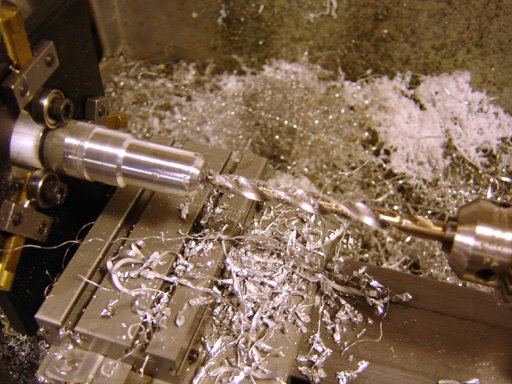
Drilling out the end as far as I could go with a 1/4" bit.
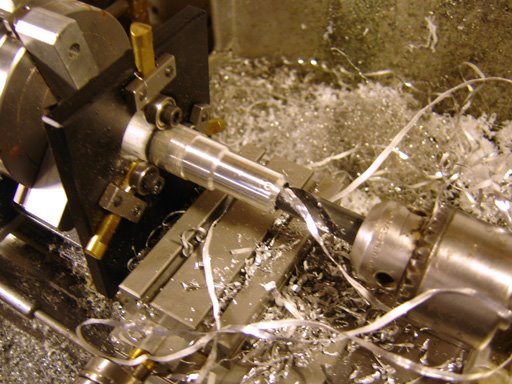
Drilling 1/2" diameter for the barrel.
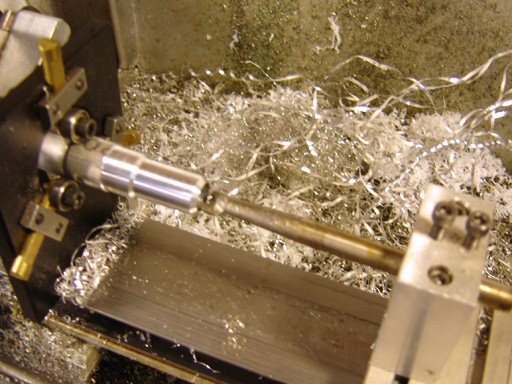
I bored for a slip fit over the barrel.
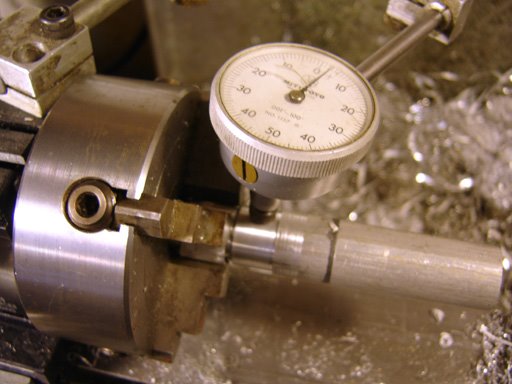
I flipped the stock and chucked it true in the 4 jaw chuck, with a shim wrapped around the turned portion to protect it from the jaws.

Turned to a cylinder.
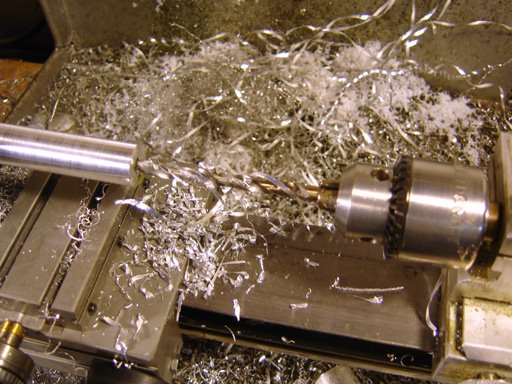
Drilled out.
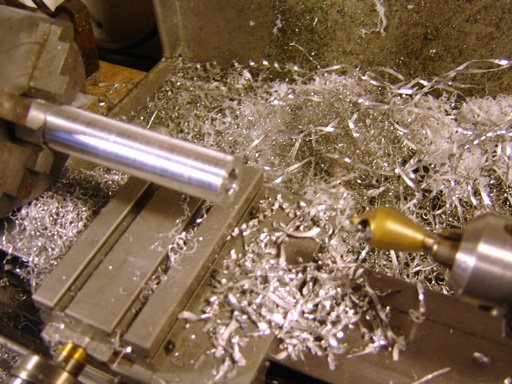
Countersunk at the end.
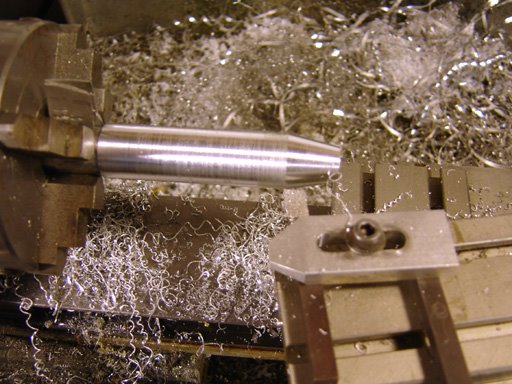
Turning a taper on the end. I started doing it at 30 degrees, but settled on 10 degrees for a rather long taper.
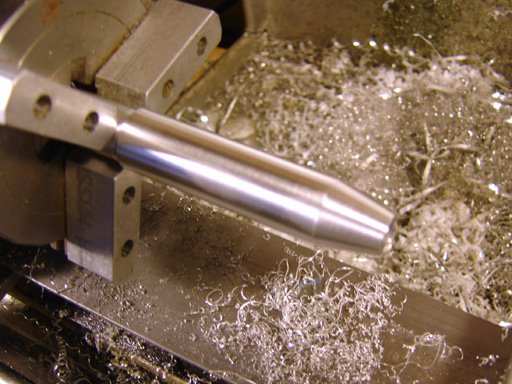
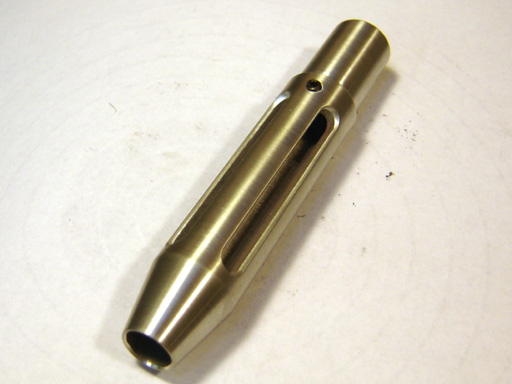
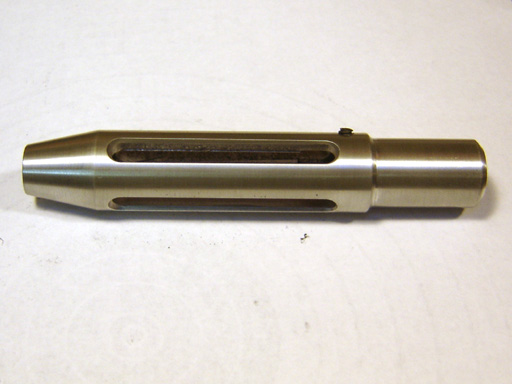
Filed and scotchbrite to finish.
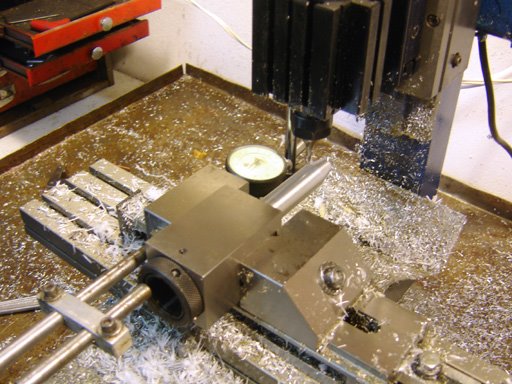
As you remember from last time, I had done a rather casual job of indexing the two holes on the pump plug, this time I remembered to use my 5C collet block to fixture the work. The stop locates the block for each successive operation and the dial indicator tells me when I have travelled the same distance each time.
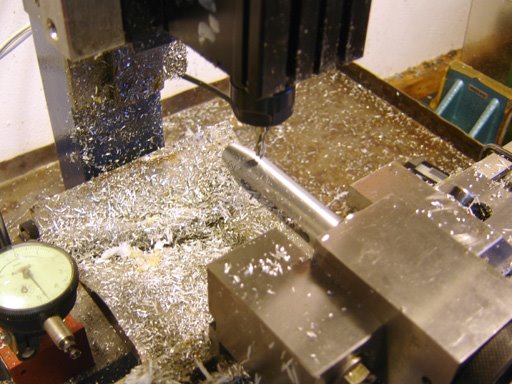
Starting to slot the brake.
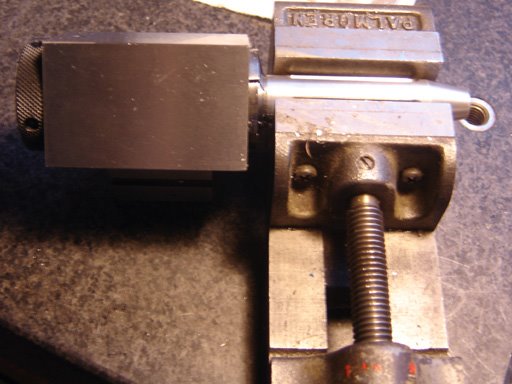
This is one of my prouder moments. I had to drill for a set screw at 45 degrees from the slots, so I put the collet block on a vee block, then clamped the end of the brake in a vise. I unclamped the brake from the collet block and drilled the hole on the drill press.
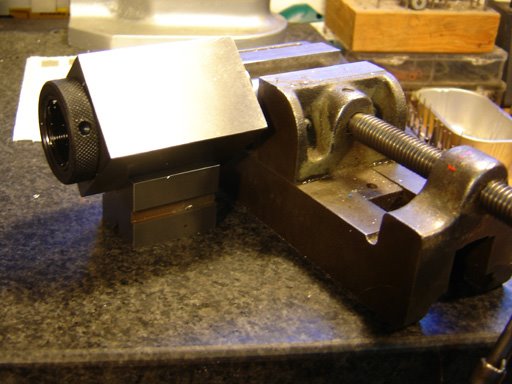
Another view showing the vee block.
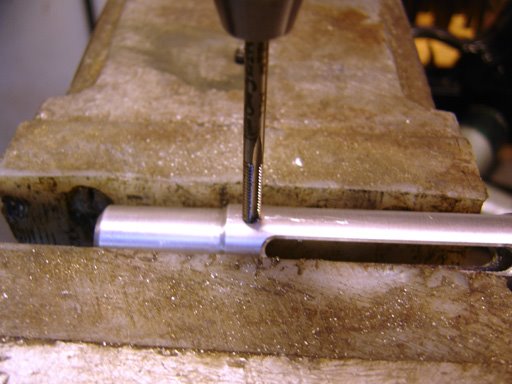
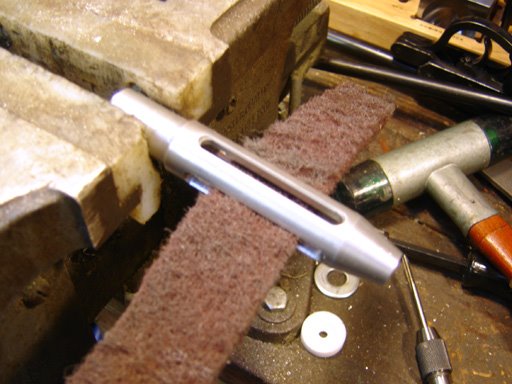
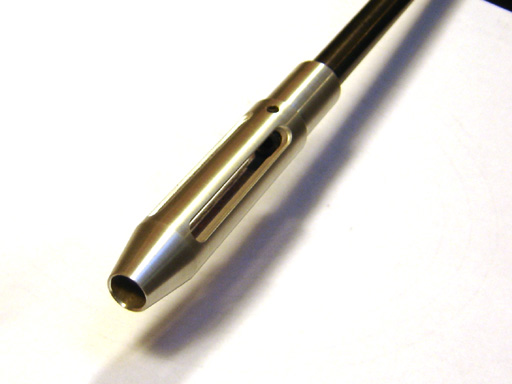
Very nice! I simply love the whole sci-fi look you're going for; one of the few instances where a muzzle break actually makes the gun look better! CAN NOT wait until it is done.
ReplyDelete