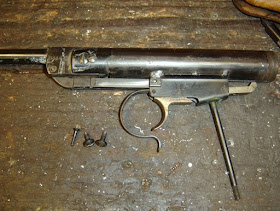
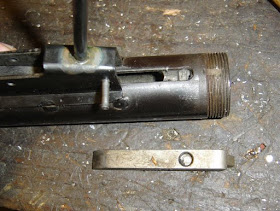
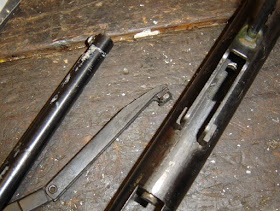
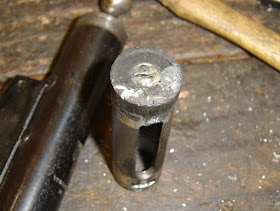
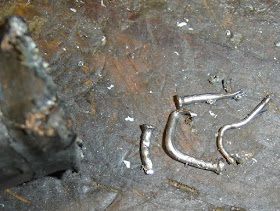
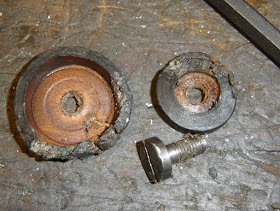
Well, in order to make sure the SVP works I needed to make a new spring guide.
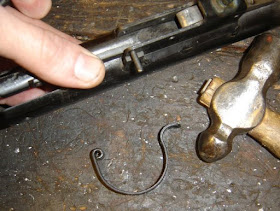
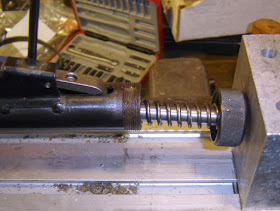
The old spring guide, such as it is.
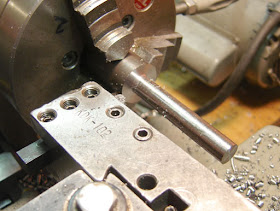
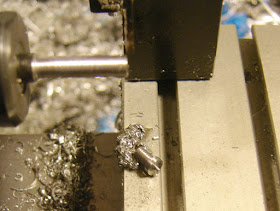
Starting to turn down some 1" steel...
Turned to the correct diameter.
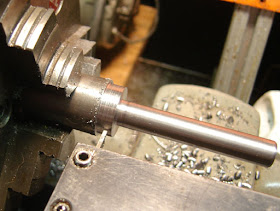
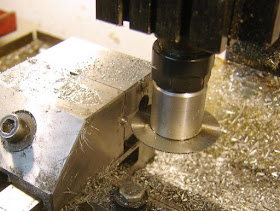
Chamfered at the end, filed smooth, about to part off.
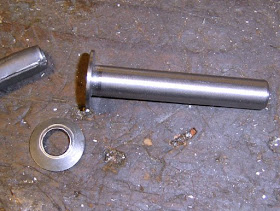
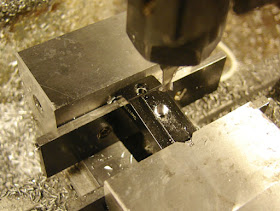
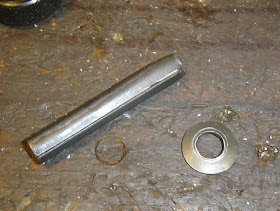
The new guide.
I reassembled the pistol to check function. Using the old piston seal and with no other work it managed to spit a pellet downrange. So I have a pistol that works, now I need to make it work well.
Saturday, November 8, 2008
Friday, November 7, 2008
Mounting a Williams Sight on a Crosman 167, Part 2
So I need some longer mounting screws...
Turned and threads cut.
And cut off.
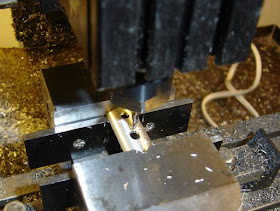
Slotting.
The lower base hole needed to be elongated.
As did the shim.
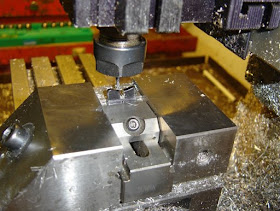
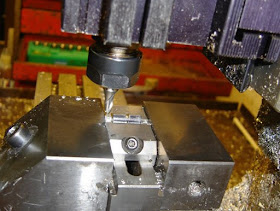
A tiny vise holds the sight blade (? insert?) and I slot it deeper.
And mill the top down. The goal was to have it roughly in the middle of the adjustment range when the rifle was zeroed at 10 yards.
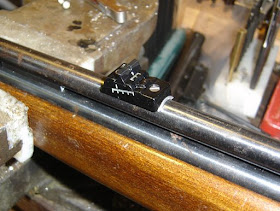
I slapped some paint on the exposed aluminum. Mounted solidly. I think I could get away without using a shim if I could overlook the gap between the barrel and the base.
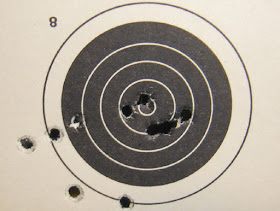
a bunch of shots to sight it in and then 5 shots in a row (only at 7 yards...too dark outside) pretty much on center.
Thursday, November 6, 2008
Mounting a Williams Sight on a Crosman 167, Part 1
I love my Crosman 167, but I absolutely hate the cheap stamped rear sight. Recently I bought a lot of random Williams rear sights on Ebay, for about $5.00 a piece. So I set about adapting one to the Crosman.
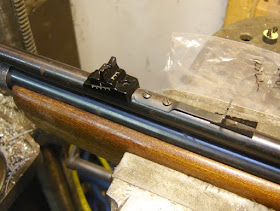
The Williams sight and existing sight. Windage is adjusted by loosening one screw and pushing the sight over.
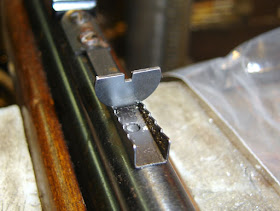
Elevation adjustment is achieved by pushing in or out the notched ramp.
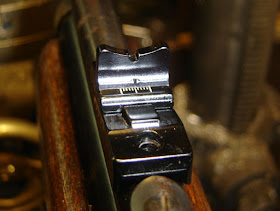
The Williams sight, while not a micrometer sight, has clearly marked index scales and is much easier to adjust.
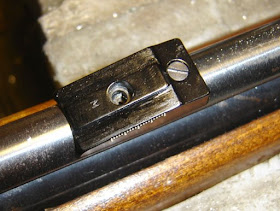
Mounted in one screw hole, you can see that the other hole is not in the right place. I could tap the barrel, but I prefer to keep it in stock form (or easily reversible).
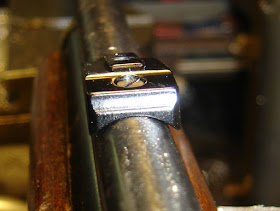
The sight base has too large a radius.
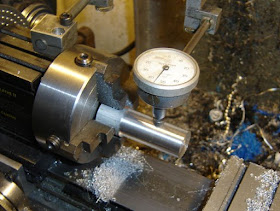
A piece of aluminum was turned to the radius of the sight base (I got it close and then checked until it seemed to have full contact.) Then it was offset eccentrically in the chuck.
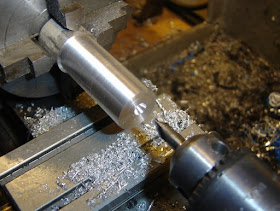
Drilling begins.
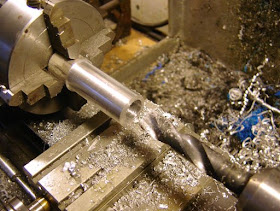
Drilled out to 1/2"
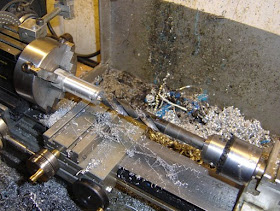
Then to 9/16". The Taig isn't ideal for drilling with larger drills, but in aluminum it works fine.
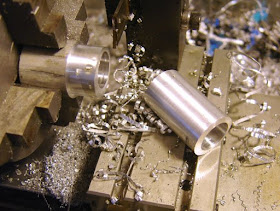
Parted off.
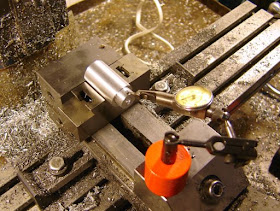
With a plug inserted, and held in a vee block, the eccentric piece is adjusted.
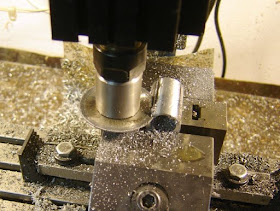
Sawing off my shim...
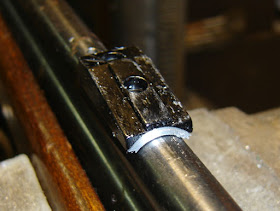
The shim fits perfectly.
The underside.
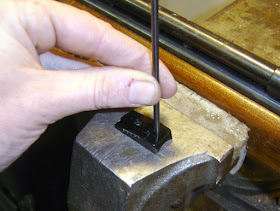
Marking one screw hole.
More to come...
Sunday, November 2, 2008
Disassembling a Slavia ZVP
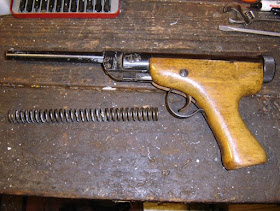
Ok, not a complete disassembly as the spring was out of the pistol when I received it. Bought cheap on Ebay, for some reason it made it past the censors. Here's a good (in german) page about them.
I hope that is in fact the correct spring.
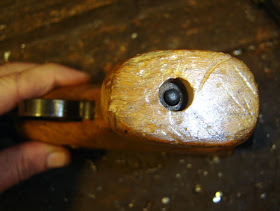
Unscrewed the end cap and the spring guide is in two pieces, which is probably not how it's supposed to be...
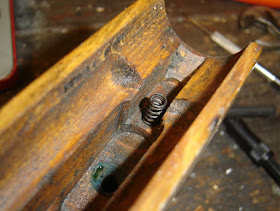
There should be a slotted nut here.
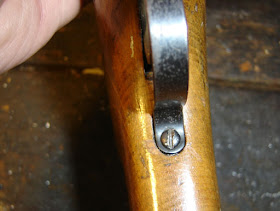
I removed the two side screws and the trigger screw.
The action.
I did not lose the spring...
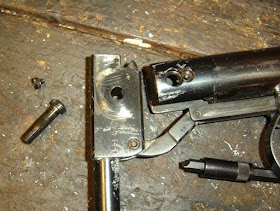
Pivot lock screw and pivot pin removed.
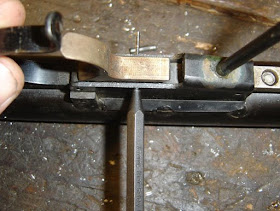
Drifted out the trigger pin.
Then the trigger guard pin.
And the sear pin.
The piston had to be back in order to take the cocking arm out of the slot.
The piston head has nails embedded in it.
Who the heck puts those nails in there? The nail gnomes?
The piston seal looks chewed up once the nails were removed.
No problem, I'll make replacements...
Now it's just some cleaning and making a few parts...like the missing sights.