Every Thursday night I head over to my friend Kent' s "open shop" night. It's just a bunch of guys standing around BS-ing, showing off projects and soliciting advice, with cigar smoke and some informal libation...
Anyway, George called me up and told me to bring my Diana 75, as he wanted to show me the palm rest he made for his Anschutz .22 target rifle.
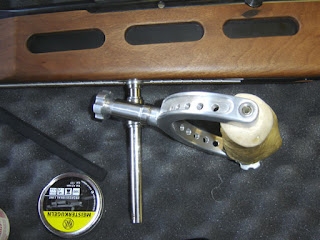
Here's his rest attached to the rail on my Diana 75.
It uses a "split cotter" to clamp the column.
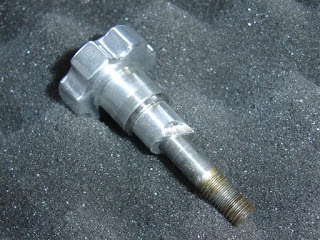
Some detail. I asked him why the tube is at an angle and he said he couldn't remember.
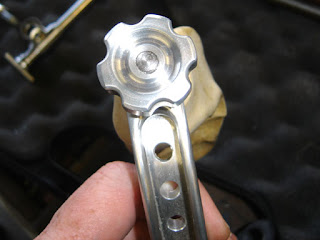
The clamp knob for the handle.
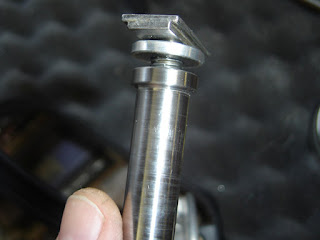
The T nut which fits in the rail.
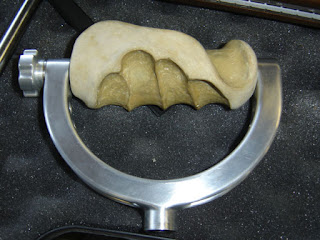
The molded handgrip.
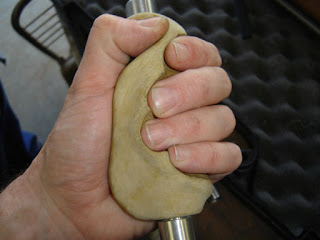
He said he couldn't remember what product he used, but it was some sort of wood putty.
Anyway, whenever George brings one of his projects by, I'm always temped to just sell all my tools and go off to live in a cave. He really does great work.
In spite of my George induced low self esteem, my unfinished 1377 carbine was chosen as "Mod of the Month" over at airgun artisans. Not sure what to make of that. This blog also received a nice mention in Tom Gaylord's column in the Volume 62, #24 issue of Shotgun News. So fame has been achieved, of a sort, yet fortune seems to not be following. I haven't acquired a new airgun in over a month and I'm going through some serious withdrawals...send me some beaters ASAP!
I really need to figure out how to get some sponsors for the blog.
I was noodling around on the internet and came across this recent Crosman patent for a front sight. Seems like an odd way of dealing with elevation adjustment. Here's an interview with Abhinav Bindra, the Gold Medalist in Air Rifle (an amazing final match!).
Back to the shop...
Friday, September 5, 2008
Wednesday, September 3, 2008
Front Aperture Sight Inserts for the Hy-Score Mod SM 810 (Diana Model 65)
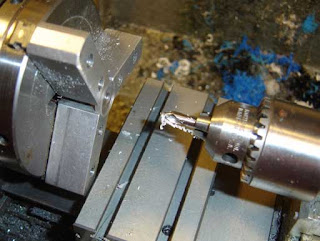
I finally got around to making some front aperture inserts for my Hy-Score Mod SM 810 (Diana Model 65) rifle. I wrote an article showing how to do this before, but I figured I could show a few details. The insert size is smaller than on my Diana 75, I measured .618" (15.7mm) diameter of the one insert the rifle came with. The insert that came with the rifle has a 3.8mm hole, which is a bit too large for 10M shooting.
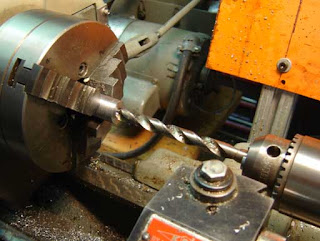
I chucked a rod in the 3 jaw chuck to take up the play and bored a small step to hold the insert.
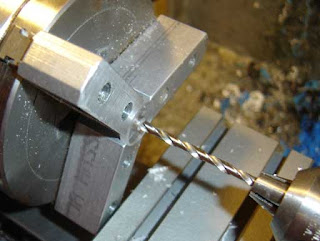
Drilling some holes.
A stack of inserts turned down to size.
Ready for final drilling.
Making the 60 degree cone, I decided to try a steeper angle than I did previously (90 deg.), as I had a chance to look at one on a friend's rifle and it looked closer to 60.
Drilling the hole. I used a combination of metric and number drills to make a range of sizes.
After drilling I used pin gages to determine the actual aperture size. Each insert gets put in a small baggie labelled with the diameter.
Monday, September 1, 2008
A Crosman 101 Quandary
Regular readers will remember that I bought the Crosman 120 and a 101 in pieces, knowing that the 101 would be missing some parts. The first question to be answered with the 101 is "what parts?"
Yet another valve wrench gets made.
The finished wrench. I think I now have enough wrench variations to take apart any Crosman I come across!
The valve removed from the action.
So, having disassembled the valve, I now know what parts are missing. I referenced the service manual and checked the parts I have against the exploded drawings. I am missing the entire hammer assembly, and the entire bolt assembly, as well as the rear sight. I bought DT Fletcher's CD of the engineering drawings for the 101 and I can, in theory, make the missing parts. However making the Hammer Sleeve (PN 101-39) is somewhat complex.
It has a 5/8"-24 tpi. internal thread (and the hammer plug has a matching external thread) which is not a standard, nor do I have taps & dies, so it would have to be single point threaded on the lathe. That alone isn't much of a problem, only somewhat time consuming. However the Hammer Sleeve is also the sear, and as such is called out as "Cyanide H'dn", which means I'll have to dig out the Kasenit and do a case hardening to the part after machining. Again, not that difficult by itself. Add to that the need to bore 2.25" deep a flat bottomed 37/64 hole, w/ 1/64" 45 deg. chamfered corners through the sleeve.
So, the part is relatively time consuming to make, at least compared to the other parts, on a rifle that even in good condition isn't worth much more than $100-$125 given its vintage (It's a later model).
So, should I try and find some parts to complete the rifle or should I make the parts myself?
I just don't know. I'll think on it for a while.